How-To: DIY Head Bearings
This task sees us get down and greasy with steering head bearings. So if you’ve never held a tapered bearing in your hand before, now’s the chance to make it happen…
This content was originally published in issue #12 of Transmoto Dirt Bike Magazine in Sept, 2011.
TOOLS YOU’LL NEED
● Socket set
● Stem-nut spanner
● ‘C’ spanner
● Plastic gloves
● Molybdenum Disulfide-based grease
● Torque wrench
CAUSE & EFFECT
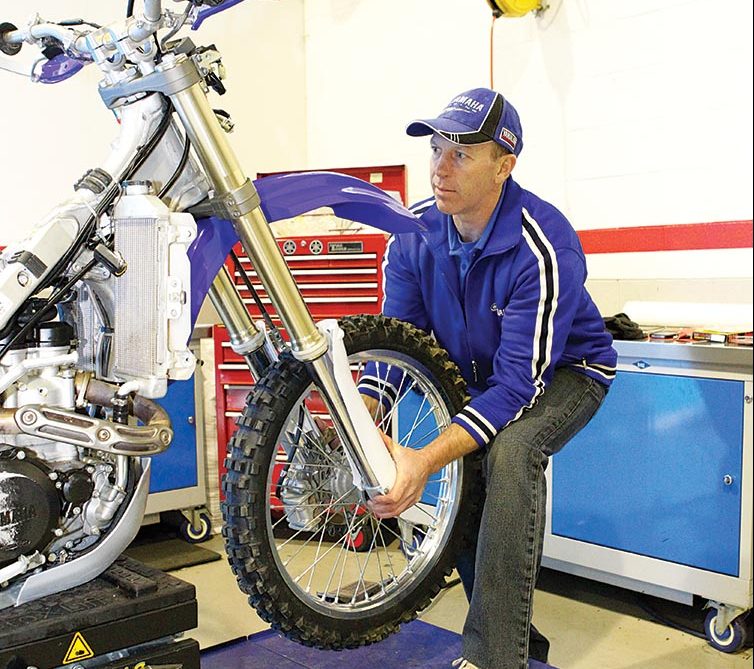
If you’re over-handy with the pressure washer, chances are that you’ve stripped grease from all the major bearings as you try to bring your bike back to showroom clean. Once the grease goes from the head bearings, they’ll start to rust and pit quicker than a French TV car can barbed-wire a Tour cyclist. First, check how bad your bearings are by placing the bike on a stand so the front wheel’s airborne. Move the handlebars from lock to lock – there should be no notchiness or tight spots. Then grab the bottom of the fork legs and push and pull them back and forth. There should be no play whatsoever. If either of these faults are highlighted, then new head bearings are in order (or on order if your local dealer doesn’t have them in stock)
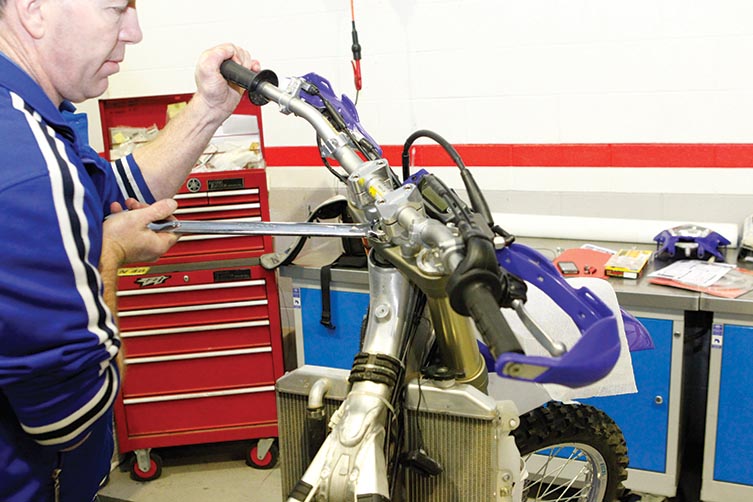
LIFE BEHIND BARS
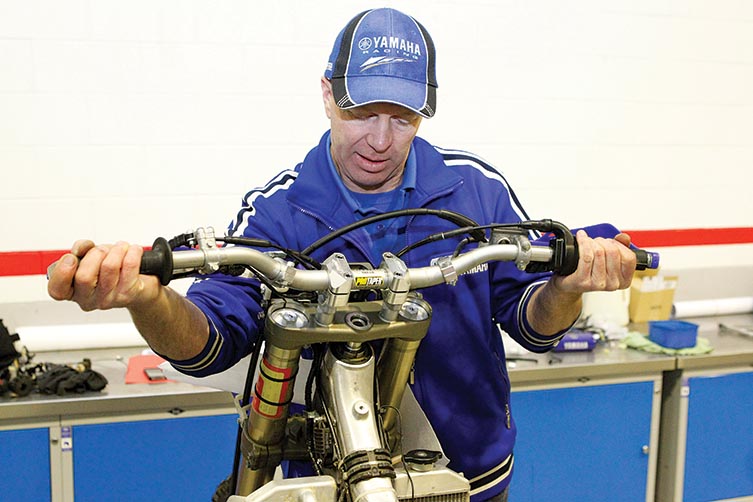
The first step sees the removal of the bars and the top triple clamp. If you run bar risers (as we do on our WR450F T-Ride bike, pictured), getting to the steering stem nut is easy. With a large spanner, this nut is removed before the clamp pinch bolts are loosened.
As the bars have remained on the clamp, use this leverage to help ‘walk’ the clamp off the fork legs. Depending on your bike’s electrical and control cables, the top clamp and bar arrangement can be placed so it’s out of the way.
FANCY A TRIPLE?
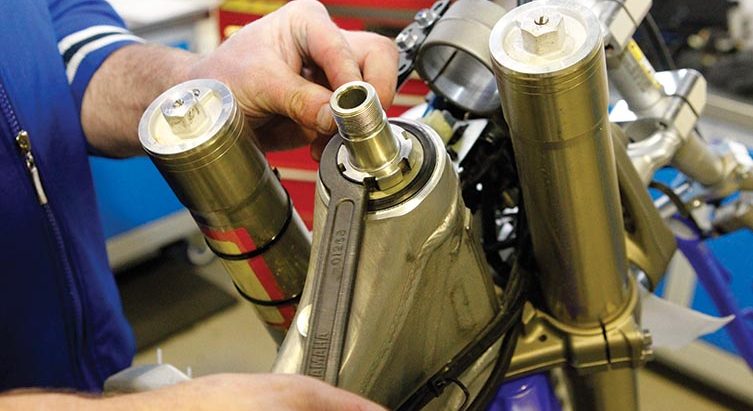
Using a ‘C’ spanner (and never a long screwdriver and hammer), undo the locking collar, making sure you support the weight of the front wheel and forks so they don’t try to roll out the front of the bike.
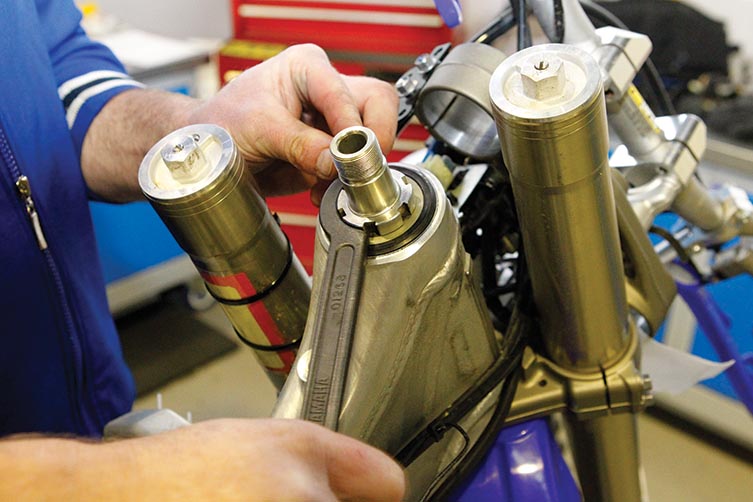
Once the collar is free, gently lower the front wheel so you have access to the top and bottom bearings. This is the quick method for regreasing – if you have to replace the bearings and cups, then you’d remove the fork legs from the lower clamp before you undo the stem nut and locking collar. The lower bearing would then have to be removed from the stem on a hydraulic press or, if you’ve a steady hand, with a grinder.
GREASE – IT’S A FEELIN’
It’s important to clean all the old grease off the bearings before you repack them. This is because water can get trapped between the bearing and the layer of grease and start the rusting process.
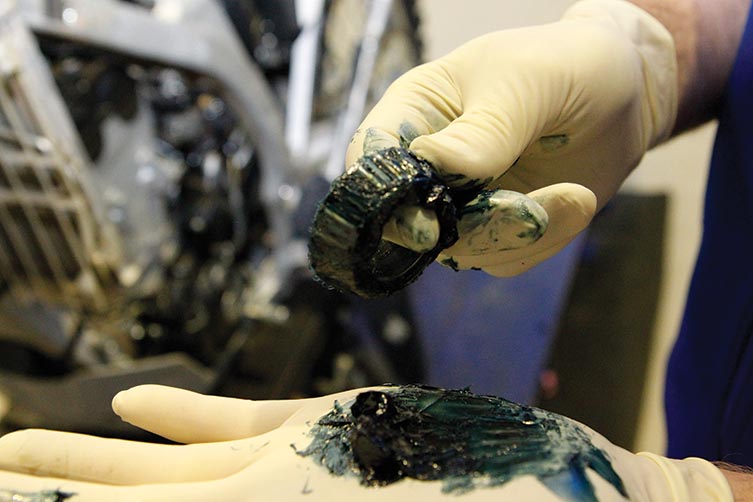
Get ready to do your Customs Officer routine and put the plastic gloves on. But instead of asking Schapelle Corby to touch her toes, use the glove to palm a mound of grease. Then dab the bearing hard into your palm, spreading the good stuff between the bearing’s rollers, until it oozes out of both ends. You can’t overpack ’em, so do it right. Then wipe off any excess, before introducing Corby to her new, long-term ‘roomies’.
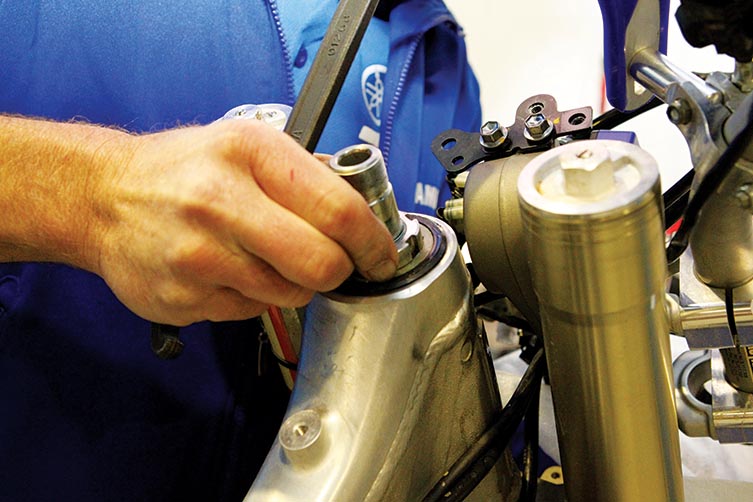
FRIENDS REUNITED
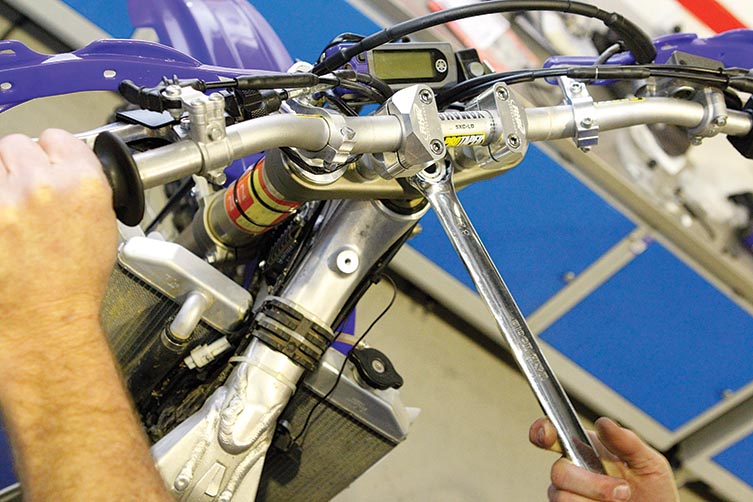
Reassembly is simply the reverse of the above. When replacing the locking collar, tighten it fully to squeeze the excess grease from the lower bearing and then slacken it off. Tighten again to a quarter-of-a-turn more than hand-tight. Make sure any spacers are put back in the correct order. Replace the top clamp, making sure there are no cables trapped and that the bars are free to move from side to side. Torque the clamps’ pinch bolts up to the manufacturer’s figure.
PREPARE FOR TAKE-OFF
Depending on your personal preference, it’s possible to slightly preload the bearings to give either a freer or firmer feel at the bars – on a flighty bike, preloading the head bearings can act as a bit of a steering damper. Don’t over-tighten though as this will cause the bearings to wear quicker. Torque the fork’s pinch bolts up and go for a short blast. Then re-check for any play before going on your next ride. In future when cleaning, keep the pressure washer away from the steering head!
Related Content

HOW-TO: REPACK YOUR MUFFLER

DIY HOW-TO: BLEED BRAKES
You might also like...

Boost Secures 2025 AUSX Naming Rights
The Australian Supercross Championship is set to launch into its biggest season yet.

TT Circuit Assen To Host 2027 MXoN
The 80th edition of the MXoN will see the legendary event return to Dutch soil in 2027.

First Look: Aus MXGP Battleground
The 2025 MXGP of Australia track design has been revealed.

Aussie Riders Join Aus Hall of Fame
Four new Aussie riders have been inducted into the Australian Motorsport Hall of Fame.

VIDEO: DAKAR RALLY 2025 – BIKE HIGHLIGHTS
Didn’t manage to keep up with the longest desert race in the world? We’ve got you covered.

FIVE REASONS TO RACE A 2025 TRANSMOTO EVENT
Need some convincing? We’ve got you covered.

2025 SMX World Championship Video Pass
SuperMotocross Video Pass season subscribers can enjoy 10 months of live event coverage, plus over 900 hours of archived Supercross & Pro Motocross races.

OCEANIA WOMEN’S MX CUP EXPANDS IN 2025
An expanded Oceania Women’s MX Cup promises to be real shot in the arm for female MX riders – in Oz and worldwide!
Be the first to comment...