DIY Workshop: Linkage Maintenance
If your rear suspension’s action has become stiff or sticky, there may be a problem with your shock absorber. But it’s much more likely that your bike’s linkage bearings are in need of fresh grease, or to be replaced altogether. Over time, the grease in the bearings can break down through heat or get blasted away by your pressure washer. So it’s a good idea to check and grease your bearings once or twice a year to prolong their life and allow your suspension to work at its best. Checking and greasing the linkage bearings can be completed in less than an hour and doesn’t require the swingarm or shock to be removed.
![]()
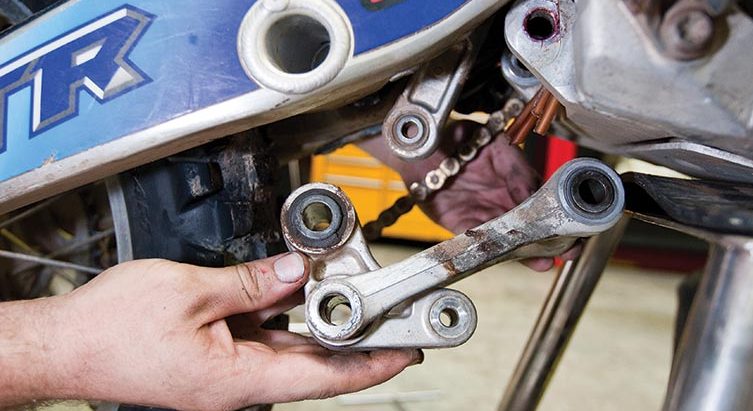
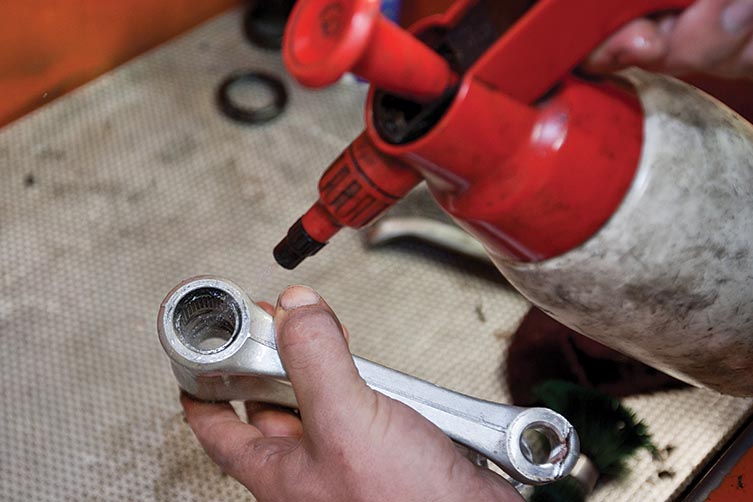
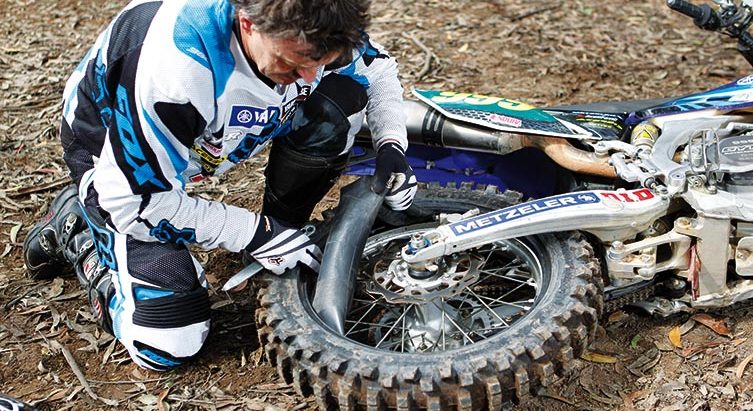
1. Remove the bolts
![]()
Once your bike is clean and on a stand, remove the linkage bolts. There’s no need to remove the swingarm or shock as all fasteners are accessible from under the bike. However, you may have to remove the lower chain roller to properly access and remove some of the linkage bolts.
![]()
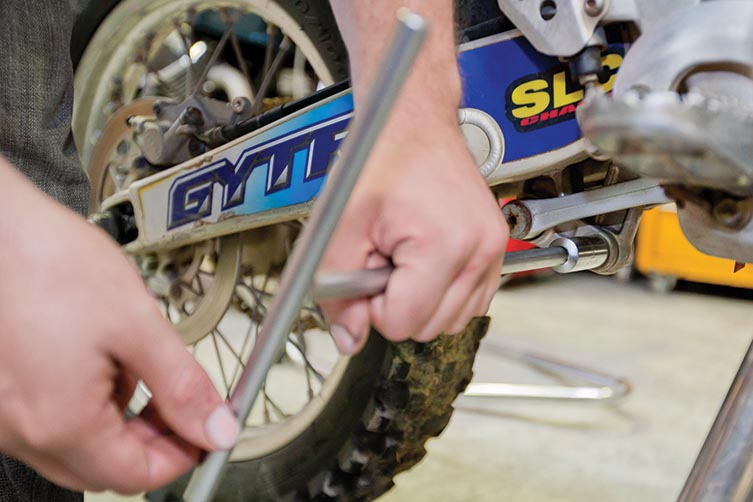
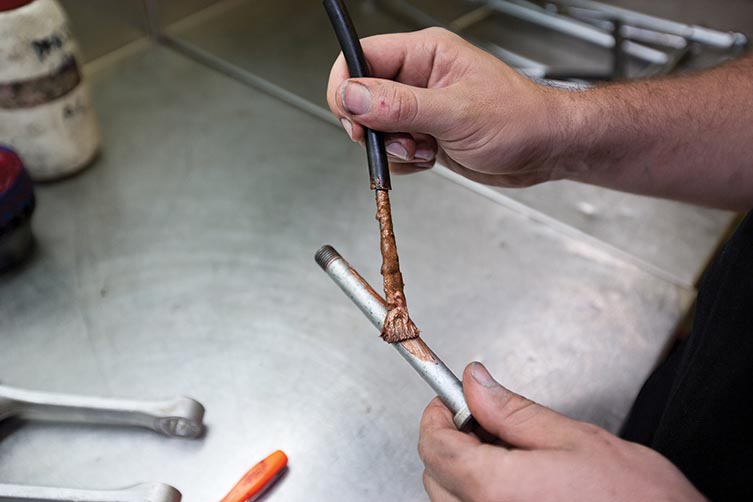
2. Clean the area
![]()
If regularly maintained, the linkage bolts should just push out easily. If they’re being difficult, use a soft metal rod and hammer to gently coax the bolts through. Now give the linkage a thorough wash, using a heavy-duty degreaser or brake cleaner.
![]()
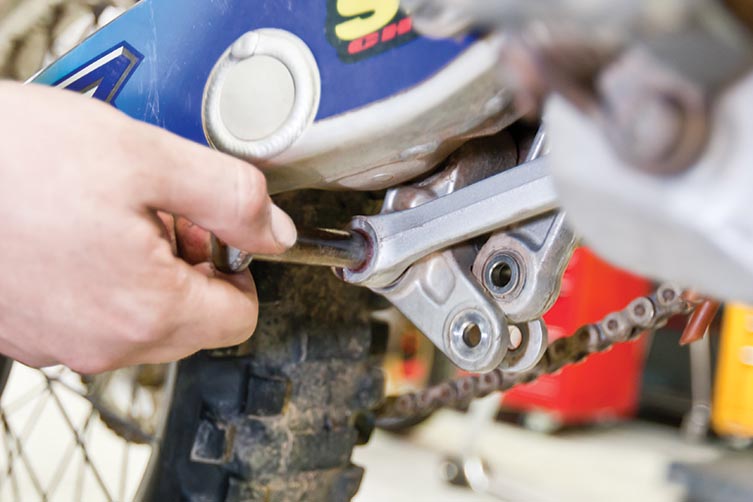
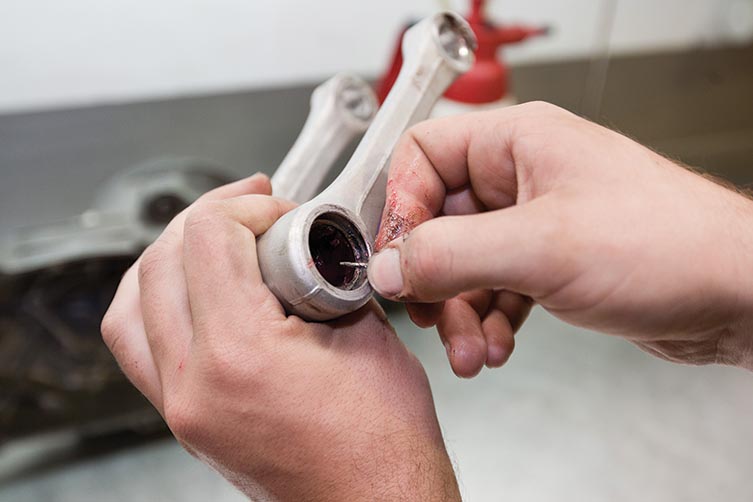
3. Access the races
![]()
Using a small screwdriver, carefully remove the bearing seals. Then push out one inner bearing race, taking care not to disturb the needles. If one needle falls out, they’ll all fall out, and you’ll have to carefully put them back in. So it’s a good idea to keep your hands underneath the linkage to catch any needles that may drop.
![]()
4. Clean the bearings
![]()
Now give the needles, the inner bearing race and the inside of the bearing itself a really good clean. Use a degreaser to remove the old grease and any grit, and inspect the race and needles for any inconsistencies, wear or damage.
![]()
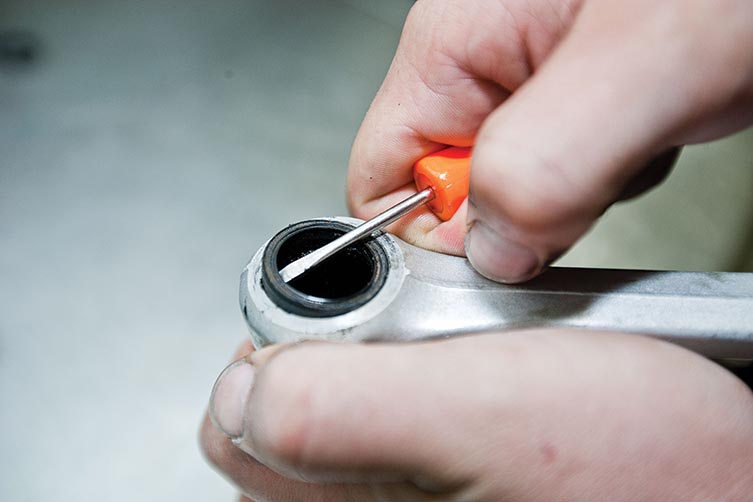
5. Apply the grease
![]()
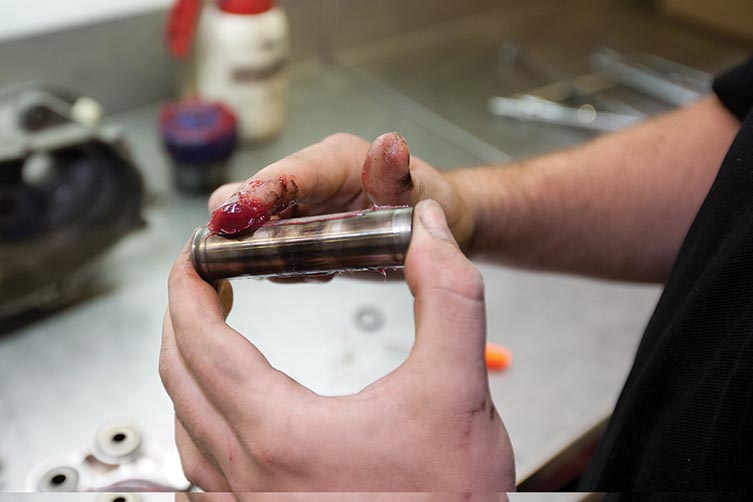
Being careful not to allow any of the pins to fall out, use your pointer finger to apply a thick layer of grease over the needles while keeping them in place. Work the grease into the needles, then put another thick smear over the needles and the inner bearing race.
![]()
6. Repeat & Reassemble
![]()
Slide the inner bearing race back in and re-install the seals. Repeat the process for all bearings, including the lower shock bearing. Reassemble the linkage, making sure each bolt has a healthy nut and washer and a coating of a copper-based anti-seize lubricant or grease.
![]()
Inspection
![]()
When inspecting your linkage bearings, you want to ensure that the needles are in good condition. That means no rust, gouges or other wear marks. Also inspect the inner and outer bearing races for corrosion or wear. Your finger is a good gauge, so run it over all metal surfaces. If the parts don’t feel smooth, they’re probably already past their used-by date. If anything seems even slightly worn, you’re better off replacing those parts because semi-flogged bearings will fail surprisingly fast and destroy your linkage knuckles altogether.
![]()
Expert Tips w/ Teknik’s Nick Dole
![]()
- Of all the bearings in your linkage, the bottom shock bearing generally wears the quickest.
- Linkage bearings prefer a quality grease that resists breaking down with water, truck wash and light degreasers. If you don’t have a motorcycle-specific grease, trailer wheel-bearing grease is a good alternative.
- Put a copper-based anti-seize lubricant on the linkage bolts to make life easier next time you service the linkage. If you don’t have anti-seize, use grease. Just don’t put them in dry.
- If you’re careful with the bearing seals, they can be re-used.
- Always tighten the linkage bolts back up to the manual’s specified torque settings. Though it’s rare, overcranking the nut will squeeze and bind the bearings and accelerate their wear.
Related Content
HOW-TO: FIX A FLAT TYRE
You might also like...

HIGHLIGHTS: 2026 TRANSMOTO 8-HOUR AT NARRABRI, POWERED BY KTM
Check out the highlights video from the 2026 Transmoto 8-Hour at Narrabri, NSW, powered by KTM.

2026 SMX WORLD CHAMPIONSHIP VIDEO PASS
The SMX Video Pass is back, and again providing live and on-demand access to all 31 rounds.

2026 ENDURO & CC MODELS: 7-BRAND PRICE COMPARO
A handy table of easy-to-compare prices for seven brands’ 2026 enduro and cross-country models.

HONDA CLAIMS EIGHTH AUSX TITLE
Dean Wilson sealed the deal for Honda with a dominant 2025 Australian Supercross season.
National Motorcycle Insurance
8 months ago
Ride Smart | Presented by National Motorcycle Insurance
Transmoto’s Simon Barratt covers some handy tips on how to protect your dirt bike, presented by National Motorcycle Insurance.
KTM
9 months ago
KTM DOMINATES 2025 AUSTRALIAN ENDURO CHAMPIONSHIP
The KTM DM31 Racing Team wrapped up four titles at the weekend’s AusEnduro season finale.

Boost Secures 2025 AUSX Naming Rights
The Australian Supercross Championship is set to launch into its biggest season yet.

TT Circuit Assen To Host 2027 MXoN
The 80th edition of the MXoN will see the legendary event return to Dutch soil in 2027.
Be the first to comment...