2023 BETA RR390 (PT 2): WHAT TO KEEP AN EYE ON
Collectively, the refinements made to Beta’s RR range over the past three years have evolved these machines into superb, world-class enduro weapons. So much so that, according to Aussie enduro icon, Geoff Ballard, the 2023 RR390 is one of the best-performing enduro bikes he’s ever ridden straight out of the crate.
But as anyone who’s spent their hard-earned on a motorcycle will tell you, a bike’s performance is only half the equation; maybe less. The quality of the ownership experience also has a lot to do with what the machine is like to ‘live’ with over the longer haul – everything from fastener commonality to ease of maintenance to how durable its components are (or aren’t).
Now that we’ve racked up 20 hours’ run-time on our 2023 Beta RR390 project bike, we’ve got a pretty good handle on what it’s like to live with (and play aboard). So, welcome to our two-part series of insights into the Italian brand’s biggest-selling four-stroke.
In Part 1, we shone a spotlight on the Beta RR390’s best personality traits and standout components, and those that could still do with a little work. And now, for Part 2, we highlight the components that owners should keep their eye on, plus offer a few tips and tricks when it comes to maintaining your Beta RR…
WHAT TO KEEP AN EYE ON…
FASTENERS: Checking and re-tensioning key bolts (rear sprocket, triple clamps, fork leg pinch bolts, etc) and spoke nipples is routine maintenance for every new motorcycle, but just make sure you take the fuel tank off your Beta and check the engine mount bolts as well. Devoid of any Loctite, our RR390’s engine hanger bolt had come loose after a few hours’ use. Also, we needed to put a washer under the head of the bolt used to secure the earth wire. Without shimming it, the bolt is slightly too long and bottoms out before its head is fully seated.
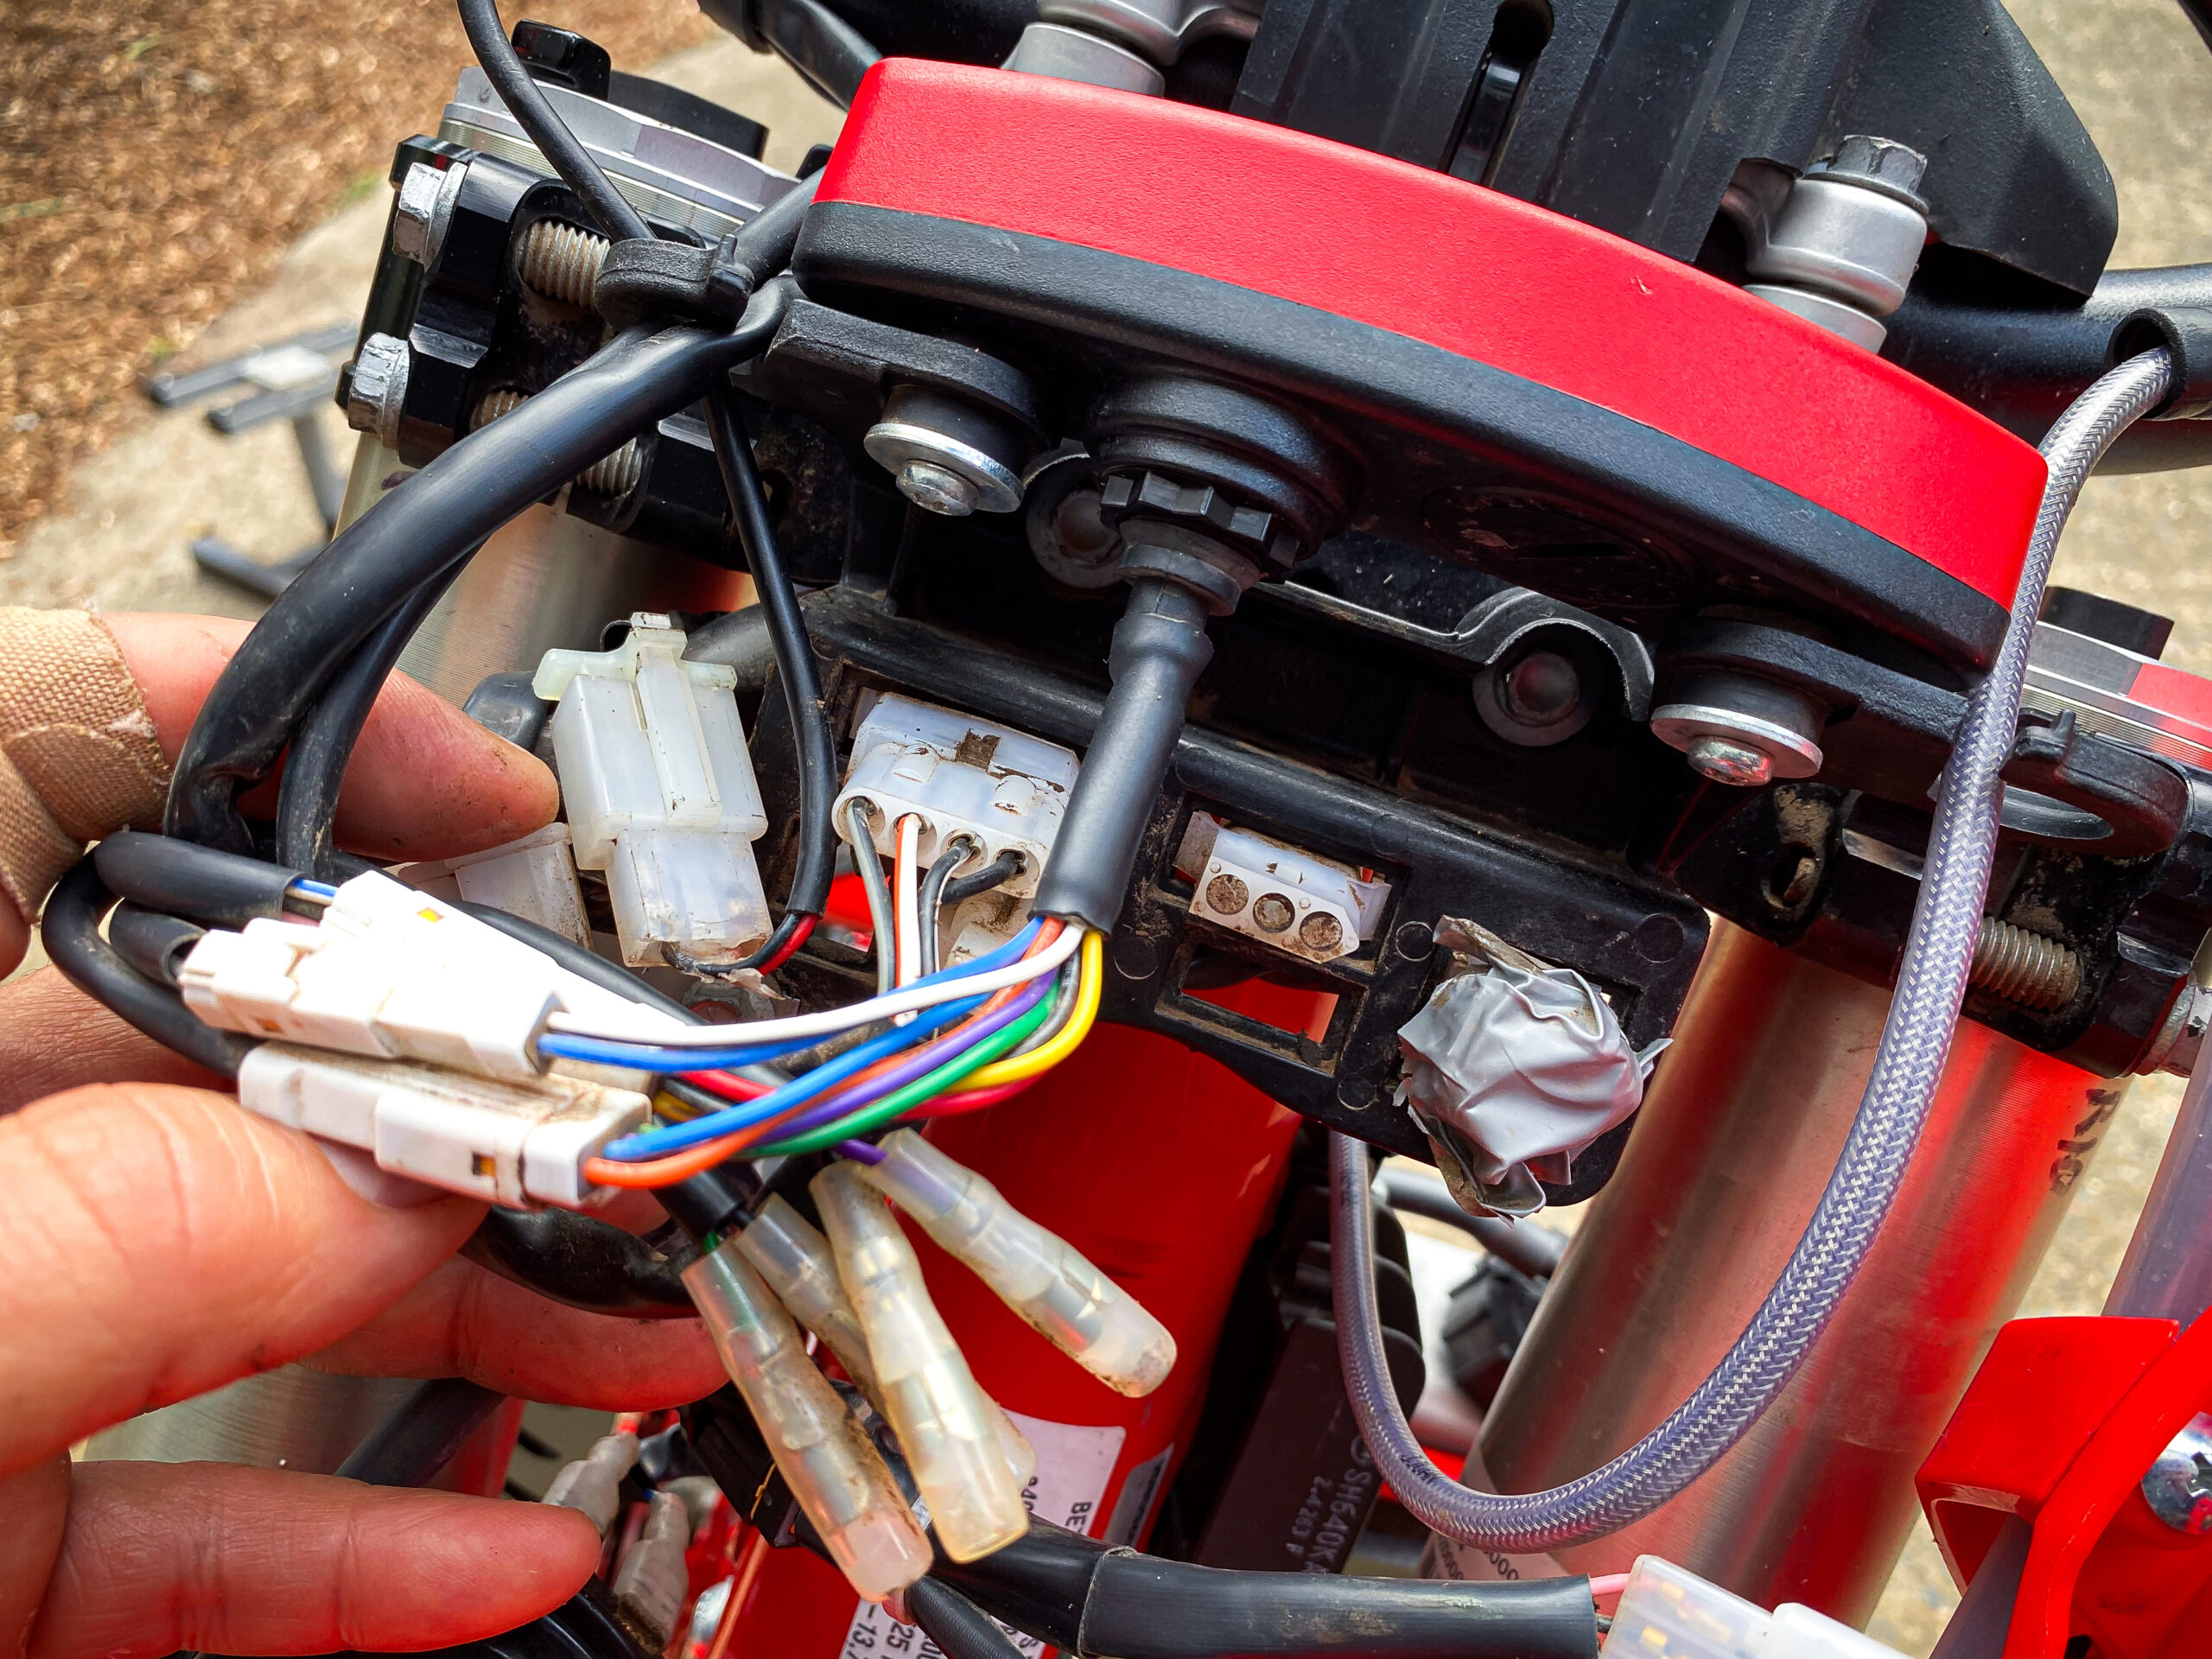
ELECTRICAL SYSTEM: Speak to the mechanics in any independent workshop and they’ll tell you that Beta’s late-model RR models boast a super-robust engine, transmission and clutch, but can have a few gremlins in their electrical system (predominantly, the fuses and wiring loom) if the Beta dealer hasn’t coated those electrical components in dielectric grease as part of their pre-delivery process. Thankfully, a greater majority of Beta dealers are onto this, but it’s worth casting an eye over your RR’s wiring, fuses and junctions from time to time.
SPEEDO WIRES: Just check that the speedo wiring and plug is mounted in a way that doesn’t pull too tight when the fork is fully compressed. By the time consumers get the bike, their Beta dealer should have already performed this simple fix (which involves unplugging the speedo from the mounting plate and relocating it higher up near the upper fork brace).
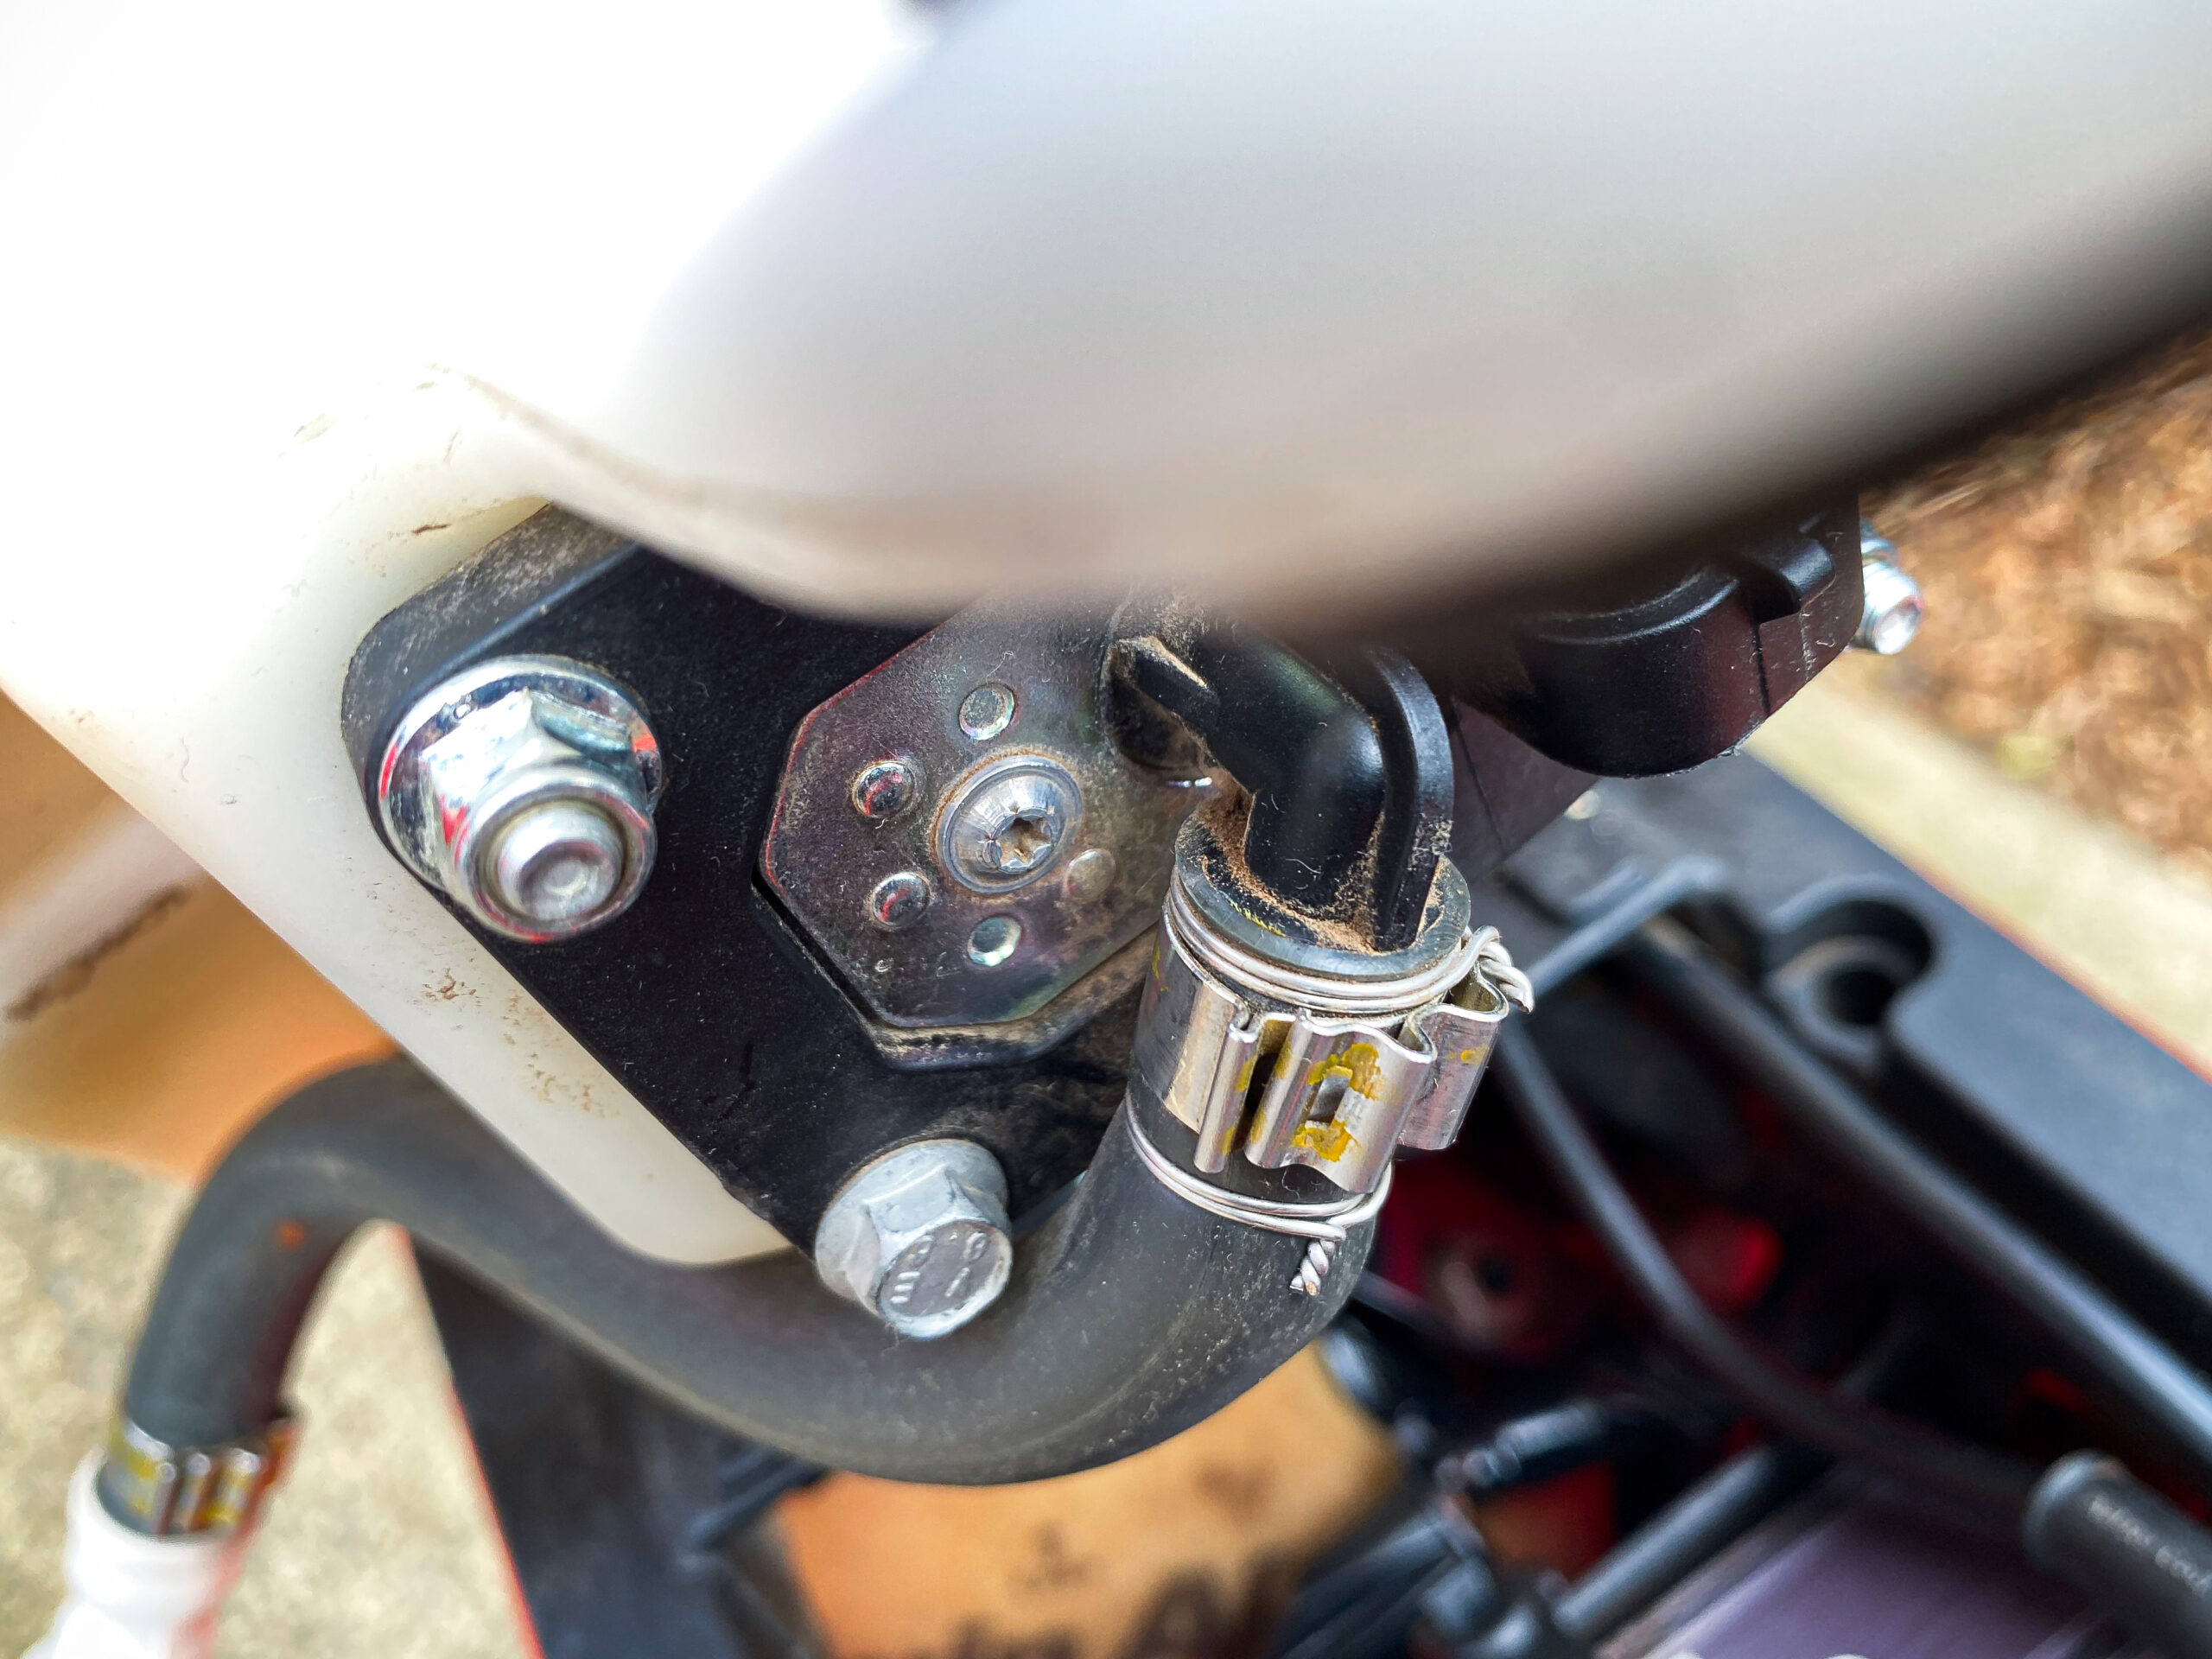
FUEL LINE CLAMPS: If you’ve removed the fuel tank a few times (and are a bit ham-fisted), the crush-clamp on the fuel line (near where it comes out of the rear of the fuel tank) can spring a leak. Rather than replace the clamp, we simply reinforced the fuel line with some safety-wire either side of it, and it worked a treat. The alternative is to buy a few back-up fuel line clamps – though they’re those single-use jobs, which require a fine pick to unlock and special pliers to properly fit.
REAR TYRE CLEARANCE: If you’re running a 120-width rear tyre, its clearance with the muffler will be very tight (especially if you tend to run lower pressures, which allows the tyre’s sidewalls to balloon under load). To ensure it doesn’t rub when the rear suspension is fully compressed, simply shim the muffler out a tad by inserting a slightly wider alloy spacer on the rear mount. It’s also possible to create added clearance by machining 2mm off the mid-mount spacer.
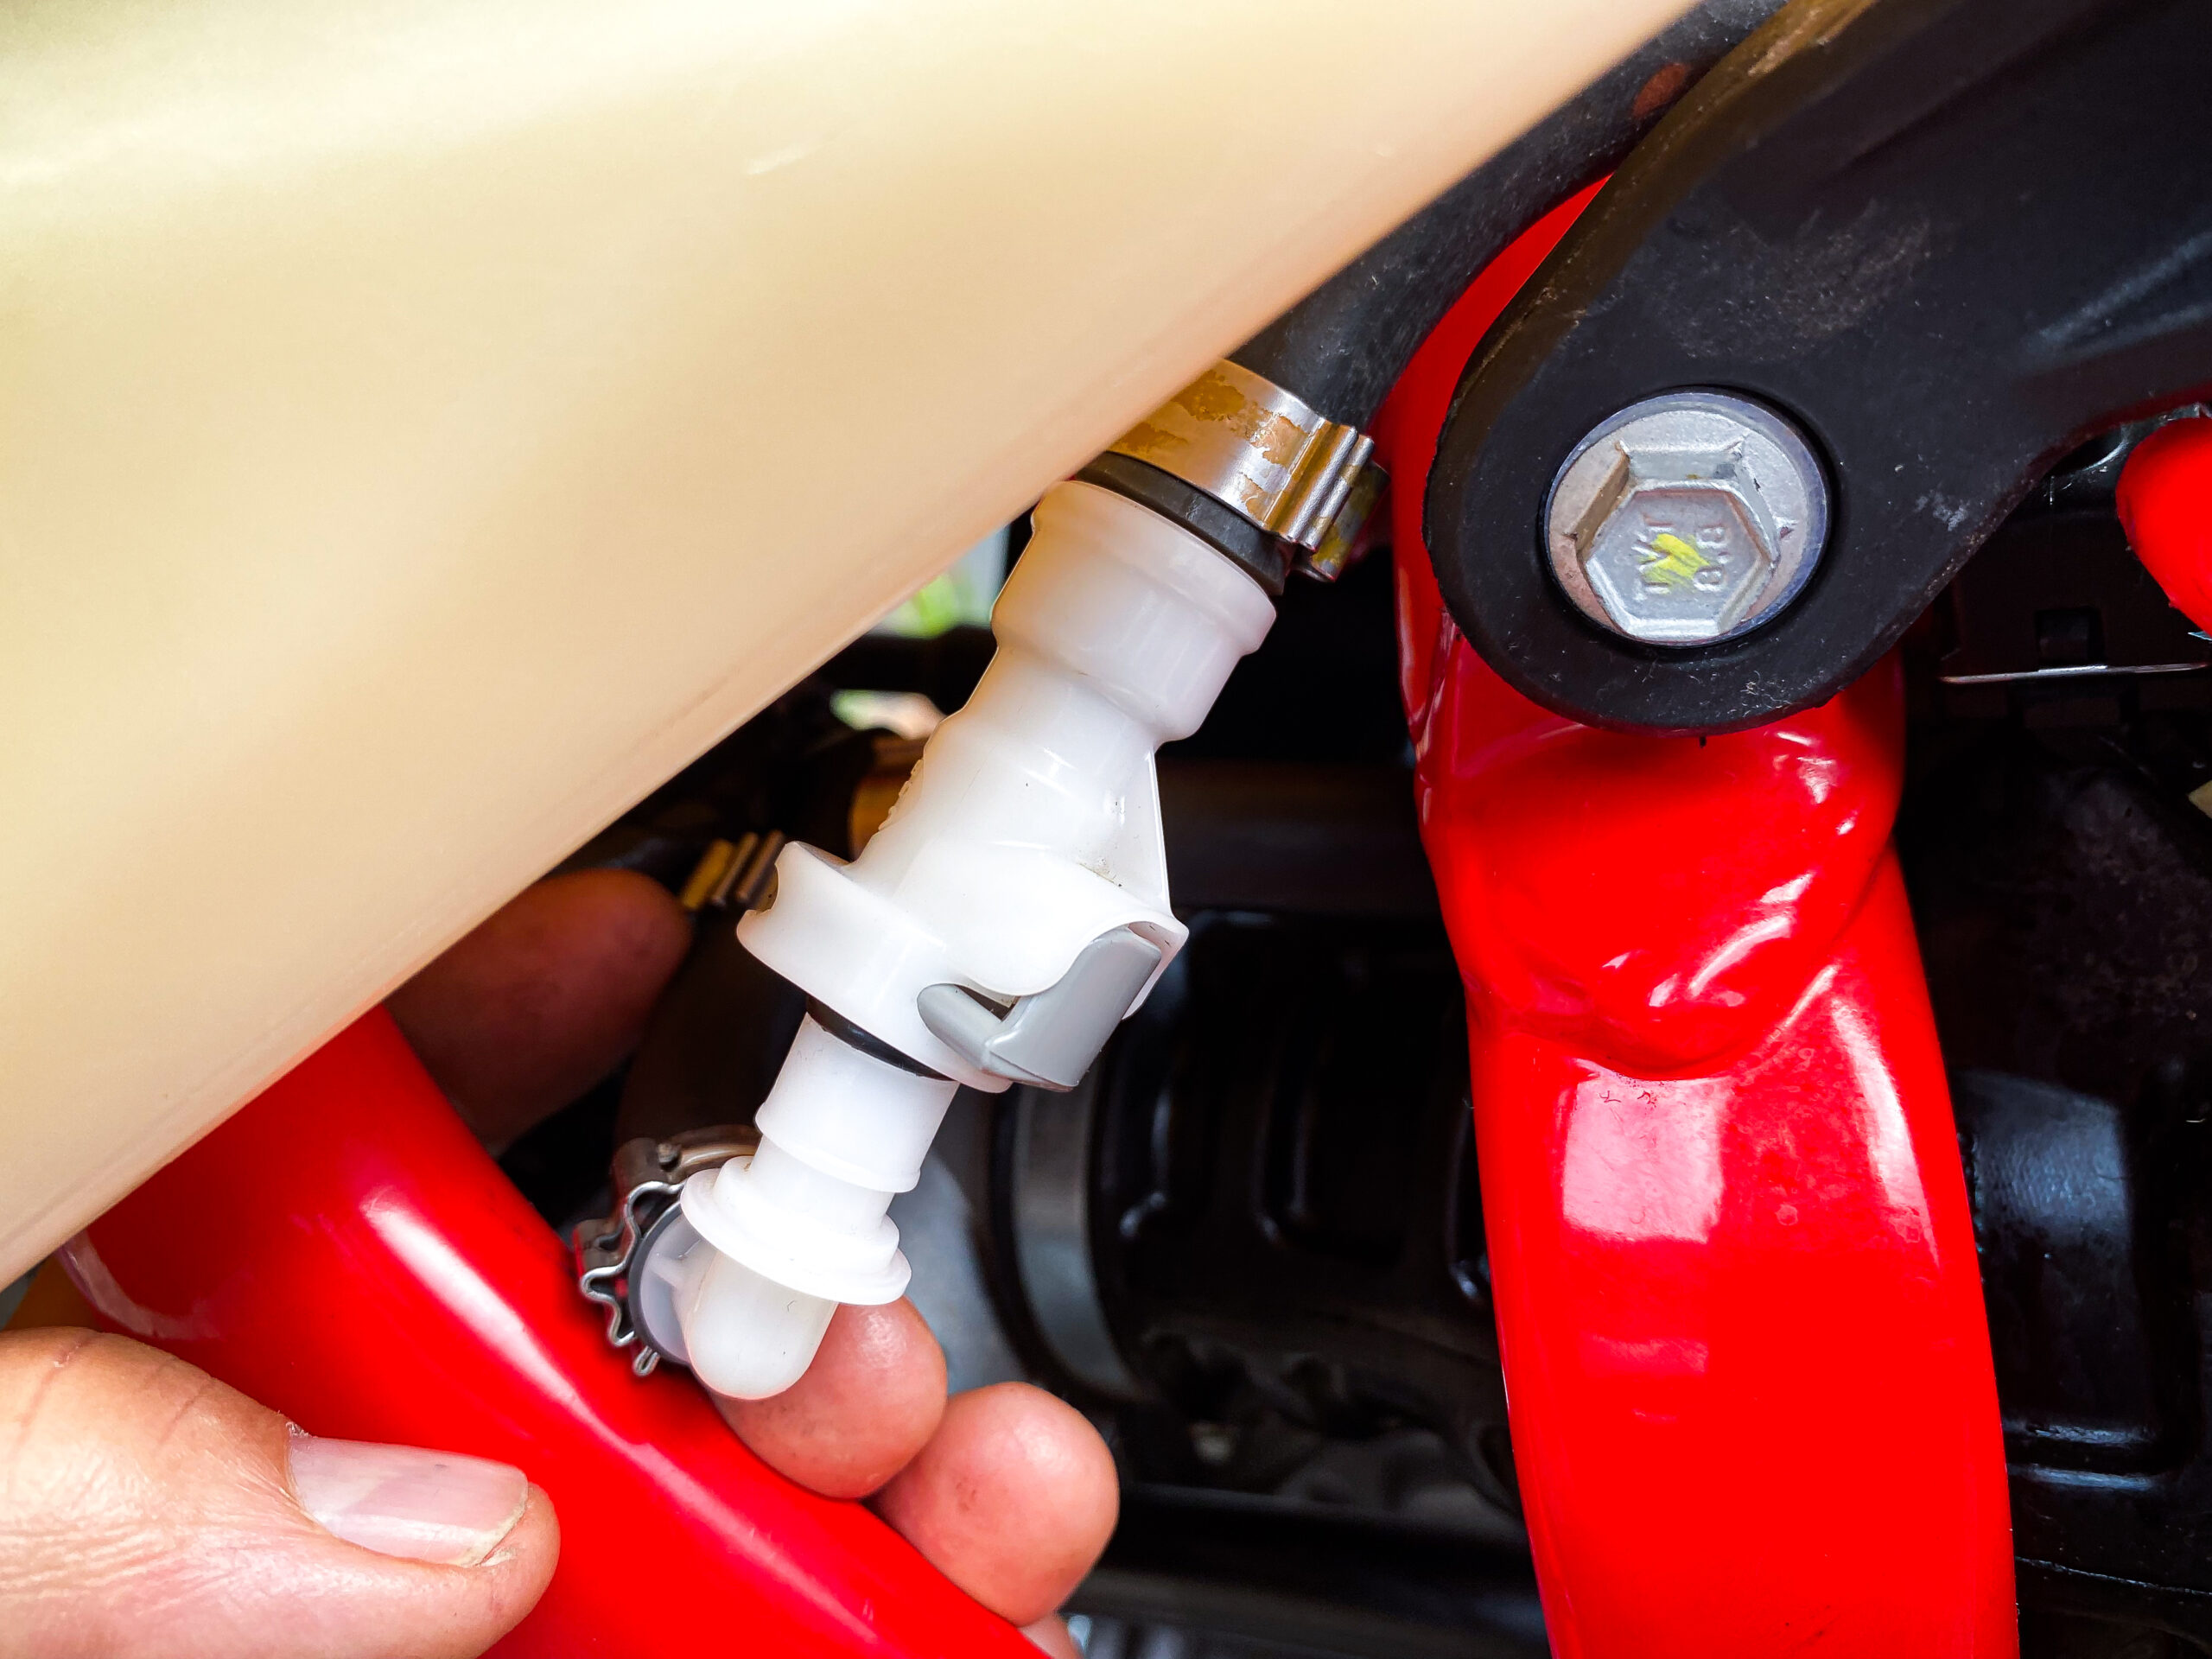
FUEL LINE COUPLING: The quick coupling on the fuel line can get a little sticky and awkward – both to separate and to reconnected. Make sure you hear it click back into place because, even if it appears to be properly connected, it may not be (in which case, the bike won’t run). A quick squirt of silicon spray to the coupling every now and then will help make it more obedient.
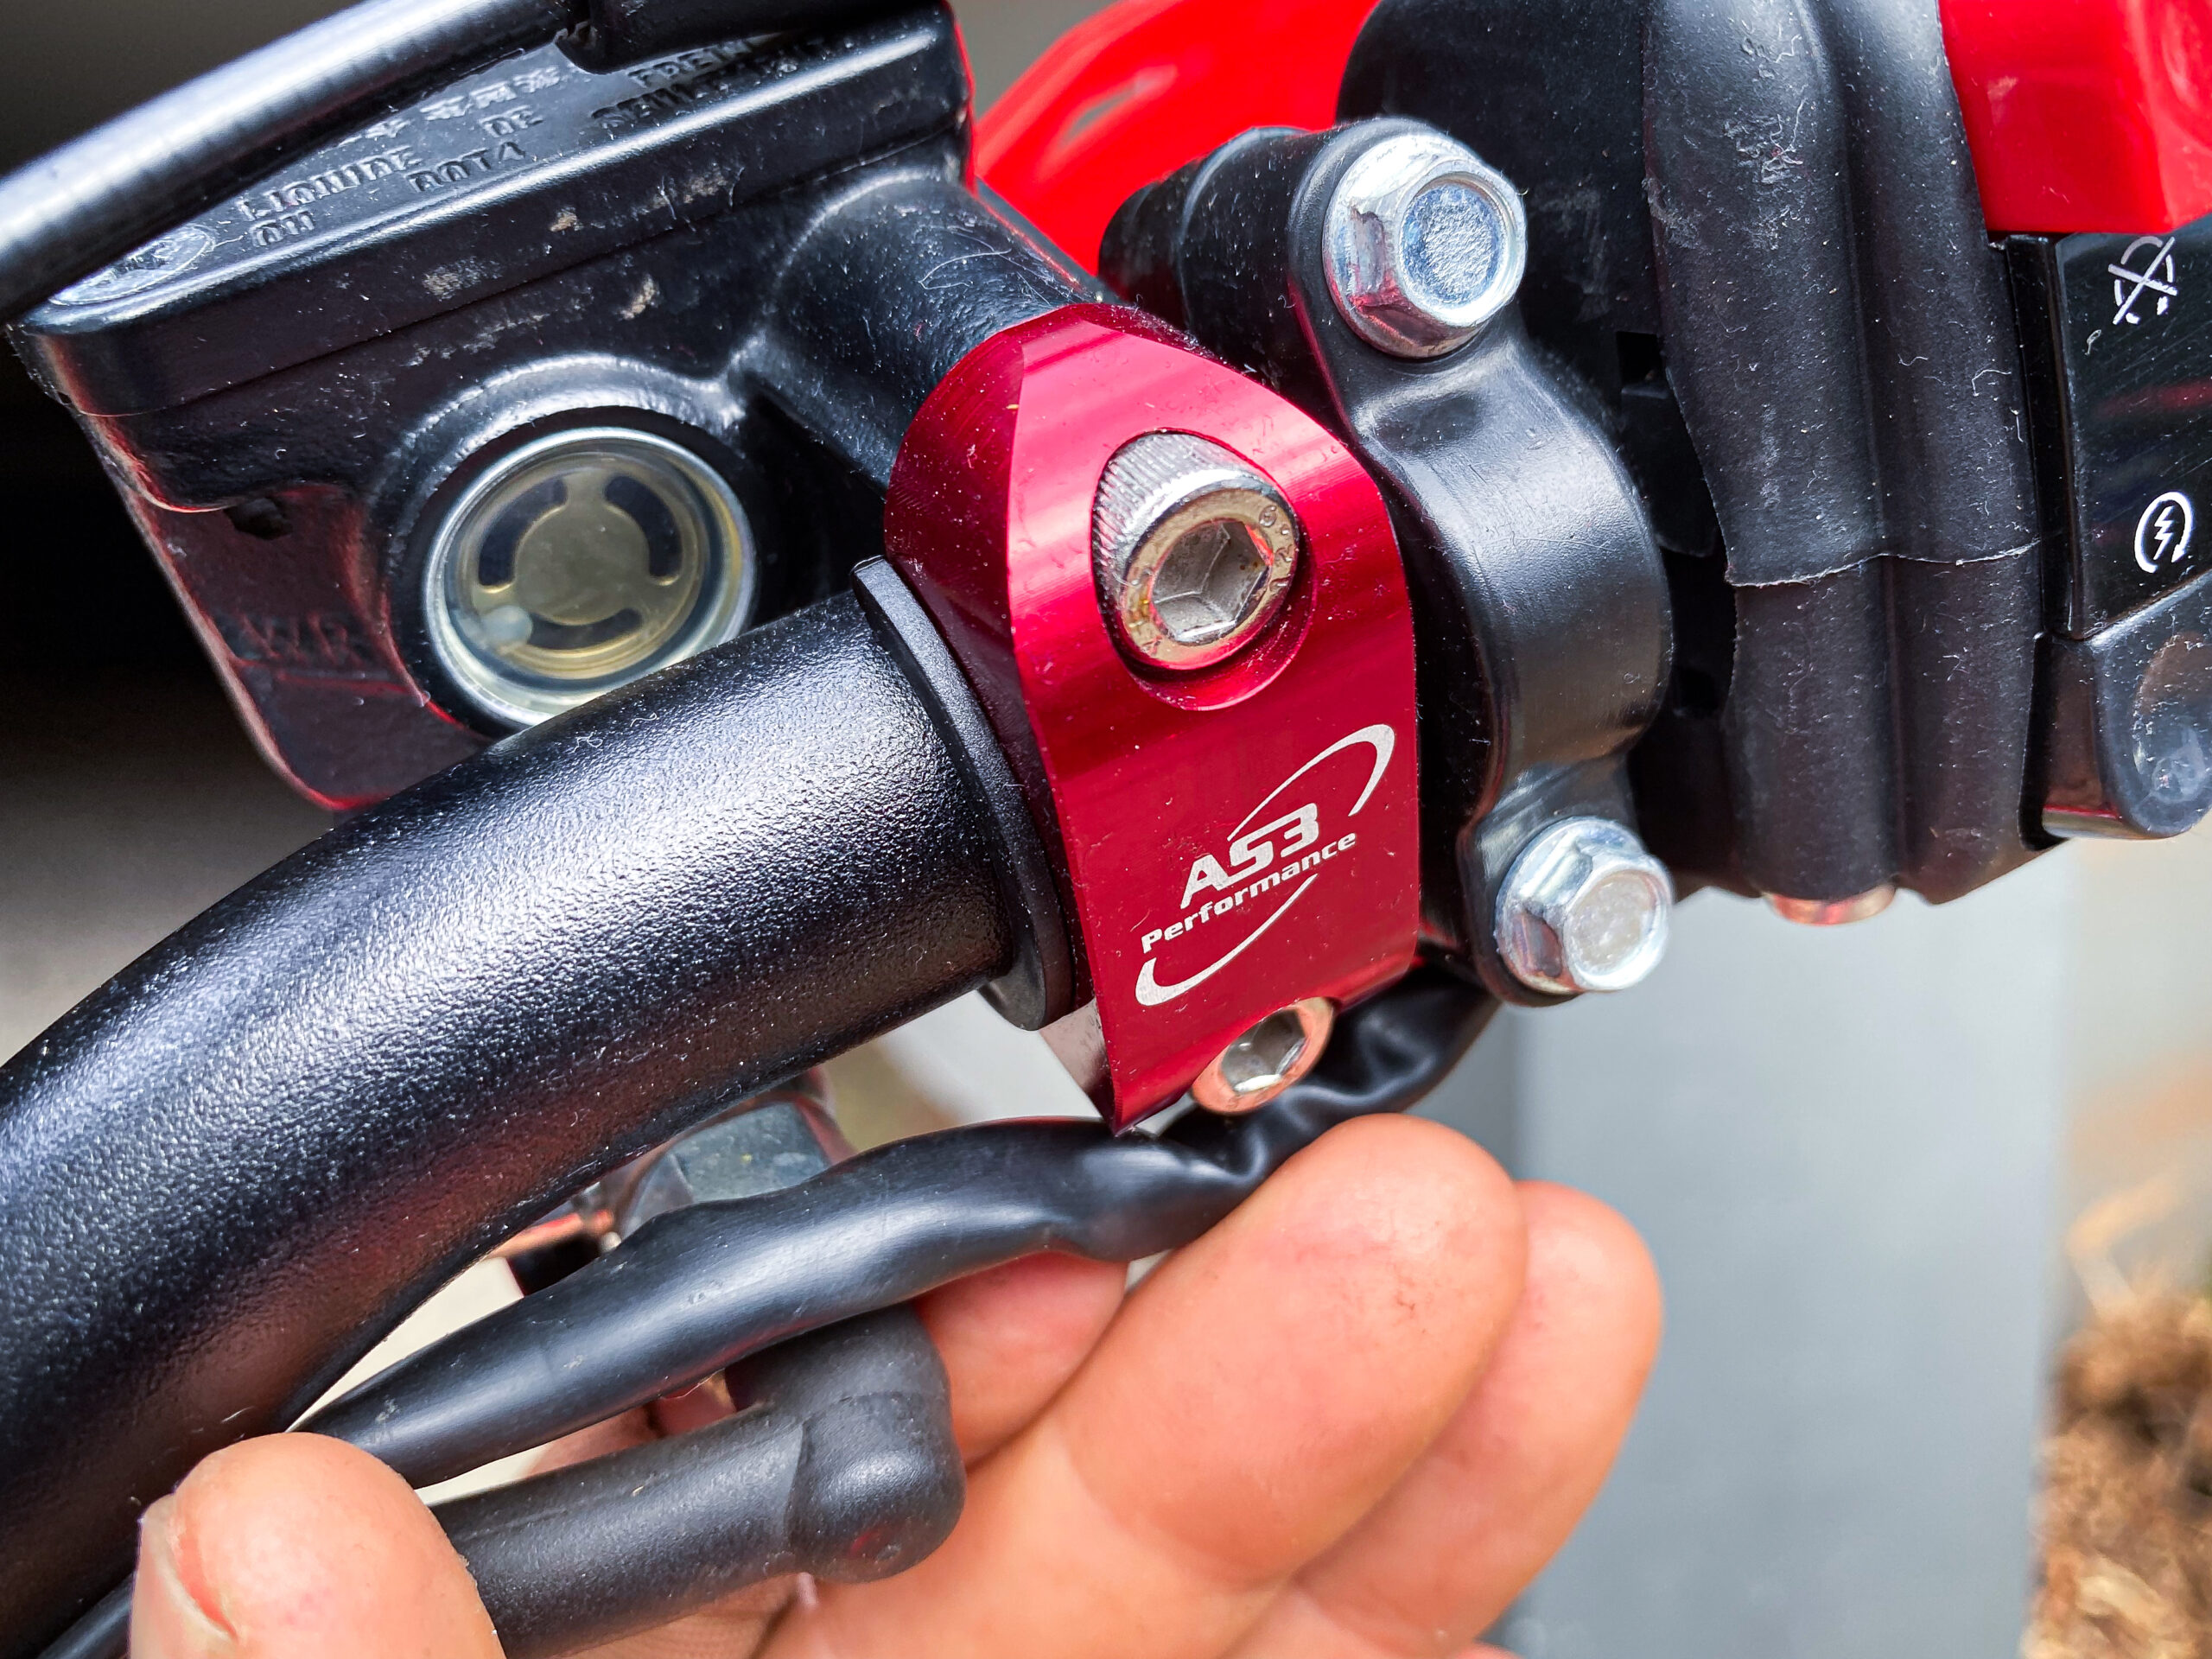
HANDLEBAR SET-UP: When you set up your front brake, throttle housing and handguard perches on the RHS of the bars, just check that the wires coming from the electric start are routed so they’re not easy pinched by the bolt-heads in the event of a crash.

SEAT-MOUNT GROMMET: The round-shaped rubber grommet under the seat tends to fall out pretty easily when you remove the seat. So just double-check it’s in place before re-fitting the seat. Better still, whack a dab of silicon on it to keep it in place.
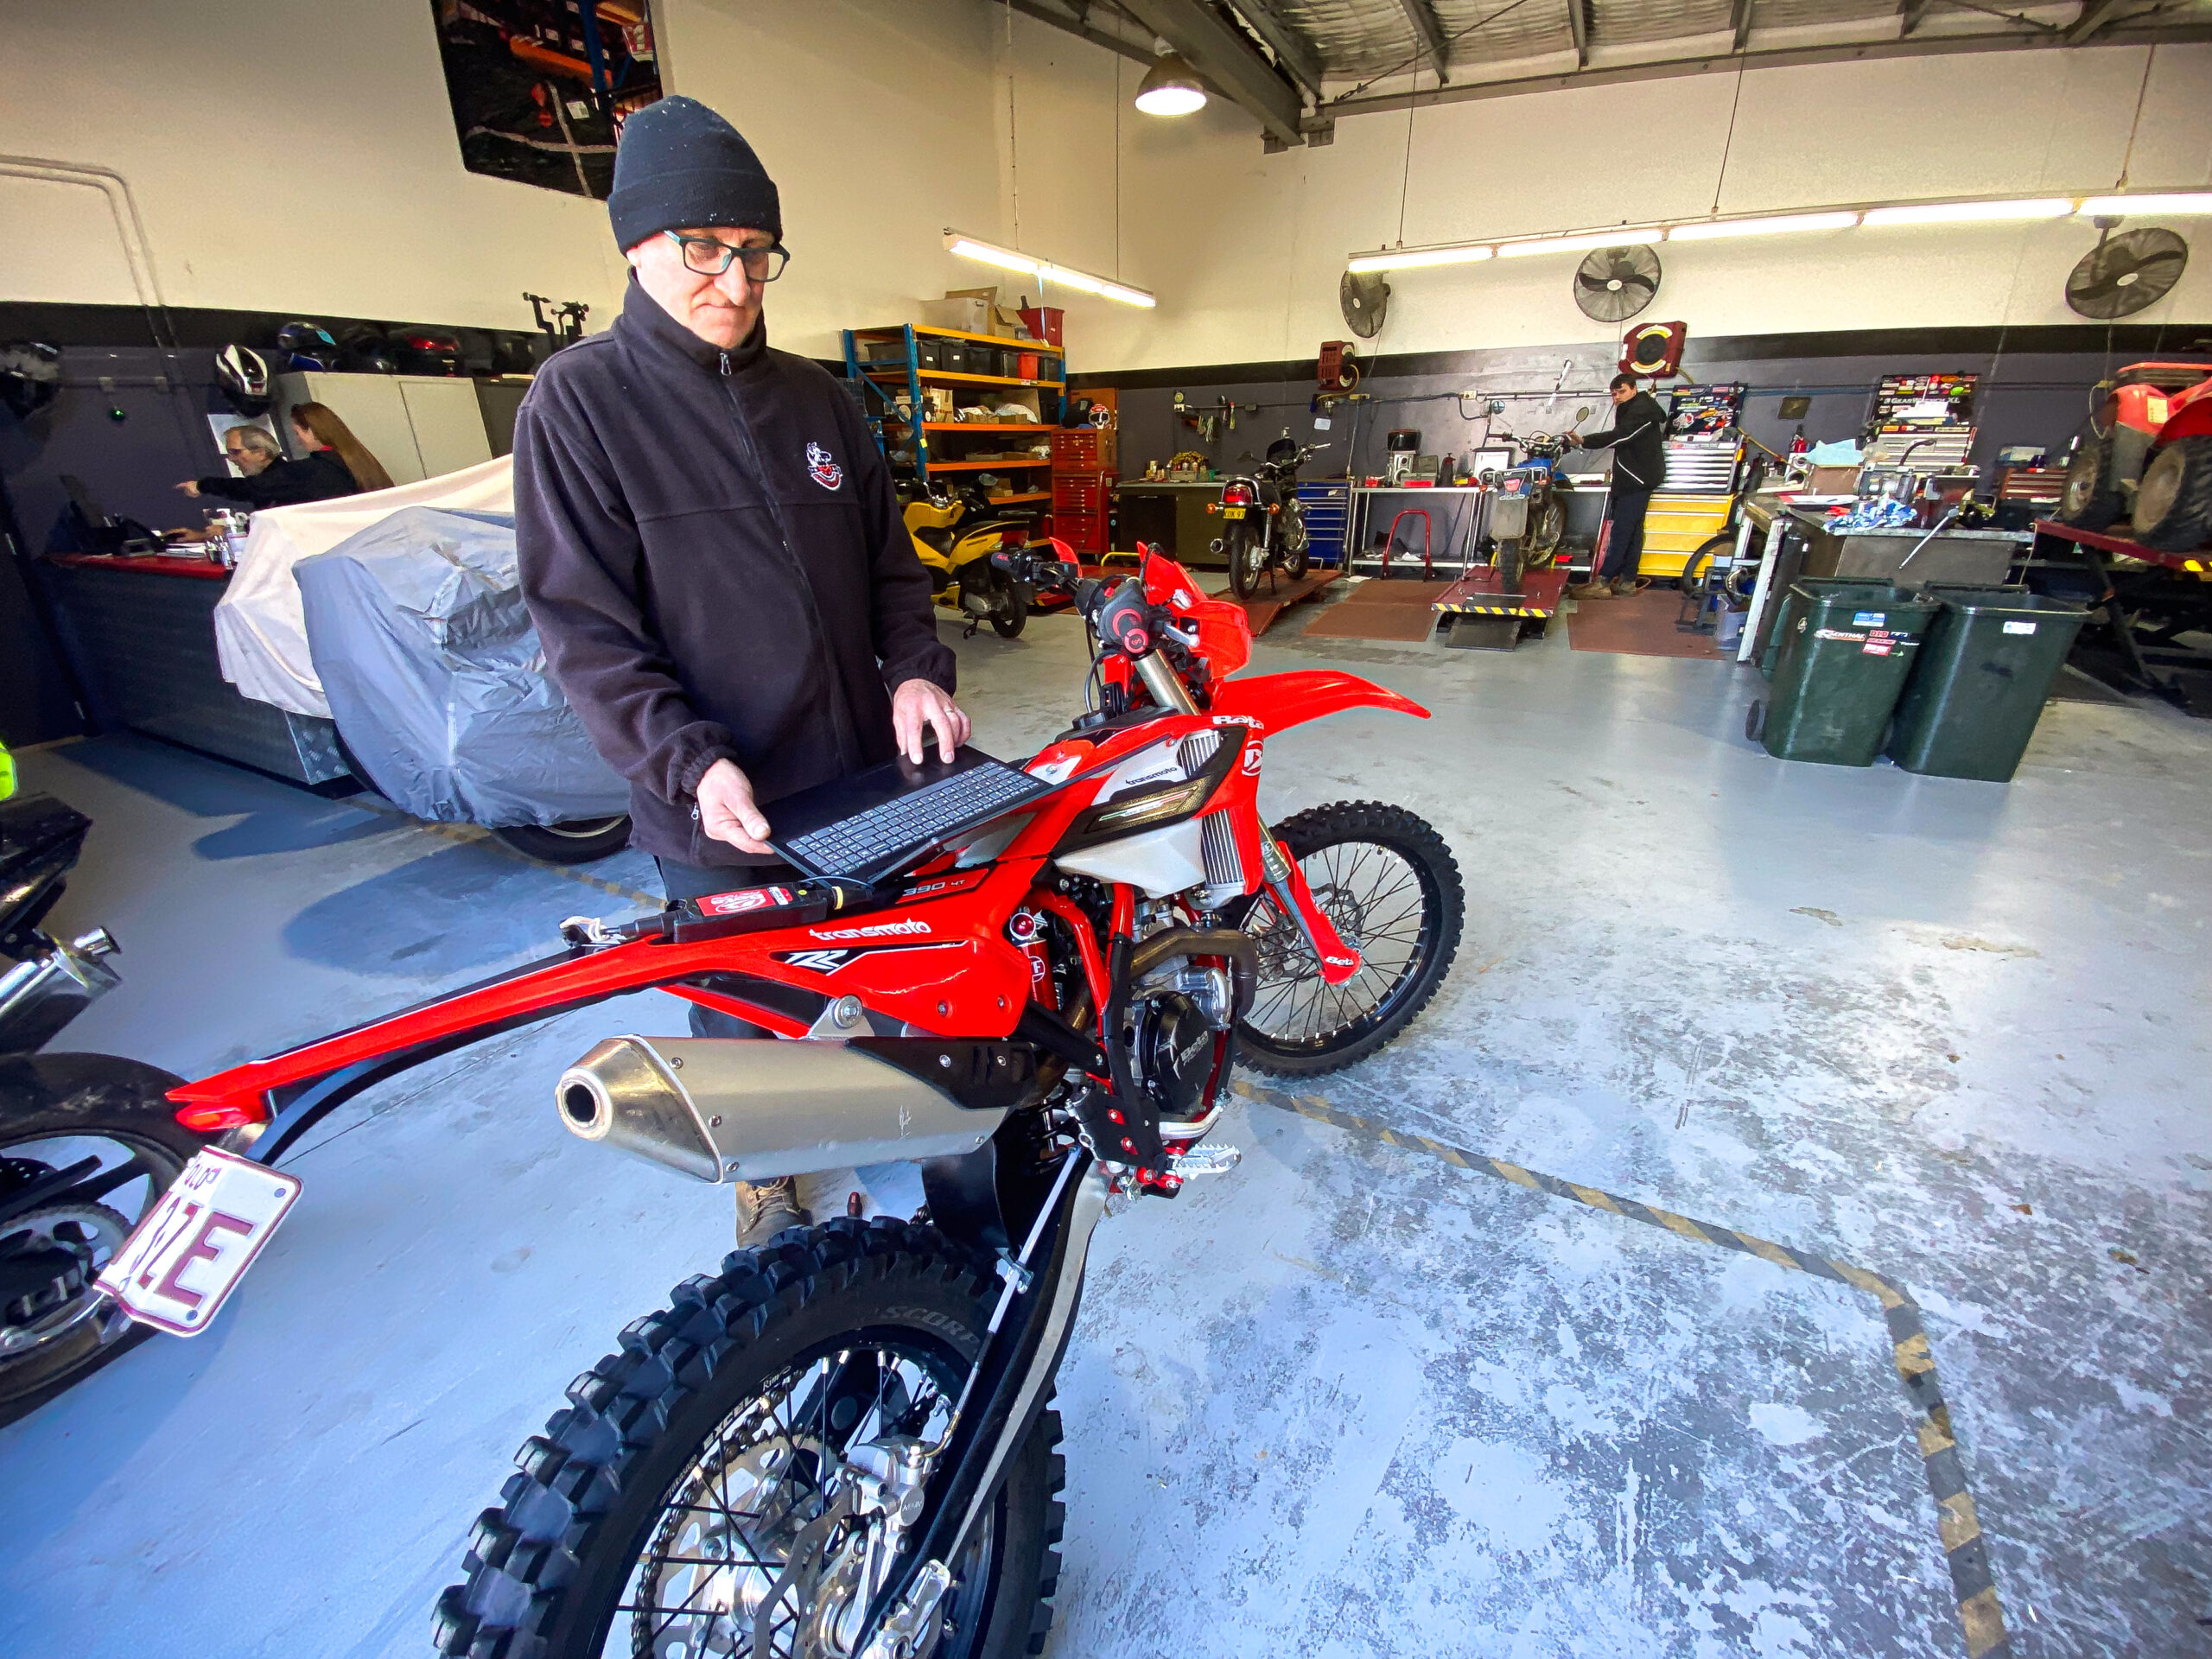
IDLE ADJUSTMENT: As per the in-your-face instruction on p37 of the bike’s owners manual (“DO NOT TOUCH THE IDLE ADJUSTER SCREW FOR ANY REASON”), don’t touch your idle adjuster screw because it’ll throw the mapping out of whack. If you do adjust the idle, it’s not the end of the world. As explained in this video, the fix is a quick and easy job for your Beta dealer, who’ll use diagnostic software and a special Beta interface tool to reset the bike’s mapping to the recommended “+200” map. This increases idle speed (from 1800 to 2000rpm) and resets the TPS and stepper motor in the throttle body. All of which makes you wonder why Beta doesn’t just remove the idle adjuster in the throttle body altogether!?
MAINTENANCE TIPS…
MINIMAL TOOLS REQUIRED: Fastener commonality is so good, you can virtually strip the bike with an 8, 10 and 13mm T-bar, and a couple of Torx bits.
DIGITAL DIY: The bike’s owners manual is comprehensive and easy to follow. Unfortunately, it only comes in digital form, which means you end up wiping your greasy mitts over your phone or laptop’s trackpad if referring to it while working on the bike.
OIL CHANGES: You’ve got to love the fact that Beta’s four-stroke engines now have separate engine and transmission oil. Sure, it takes a little longer to drain and re-fill both oil compartments, but by quarantining your engine from all the contaminants created by your clutch, you’re doing it a big, durability-friendly favour. Just remember that, unlike most other bikes, you need to check the engine oil level in the inspection window with the engine idling, not after switching it off.
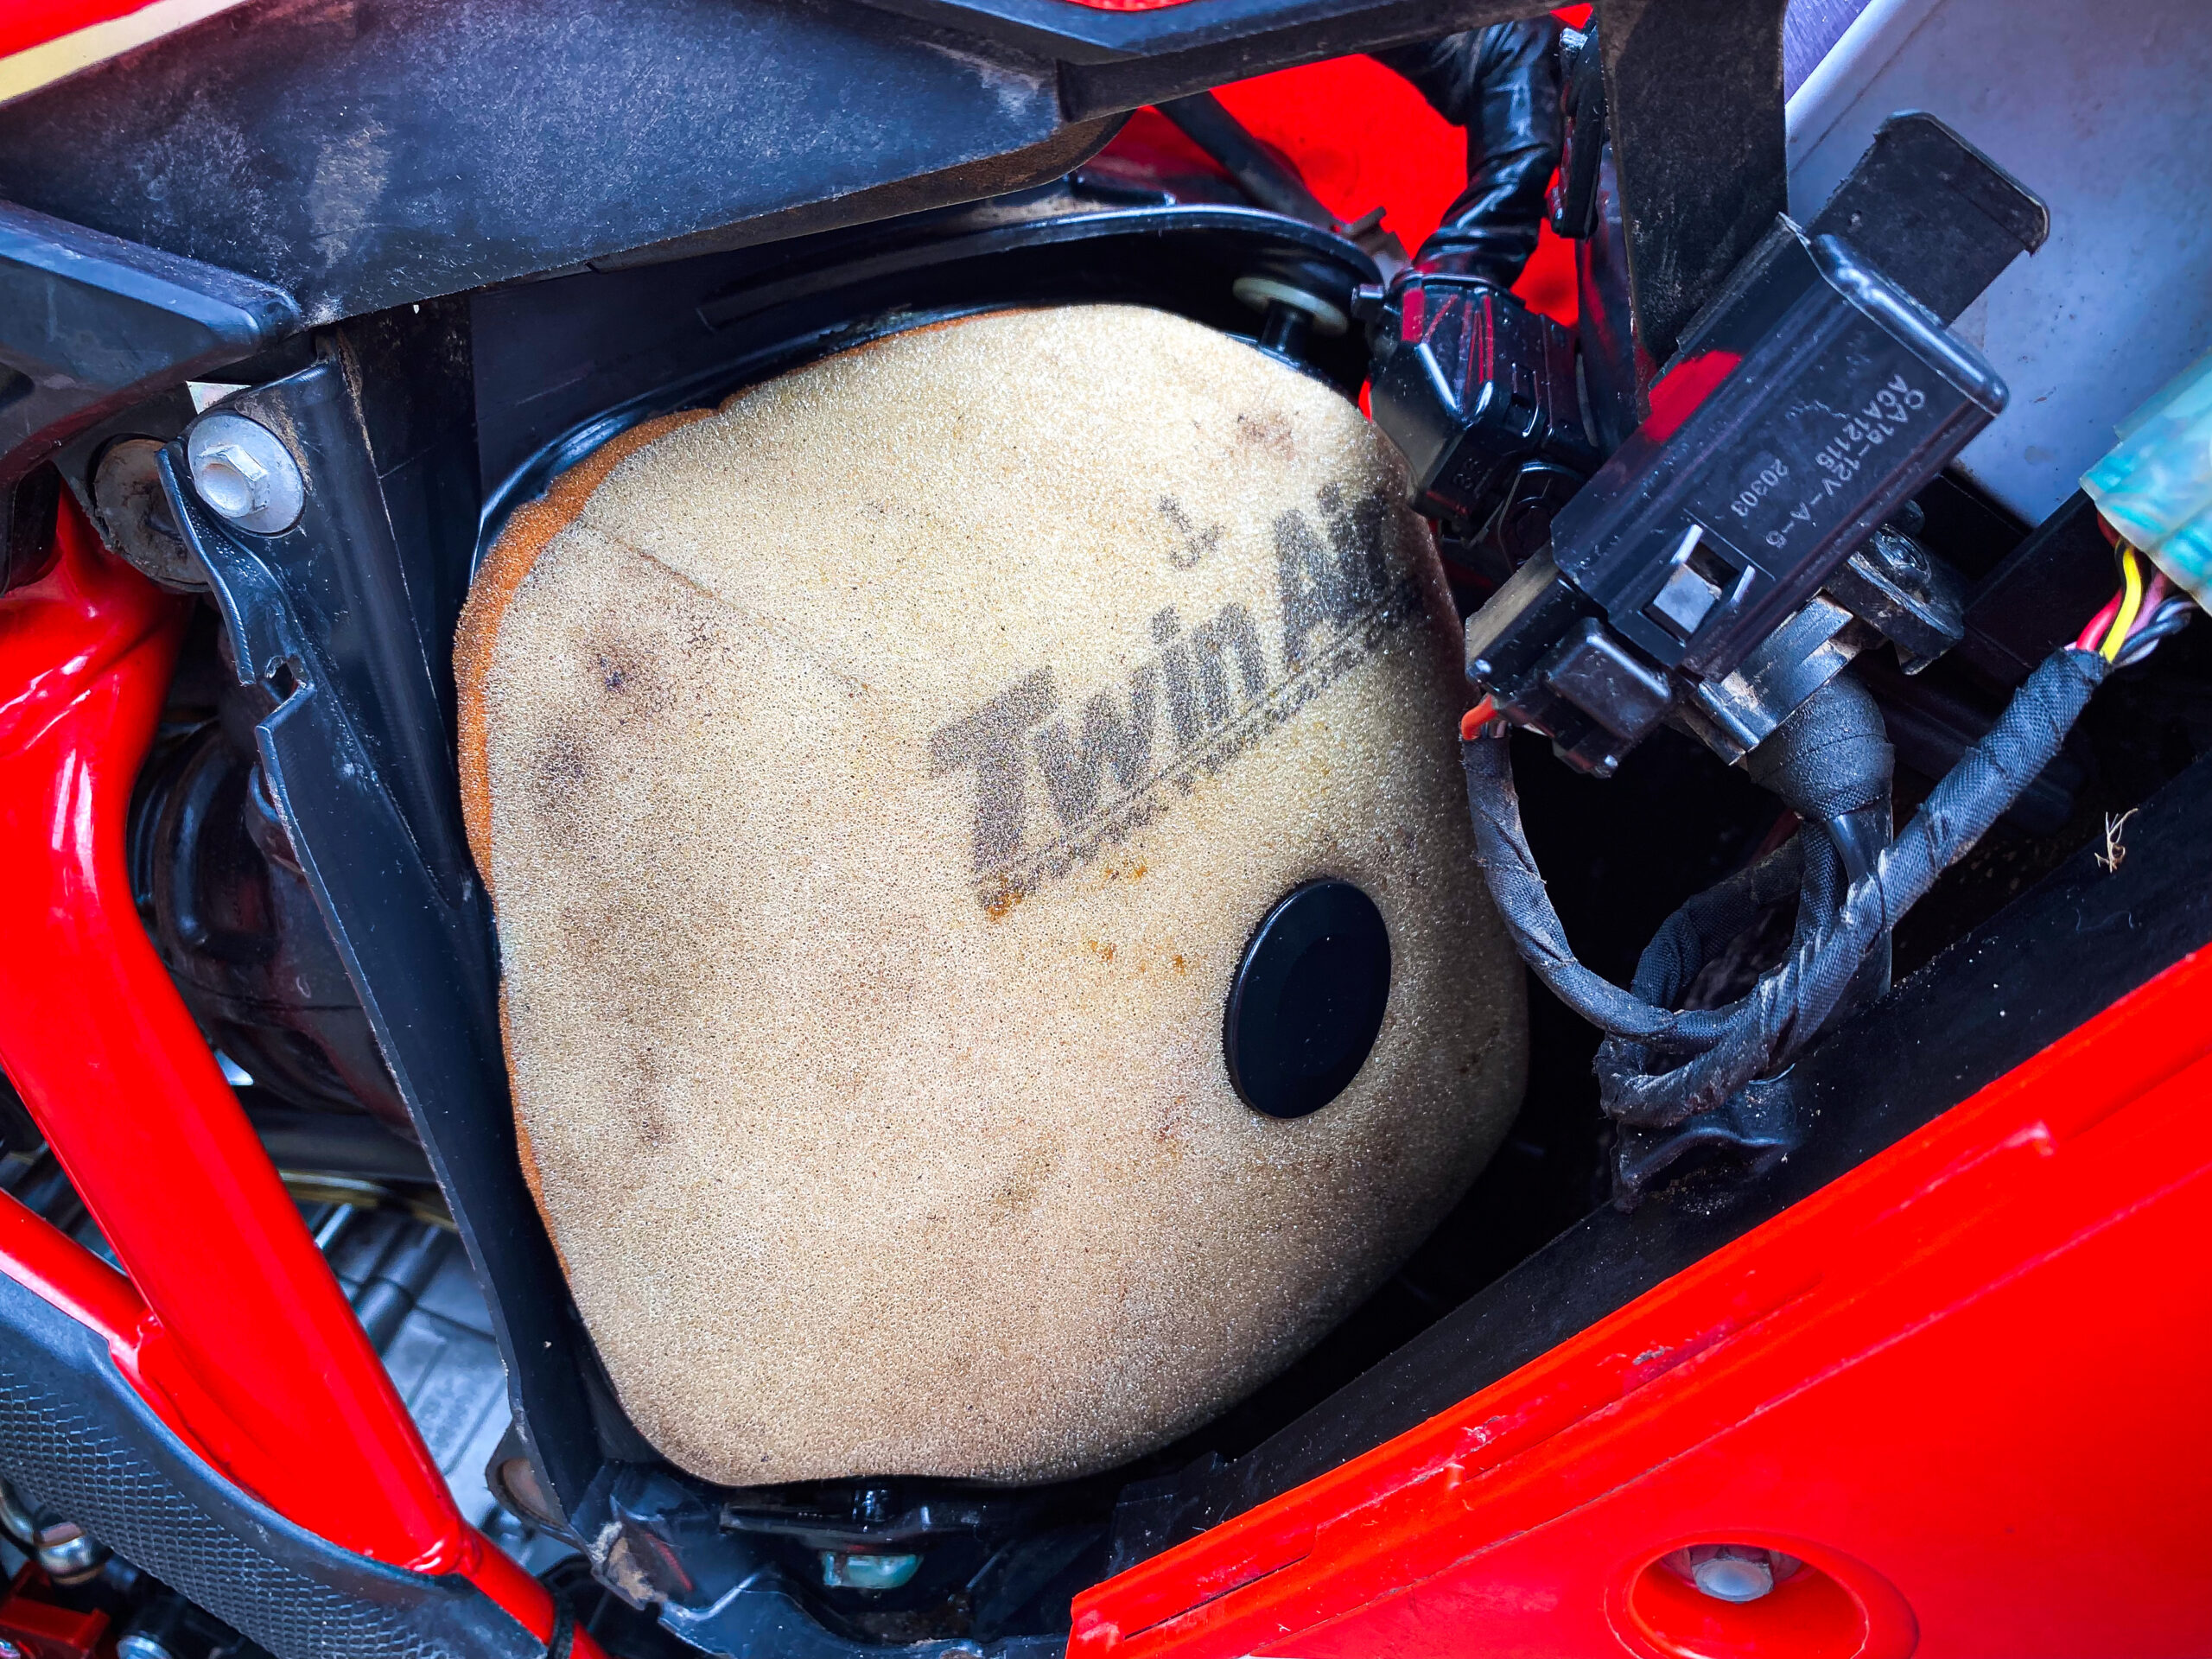
AIR FILTRATION: Air filter checks and changes are a cinch. Access to the airbox is a simple, tool free affair. Once in there, the design (which borrows heavily from KTM’s ingenious air filter cage-fastening design) makes filter replacement virtually idiot-proof.

FUEL TANK REMOVAL: Removing the fuel tank only requires three bolts, but before you can rest the thing on the bench next to the bike, there’s a couple of extra connectors to remove first. In addition to the fuel line and electrics running to the fuel pump, you also need to disconnect the wires for the fuel reserve sensor and the dual-map/TC selector switch (which mounts to the front of the tank, not up on the bars). When reinstalling the tank, make sure you tuck this selector switch wiring up behind the wiring loom (against the frame) to prevent it chaffing.

HOUR METER FUNCTIONALITY: In addition to the (non-adjustable) hour meter built into the bike’s digi speedo, there’s also an Hour Meter A and Hour Meter B function, both of which can be manually zeroed. And this makes it way easier to keep track of things when it comes to scheduled maintenance.
IMPRESSIVE QC: The quality of finish across the entire machine is excellent, with thought evidently put into every component’s design. Rubber grommets are judiciously used to reduce vibration or chaffing. Alloy collars ensure fastening bolts don’t pull through plastics. Plus, fuel lines and electrical cables and breather hoses are all cleverly routed to minimise wear over time.
You might also like...
Beta
3 weeks ago
’26 RR250 X-PRO – BETA’S BEST TWO-STROKE?
A compelling case for trading-in your 300cc two-stroke for its new-gen, super-agile 250cc sibling!
Beta
3 weeks ago
FIRST LOOK: BETA’S 2027 MX MODELS
Beta’s first 250cc 4T MX bike spearheads refined versions of the RX450 4T, RX250 2T and the RX350 2T.
Beta
1 month ago
FIRST LOOK: 2027 BETA RR X-PRO MODELS
Beta’s never been shy at throwing upgrades at new year-models. And their 2027 RR X-Pro machines are no exception.
Beta
2 months ago
MATTHEW PHILLIPS JOINS BETA AUSTRALIA
Four-time EnduroGP World Champion Matthew Phillips returns to riding on home soil as a Beta Australia brand ambassador.
Beta
3 months ago
RUBEN CHADWICK CLAIMS AHEC OPENER
The Beta Motorcycles Australia rider delivered a standout performance on the Beta RR300 Race 2T.
Beta
3 months ago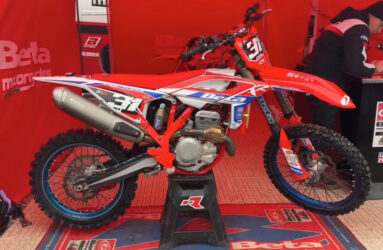
BETA’S PROTOTYPE RX250 4T MXER
Beta completes its line-up of MX models with the unveiling of a prototype 250cc four-stroke.
Beta
4 months ago
BETA MY26 SINCRO FACTORY RANGE
Beta evolves their Sincro Factory range with lighter, sharper, and race-focused performance upgrades.
Beta
4 months ago
BETA AUSTRALIA RACE SUPPORT PROGRAM
Beta Motorcycles Australia continues their commitment to supporting riders at every competitive level.
Be the first to comment...