So You Wanna Jump your e-MTB?
There is a huge segment of dirt bikers who love to throw the leg over an MTB from time to time. In fact, all three of us here at Transmoto regularly hit the trails around the Northern Beaches on both peddle and powered whips. We figured our audience might be of the same mindset so we hit up Australia’s foremost authority when it comes to MTB/e-MTB, [R]evolution + [E]volution Magazine, to showcase the new world of power-assisted riding and understand how these things really work. In this installment, the lad’s dive into jumping e-MTBs.
Here’s how to jump with confidence
When e-MTB’s first started popping up around the scene the idea of trying to send one of those beasts off a jump was daunting to say the least. Those early generation e-Bikes often featured really tall and steep head angles, their batteries weren’t really as secure as they could have been in the frame, wheels were soft and the most daunting was understanding how that extra weight would react off a steep take off. It took some time until I understood where the weight was in the bike.
Fast forward only 12 months, and the bikes have transformed for jumping. The battery weight is so much further down the down tube keeping the weight low and centred, and motor weights continue to drop. e-MTB’s are now coming spec’d with suspension and wheel sets that can take those bigger bits, cases, and flat landings. e-MTBs have well and truly secured their own discipline in the mountain bike world. Riders are now seeing the benefits of longer swing arms for stability, climbing, and the extra weight is giving riders confidence at speed.
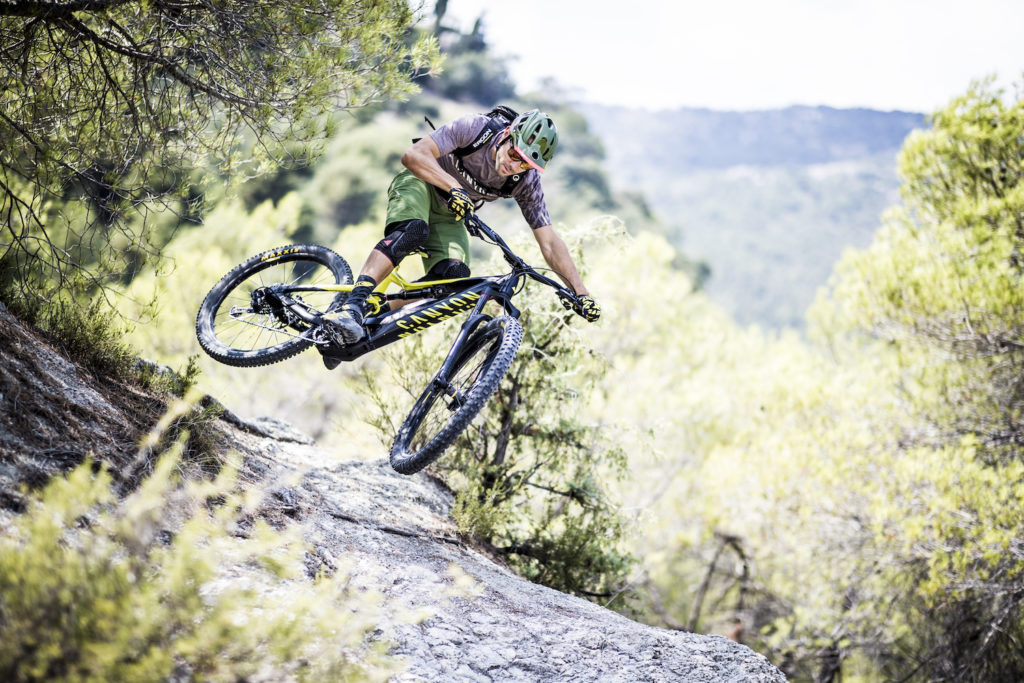
When it comes to jumping, suspension must not be overlooked. Try not to overthink it, just start with your rebound. It’s a common setup we see when bikes come in store to have super-fast rebound in the rear. At higher speeds and off steeper take offs, you can get really hurt if you’re not prepared for that fast rebound on the back end. Understand the consequences of your rebound adjustments and speeds (especially your rear shock) before sending it.
This isn’t a how to jump article, as everyone has their own style. That’s why I love mountain biking! It’s creative, you are supposed to have your own style, not your buddies. Of course, some inspiration from riders you like watching is always helpful, but it’s still your own style. I sure was and still am inspired watching all the WC riders styles growing up. Being inspired and forcing a style are 2 separate things. Try to make your own style work for you. There’s loads of tips that can improve your skills, but don’t get too hung up on it. If you ride tight, you will get tired fast and be stiff on the take-off of jumps. If you find yourself riding stiff, just take a deep breath.
Here are some key pointers to consider when jumping your e-Bike.
Scope the jump
A quick sight of the take-off and landing is always a good idea on new trails and blind jumps. If you’re not a confident jumper, don’t spend too long dwelling over the consequences of what could happen. While inspecting the jump, look for rocks, roots or raised sections of the take offs that could kick your back wheel if you’re not prepared. Sight your landing, and check if there is room for error. I.E. Does it have a case pad or is it a precision landing. Either way you should aim for precision especially on an e-Bike, as flat landers can be a lot harsher with all that extra weight, but it is mountain biking, things can change pretty quick and it always good to know what your options are in the back of your head if you haven’t quite come in fast enough.
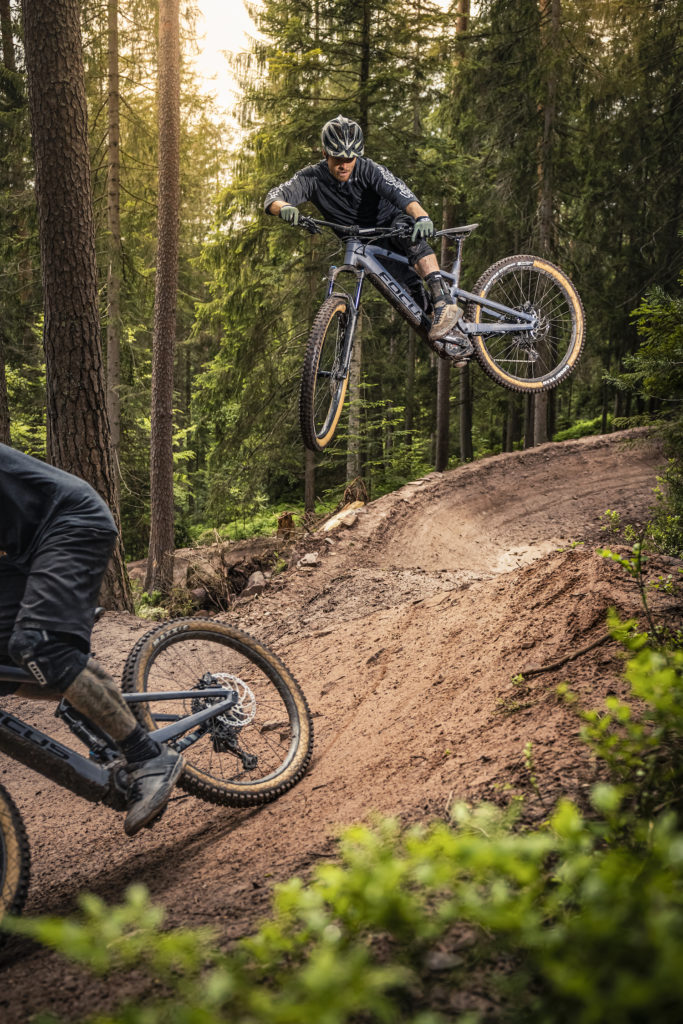
When scoping big new jumps, I always like to check out the jump by standing on the lip, but then also from a few different entry points when I push/ride back up, maybe 3-4 metres back, then another glance over the shoulder at 10-15 metres back to visualise the take off. For bigger jumps this gives me a better gauge of what kind of take off to expect if you’re coming in hot. We’re not talking Loosefest size jumps here, but whether you’re on local trails or racing World Cups, you can test this method for yourself. P.S. If you haven’t already, go and watch Dave McMillan and Remy Morton at Loosefest!
Visualise
Visualisation for mountain biking is so important. If you can’t see yourself making it over that jump or drop, then it might be best to save it for another day. You are capable of hitting the jump, but you might just need to spend some more time on the bike. Peer pressure can be great for improving skills, but there’s no harm in saying, “I might hit it another day.” Next time you are chilling on the side of the track before coming into a jump or section you’re not sure about, try closing your eyes and visualising yourself coming into the take-off, selecting the correct gear, breathing, spotting the take off, and then nailing the pop, styling in the air of course! and landing smoothly. If you can visualise it, you can jump it.
Preparation – The section before.
On entry into the jump, you’re normally concentrating on nailing that corner or getting enough speed through that techy section for the run in of the jump. Having an E-bike can help you make up time if you do make a mistake, but sometimes just lifting your eyes on that techy section or corner before the jump can, A. Help you rail the section and B. Give you enough time to prepare, settle, breathe, and get your line sorted coming into the jump. Preparation is important. If you’re flustered as you approach the jump, then there’s a good chance you will be flustered and stiff on the take off. Riding stiff can be dangerous, especially on jumps. We’ve all been there… Practice nailing the section before the jump, so that you have a straight line coming into the take off. Make sure to select the right power mode well and truly before the jump. It’s one less thing to think about.
The final stages before take-off
I like to give myself enough time before a new take off to be able to breathe and settle. Even just one breath out can be enough to relax the nerves and loosen up the legs. In gnarly steep tech sections I used to find myself holding my breath, it’s a bad habit, and costs time on the race track. The same goes for jumps. If you hold your breath, you go stiff. You don’t want that. It’s best to keep your legs loose but in control as if you’re riding a pump track. On pump tracks, you are completely in control of where your wheels are tracking. Pump tracks are a great place to understand how important your legs are in the jumping process and they can help you refine your riding and find smooth back sides. It’s nice to be able to come into a jump not pedalling but, calm, relaxed, and in control. You should have already selected the correct gear and now you’re cruising into the take off.
Plus tyres and e-Bikes.
Having that extra weight can be a good thing, but make sure you understand where your bike is weighted. Plus size tyres can also play a big part in jumping, especially on take off’s and hip jumps. That lower pressure your running and extra volume in the tyres can act as a rebound and send you to places you don’t expect. If you’re going out for a day of jumping, try adding some more tyre pressure. It’s one less thing you have to think about coming into the jump.
You can keep up to date with everything there is to know about e-Mountain Bikes at revolutionmtb.com.au and their epic magazine, which features loads of interesting stories and interviews.


Be the first to comment...