How-To: Tear Up Hills
![]()
This content was originally published in issue #4 of Transmoto Dirt Bike Magazine in June, 2011.
![]()
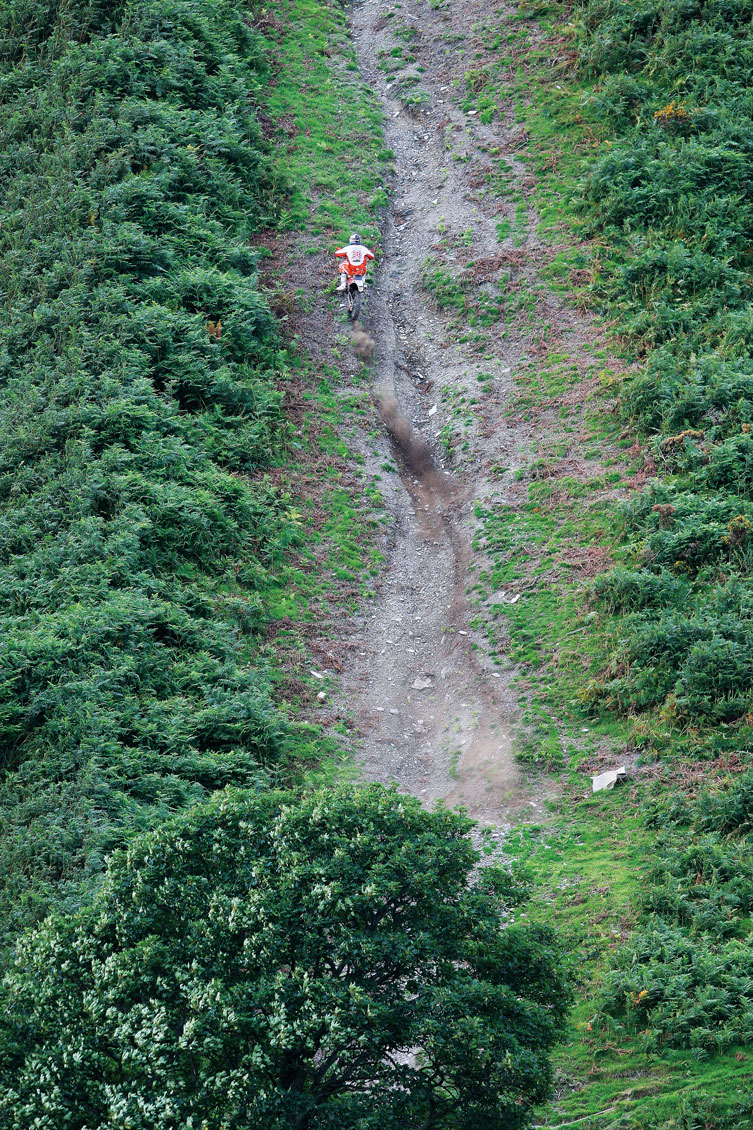
According to David Knight, hills are “like straights, but on an angle.” Essentially, there’s nothing to get too worried about. But while it’s easy for someone of his calibre to joke about riding hills, for many they can be more than a little daunting – especially for those new to the off-road game or when the clock starts ticking. With a bulging trophy cabinet, Knighter’s been either the first or the fastest to the top of more than his fair share of hills over the years – some so steep riding up them would seem all but impossible. With a childhood spent riding trials and his recent years focused on motocross, DK boasts an enviable skill set that allows him to mix throttle control with balance and aggression. Over the next few pages, the big man explains all about how to best approach, attack and deal with hills. According to Knight, your eyes will be your most important tools…
![]()
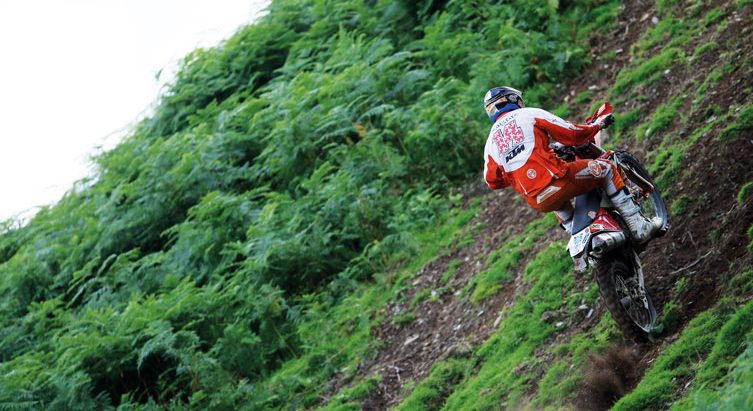
Fundamentals
![]()
Building Confidence
Getting stuck riding up a hill doesn’t normally worry inexperienced or younger riders as much as losing control when descending. This means that practising riding down hills helps build confidence, which is essential. The more hills you’ve successfully ridden down while practising, the less daunting a steep, gnarly goat-track will seem later. Starting with a hill that has a safe run-off area at its base, select a low gear at the top, and ride down without touching your brakes. Also, try riding as slowly as you can – even try stopping momentarily. Because gravity will always pull you down a hill it’s always best to start off steadily, in a low gear and looking ahead. If you’re happy that everything is going to plan – you can see both the bottom of the hill and that there’re no obstacles in your way – then try to accelerate as much as you feel comfortable. Keep looking ahead, cover your clutch and both brakes, keep your elbows up to help absorb bumps, remain standing with your knees bent and keep your weight over the rear of the seat.
Fast & Furious or Gently, Gently?
Never adopt the ‘hit-it-and-hope’ approach when it comes to hills. And certainly, don’t leap off the top of a hill before you’ve had a look at what’s below. Take the time to decide if carrying speed onto or down a climb is the best approach, or if a steadier, more controlled approach is best. Too much speed into a technical climb or descent will soon see you in trouble. But equally, not enough speed at the start of a long but simple hill might see you run out of drive before the top. As a rule of thumb, if a climb is straight, wide, and uncomplicated, it’s generally best to carry good speed onto the climb and continue to keep accelerating hard the whole way up. On the other hand, line selection is the most important thing when it comes to technical climbs. Keep your wheels turning and a reasonable amount of weight over the rear wheel. Look for a flatter area if you need to stop, as it’ll make setting off again much easier.
Eyes Wide Open
See it. Read it. Deal with it. When riding both up and down hills, it’s essential to keep looking ahead. Reading the terrain ahead allows you to make important decisions about changing your line before it’s too late, which can make all the difference between getting stuck along the way or making it to the top. Although it’s sometimes difficult, try to take a good look at a hill before attempting to ride up it, as anything or anyone could be conveniently placed part-way up. Stopping and looking is fine, but don’t do it too close to the base of a hill if you’re going to need to carry speed onto the slope. Don’t worry too much about every little bump and rut, but work out roughly where you want to go – to the left or straight up the middle, for example – and where the obstacles are.
![]()
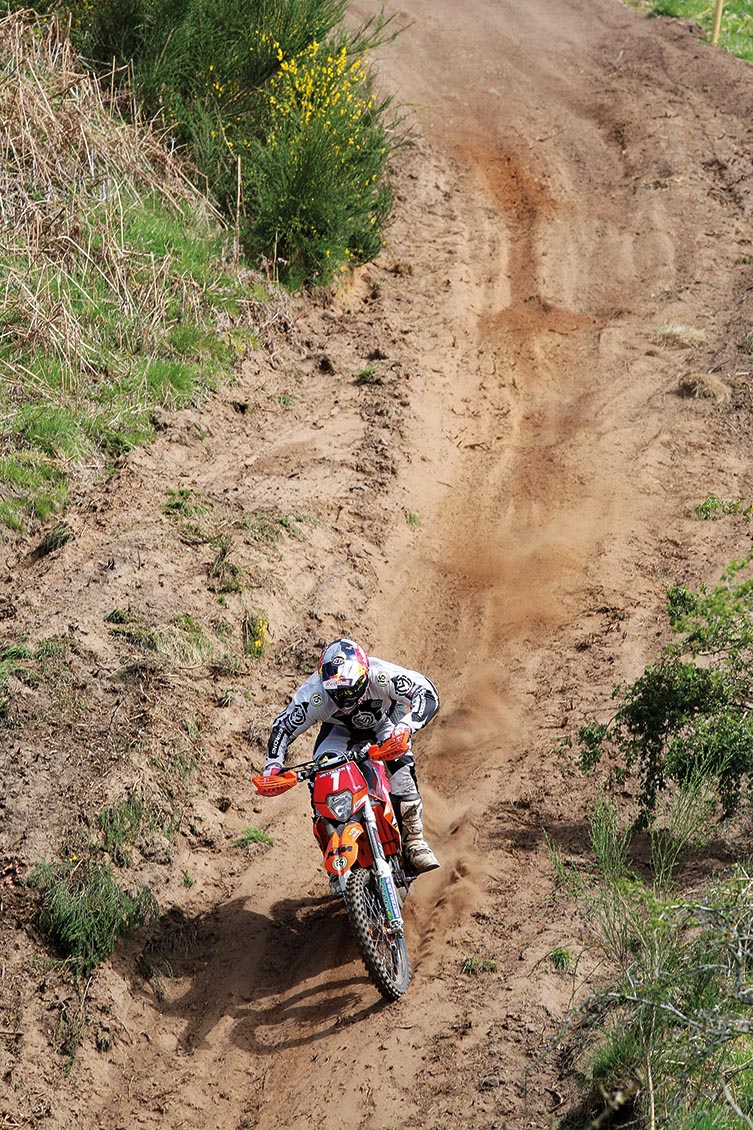
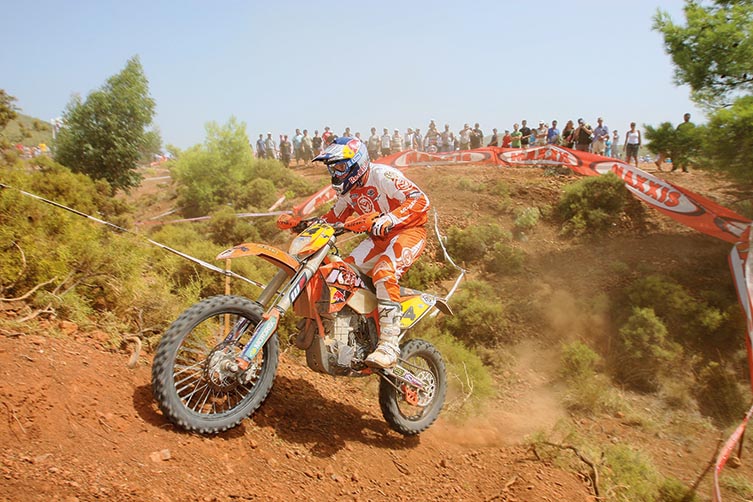
Developing Speed
![]()
No Room For Error
Getting sideways out of a corner loses you time due to lost drive, but losing traction while going up a hill can prevent you getting to the top. Even worse, getting sideways coming down a hill can be the start of a race-ending, bike-wrecking cartwheel. When climbing, the rear wheel will often step sideways if you hit something – such as a rock or rut – while accelerating aggressively. So when you spot something that you think might cause the bike to kick sideways, roll the power off as you cross the object like trials riders do when crossing rocks. You’ll often only need to chop the gas for a split second, then get back on it again. When descending, keep your rear wheel directly behind your front wheel. This sounds obvious, but if you lock the rear brake you’ll find that the back end will soon be ahead of you. Go for a kind of manual brake-lock, ABS-like technique by pulsing the brakes on and off, applying them for no more than a second or two at a time. If the rear wheel does slip sideways, take your foot off the brake then gently reapply.
Stop and Go
It kind of goes without saying that stopping when climbing a hill isn’t what you want to be doing but sometimes, for many different reasons, you have to. If you have doubts about getting to the top of a climb then knock it on the head early and try again. Don’t battle on for the sake of a few extra feet. Look for a stable area of the climb to stop. In extreme cases, stall your engine, keep your right foot on the rear brake, don’t touch your clutch and put your left foot to the ground. Dismount to the uphill side of the bike, work the front wheel around by turning it left and right, and when you’re all but facing back down the hill get back on and roll to the bottom. Second time around think about what it was you did wrong the first time and avoid making the same mistake again.
![]()
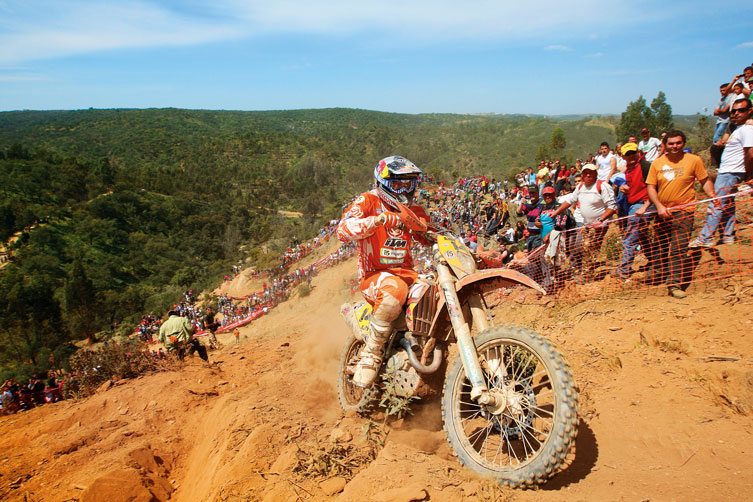
Advanced
![]()
From Right To Left
Switching lines on an incline is more complex than on flat ground, but that’s not to say it’s an impossible task. Close the throttle for a brief second to ensure you change the line in a controlled manner. It’s a balancing act between losing too much momentum by closing the throttle longer than necessary and going too fast to change lines. Try and be off the gas for as short a period of time as possible. Of course, looking ahead and being in the correct gear will make it easier. Whatever you do, don’t stop completely. Instead, try and stay light on the bike and focus completely on getting it right. The style of hill and the reason for swapping line will determine what you’ll need to do to change line, but try and keep everything calm and simple. Wild body movements, aggressive acceleration and going at it like a bull in a china shop are not good ideas.
Wheels On The Ground
More challenging hills will often feature some rise or mound that can result in your wheels coming off the ground. And as you’re trying to utilise every last bit of available traction when climbing, this isn’t a good thing. Accelerating to lift your front wheel over any mound when climbing can help keep the rear wheel – the most important wheel in this case – on the ground. Get the front wheel to skim across the top of the mound and let your rear suspension soak up the force, keeping the rear wheel planted. If you do have to jump, try and make sure your air-time is minimal. When descending, a skyward rear wheel means you’re going to gain speed. Try and absorb the mound with your body as much as possible. While you can’t afford to lose too much speed when climbing, you can at least make sure you’re going at a controllable speed when descending.
Weight Transfer
What makes steeper climbs tough is that you need to keep your weight over the rear wheel to improve drive, but at the same time keep your weight forward enough to stop the front wheel lifting off the ground. While there are general rules to follow regarding your body position when going up and down hills – standing, legs bent and elbows up – you need to feel when weight has to be transferred from the rear of a bike to the front when climbing. Generally, if the front-end starts getting light, it’s time to move your body weight forward. Sometimes, bending at the hips and leaning forward is enough. Other times, leaning forward and pivoting on the footpegs is needed to ensure your body weight is moved forward enough to keep the front down. Try and keep your head over the bars; if you lean any further forward you’re not going to be in the best position to recover if you get in trouble
![]()
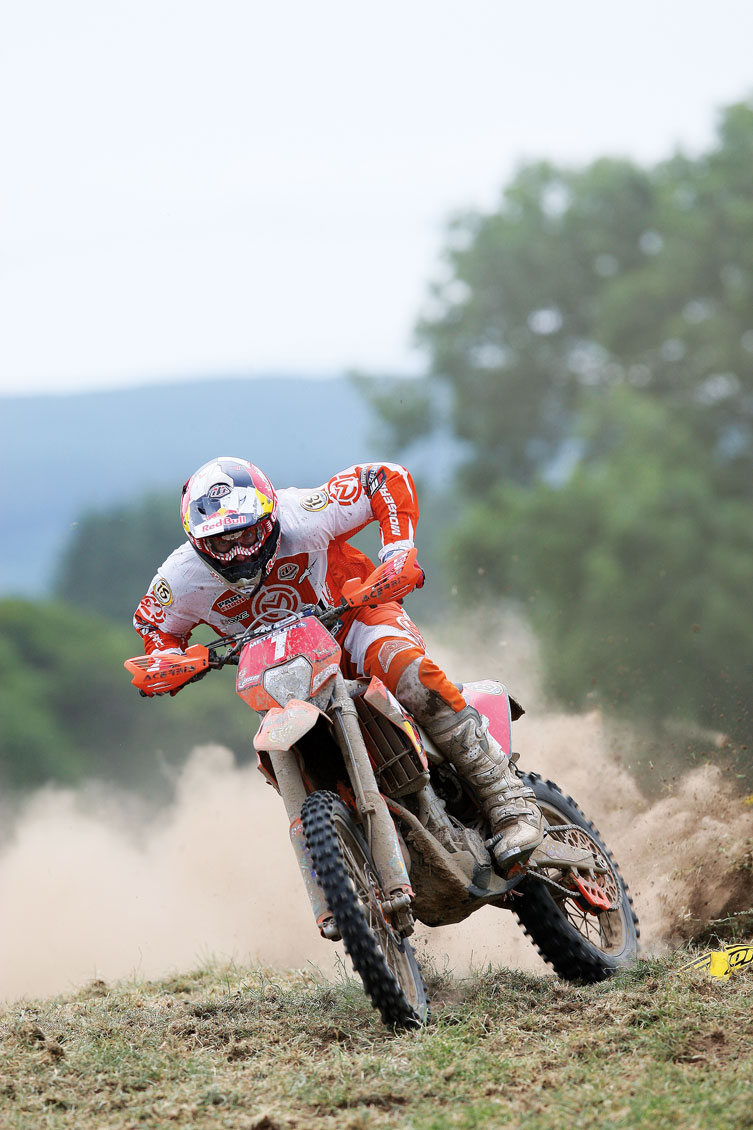
Extra Tips
![]()
- Reducing speed on extreme downhills is all but impossible, especially if the surface is loose. Make sure you’re 100 percent in control at the top and keep it slow. Don’t lock your rear wheel on the way down – you’ll gain speed if you do.
- Push your knees into your bike’s fuel tank, take your body weight with your lower body, and remain upright when on long downhills to stop all your body weight pushing onto your wrists.
- Don’t just stop anywhere on an uphill. Look for a place where you’ll be able to either turn around if things really haven’t worked out, or where you’ll be able to set-off again from.
- It’s your rear brake that stops you going backwards when you stop on a downhill, not the front. • Sit right over the rear wheel on steep, technical, slow speed climbs to make sure you get maximum traction. Don’t rev your bike too hard and break traction, simply keep your wheels moving.
- Occasionally there’s no option but to attack a hill hard and fast. Make sure your line is clear, focus on the top of the climb, and keep the bike singing all the way to the apex. Chop the gas before the very top, as you never know what might be there once you arrive.
- If you’re riding a two-stroke on long downhills, make sure you pull in your clutch every once in a while and rev out your bike. It’ll help prevent a fouled plug when you reach the bottom.
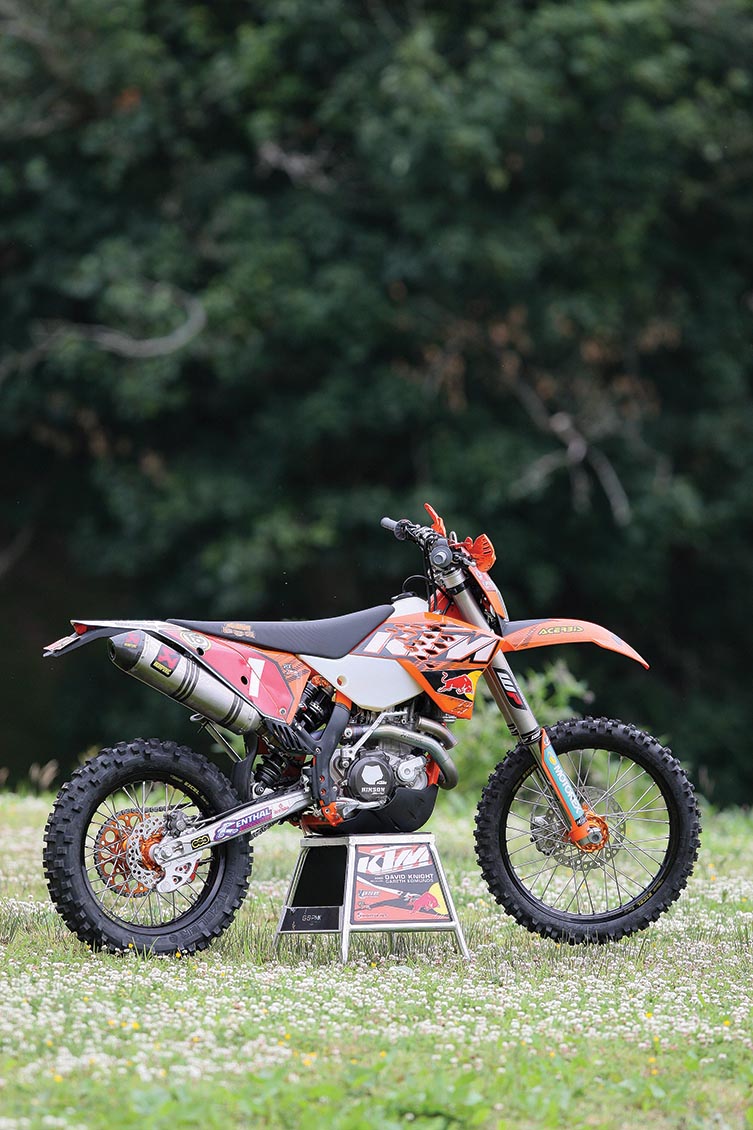
Bike Setup
As hills are just one of the obstacles you’ll come across when out riding there’s no need to set up your bike specifically for them. A bike that’s generally well set-up for off-road riding is all that’s needed. If you know you’re going to hit the hills in a serious way, then fitting grab straps is a good idea. One across the rear of your bike’s seat allows you to easily tug and lift the rear of the bike. And a strap fitted around your fork – fitted around the top of the front fender – can be used by others to pull your bike out of sticky situations. If you’re a shorter rider then make sure your bike isn’t too high, because putting your feet down is important on steeper climbs or descents. For extreme terrain, a header tank will guarantee your coolant doesn’t get wasted – it doesn’t take much to boil a four-stroke with without proper airflow.
Choice Of Bike
The tractable power of four-strokes can make driving up less-technical climbs easier, as the rear wheel generally stays well planted. And four-stroke power can be easier to finding grip on more technical climbs in the hands of the right rider. But, as everyone knows, two-strokes are lighter and more nimble, which is important when climbing and descending hills. Two-strokes don’t get hot as quickly as four-strokes, either. A four-stroke that’s boiling like a kettle can be difficult to start if you get stuck on a climb, whereas two-strokes are easier to get going again. The most important thing is that you feel settled and confident on your bike.
More How-To & DIY Content

HOW-TO: RIDE SAND WITH MATT PHILLIPS
HOW-TO: REPLACE FRONT & REAR SPROCKETS
You might also like...

2026 SMX WORLD CHAMPIONSHIP VIDEO PASS
The SMX Video Pass is back, and again providing live and on-demand access to all 31 rounds.

2026 ENDURO & CC MODELS: 7-BRAND PRICE COMPARO
A handy table of easy-to-compare prices for seven brands’ 2026 enduro and cross-country models.

HONDA CLAIMS EIGHTH AUSX TITLE
Dean Wilson sealed the deal for Honda with a dominant 2025 Australian Supercross season.
National Motorcycle Insurance
5 months ago
Ride Smart | Presented by National Motorcycle Insurance
Transmoto’s Simon Barratt covers some handy tips on how to protect your dirt bike, presented by National Motorcycle Insurance.
KTM
7 months ago
KTM DOMINATES 2025 AUSTRALIAN ENDURO CHAMPIONSHIP
The KTM DM31 Racing Team wrapped up four titles at the weekend’s AusEnduro season finale.

Boost Secures 2025 AUSX Naming Rights
The Australian Supercross Championship is set to launch into its biggest season yet.

TT Circuit Assen To Host 2027 MXoN
The 80th edition of the MXoN will see the legendary event return to Dutch soil in 2027.

First Look: Aus MXGP Battleground
The 2025 MXGP of Australia track design has been revealed.
Be the first to comment...