How To: Standing Up
There’s only one way to ride rough or technical terrain fast – by standing up. But, as Jarrod Bewley explains, there’s much more to standing on a dirt bike than simply straightening your legs.
That’s why we’re throwing it back to this feature we first published in the May 2014 (Issue #43) of Transmoto Magazine…
If there’s one thing that separates an average trailrider and an accomplished off-road racer, it’s the racer’s ability to stand up on a motorcycle in a wide variety of terrain. Standing might look cool, but it’s about much more than showboating. By bringing a whole different set of muscle groups into play, standing reduces fatigue and allows you to attack big obstacles with the speed and aggression you simply wouldn’t be able to while seated. It also improves your control over the bike and allows you to see further ahead. As a former AORC and A4DE champ, and standout desert racer, Jarrod Bewley has perfected the art of standing on his dirt bike. And, as he explains over the following pages, there’s much more to the art than meets the eye. It’s a skill that makes riding appear effortless and, if used in the right situations, will improve your speed and style. Over to you, Jarrod…

FUNDAMENTALS…
Why Stand?
Dirt bikes come with a nice soft seat, so why stand up? And what about the old rule of thumb that says: ‘Sit when you can and stand when you have to’? Well, these days, the trend is toward standing more. When you’re standing, you engage more of the most powerful muscles in your body – your core and leg muscles – which don’t get used when you’re sitting. Aside from taking the pressure off your arms, standing allows you to move the bike around underneath you a lot quicker, which comes in handy in tight and tree-lined terrain. Standing also extends your vision, meaning you can look further through a corner, plan your lines and braking points better, and anticipate obstacles earlier. Whether you’re standing up on a technical downhill or through a fast set of desert whoops, your arms and legs can act like stabilisers. They actually assist the suspension’s action, and gripping the bike with your calves while standing helps keep the rear-end from kicking sideways.
 How to Stand Up
That might sound ridiculous, as we all learned how to stand up when we were a year old. But it’s important to understand that there’s a right and wrong way to stand on a bike. It’s best to primarily use your legs to push yourself into the standing position because, if you tug too hard on the bars, it can upset the bike’s steering (if you’re going fast) and/or the chassis balance. If you push up with your legs, you’re more likely to end up in a centered, neutral standing position on the bike, which allows you to then move forward or back quickly. As going from the seated to standing position is like doing a squat, it can tire your legs over the course of a longer ride. So you can use a small bump to help get the job done. When you’re coming out of a corner, time your leg drive to coincide with the rear wheel hitting a small root or bump, and this will help push your bum off the seat and let you stand with less effort. You need to pick your bump, though, as a large or square- edged bump could throw you over the bars – which is why you’d need to be standing in the first place!
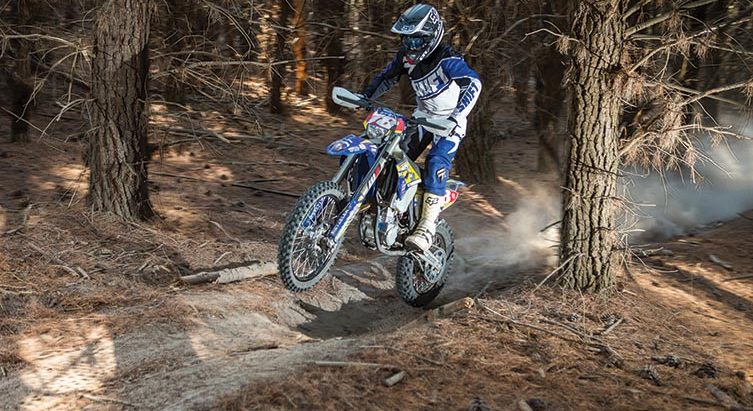
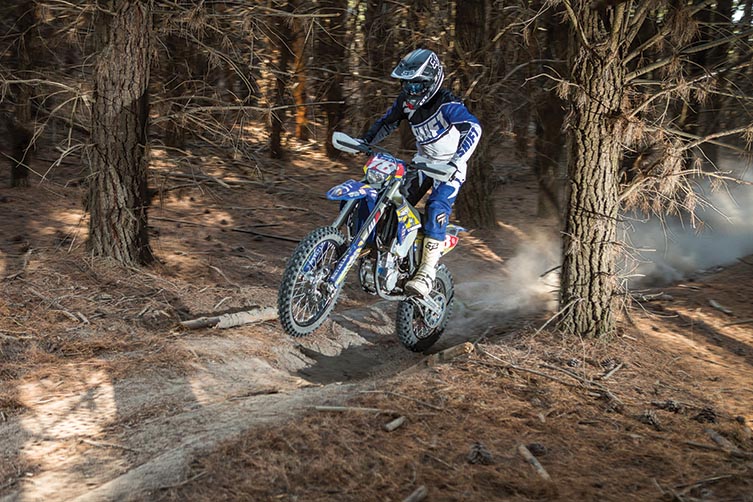
Corner Entry
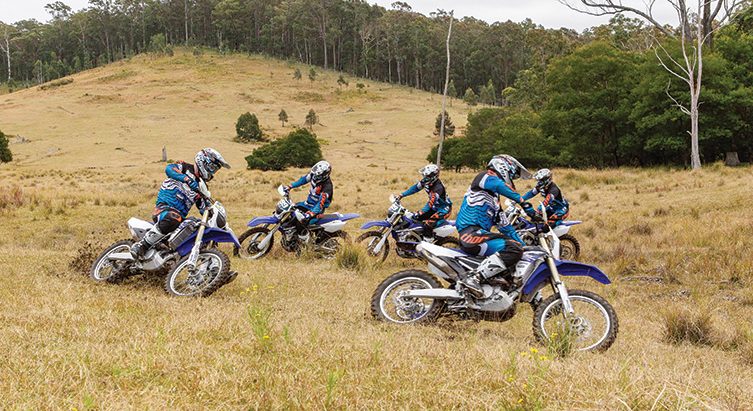
People don’t realise just how much of an advantage standing gives you on the way into turns. By standing beyond the braking point and into the turn, you’re better able to absorb any little bumps that would unsettle the bike if you were already seated. So, standing in a central position on the bike not only gives you more stability; it also lets you carry more entry speed and make any small adjustments to your body weight when required. And for right-hand turns – where it’s difficult to access or control the rear brake pedal while seated – standing offers even more advantages. Pro riders maximise their speed and momentum through corners by sitting down later than trailriders tend to on the entry. In fact, we often don’t sit down at all if there are mid-corner bumps to deal with. In the series of shots shown on this page, I’ve come off a pretty rough straight. Where I’m side-on to the camera, I’ve just finished my braking and would ordinarily be sitting down at this point. But because there’s a big hole and a series of tree roots just ahead of me on the main line, I’ve remained standing for the entire corner. That’s allowed me to pre-load the suspension and keep the front-end light. If I’d sat down on entry and then tried to stand up again to deal with the hole and roots, it’d unsettle the bike and make it very difficult to keep my corner speed up. It would also use up a lot more energy.
INTERMEDIATE…
Whoops
If you’re seated and hit a decent-sized whoop in any terrain at speed, you’re pretty much asking to go over the hangers. Sitting down puts more weight over the front of the bike, and that’s where it’s going to throw you when the rear-end unloads and rebounds. There are two basic standing techniques used to get through whoops: keeping the front wheel light and skimming, or staying more central on the bike and jumping through them. I use the skimming technique when I’m looking to attack a whooped-out section, and the jumping technique when I want to stay more consistent and smooth through a series of larger whoops – usually in sandy terrain.
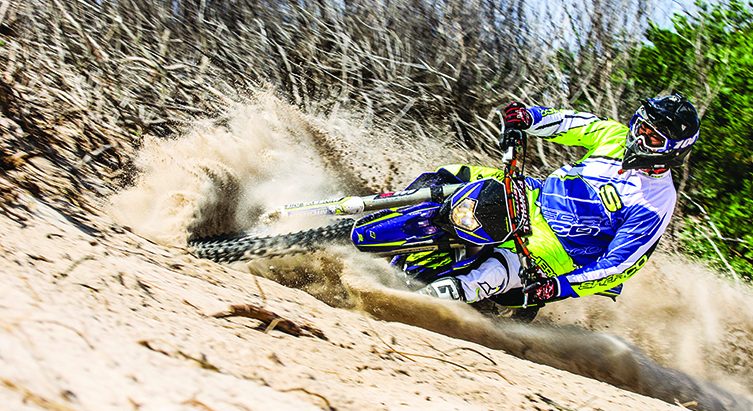
In the shot here, you can see that, to skim them, my body is at 90 degrees to the ground and slightly rear of centred on the bike. This position allows me to push hard with my legs to keep the rear wheel in contact with the ground, while pulling back on the handlebars at the same time. This lets me keep the front wheel light over the series of whoops after this one, and makes sure I get plenty of drive from the rear wheel. And by clenching the bike hard with my boots, I can control any sudden sideways movement. On a larger set of whoops in open and sandy terrain – such as what we get at Finke and Hattah – I’ll stay more centred on the bike and then choose the right one to preload the bike. This involves using your legs to push the bike into the face of a whoop and jumping off it. If you time it right, you’ll land on the back-side of another whoop, and so on. But that is a more advanced technique that you rarely use in the bush. If there are any rocks or tree roots in the whoops – which
can kick the rear-end up or sideways – you’re much better off staying back on the bike and skimming them.
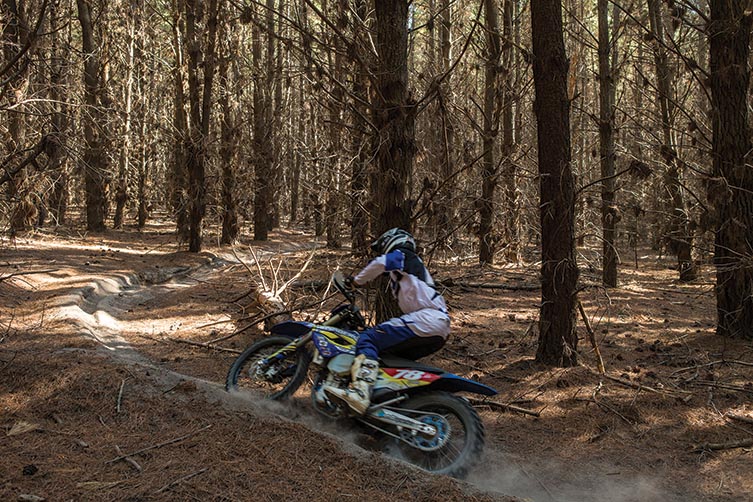
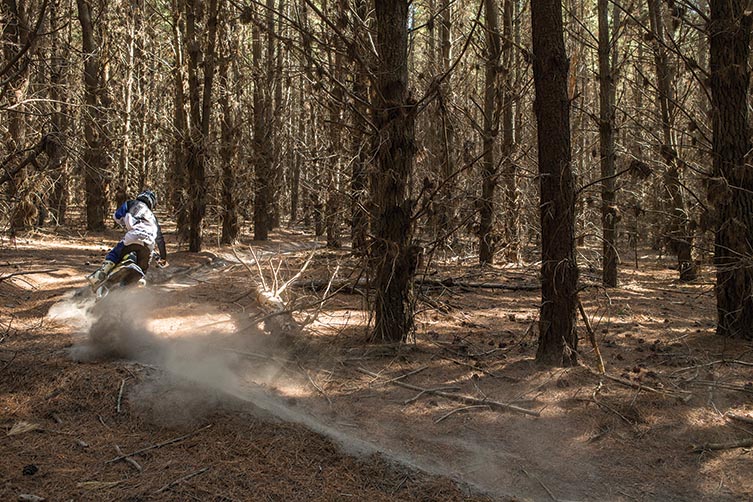
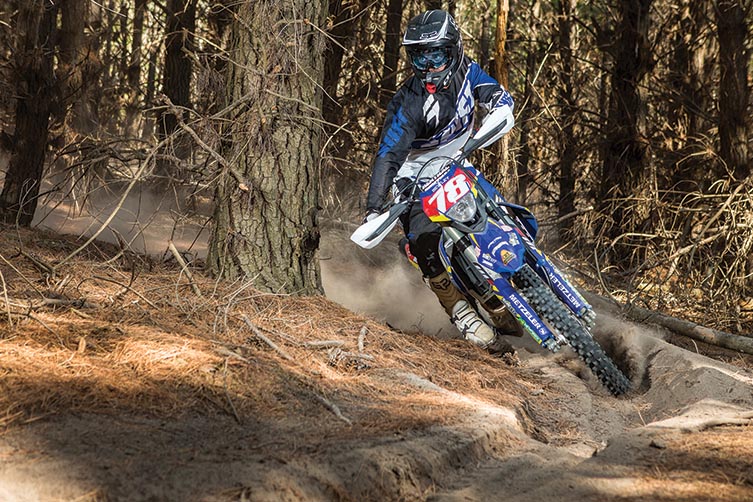
Riding the Rear Brake
In this corner – which was downhill, off -camber, loose and really close to a tree on the inside – standing up was a much faster and safer option. If I’d tried to sit through this turn and lean with the bike, I wouldn’t have been able to control (or even get to) my rear brake, and I would have hit my head on the tree if I had the bike cranked over at the same angle. The only way to do it sitting would be to come in, almost come to a stop, get around the tree, and then blast out – a much slower technique. By standing up and weighting the outside peg, not only can I make sure both wheels get more traction; I can also carry much more corner speed and still manoeuvre my upper body out of the way of, and then around, the tree. Also, you can see that I’m still on the rear brake in the shot. Aside from still washing off speed from the downhill, gently riding the rear brake like this helps settle and compress the rear-end and ensure it stays planted in the loose rut. If this turn was even tighter – that is, if it did a 180 and then went back up the hill – standing up would be even more critical. The only difference is that instead of riding the rear brake to keep the rear-end settled, I’d look to lock it up briefly to perform a brake-slide to help turn the bike on the spot, before getting immediately on the gas to drive back up the hill. Again, standing up would give me so much more control over body weight, and feel for rear brake and gear levers.
Advanced…
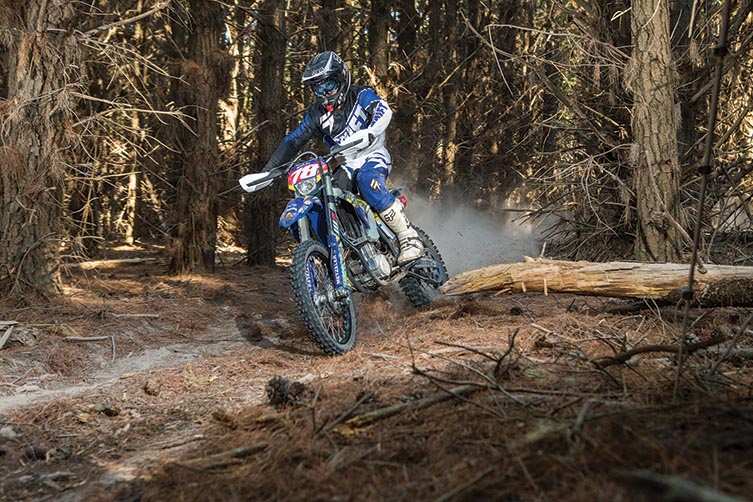
Downhill Switchback
This series of corners is actually a fair bit more complicated than it appears in the images, as I was going pretty fast and needed to change directions really quickly – while in close proximity to the trees (most of which have busted-off branches that look like daggers!). Again, if I’d tried to get through this series of corners sitting down, there’s no way that I would have been able to shift my body weight fast enough to get the bike from one side to the other. In other words, I would have had to slow down in order to get the bike to change direction in time. When I’m standing up, however, I can steer the bike a lot quicker – mainly by what’s called ‘footpeg steering’. In the front-on shot, you can that I’ve got a lot of weight on the inside footpeg to get it turned around the left-hander. What’s equally apparent is how far my body weight is leant forward on the bike. There are two reasons for this. First, I’m trailing the rear brake, so I’m trying to keep plenty of weight on the front wheel to make sure it bites. Secondly, being forward like this helps me flip-flop the bike from left to right in one action. I use a combination of footpeg steering and input into the handlebars to achieve this, and I remain standing around the next right-hander because that gives me heaps of feel for the rear brake.
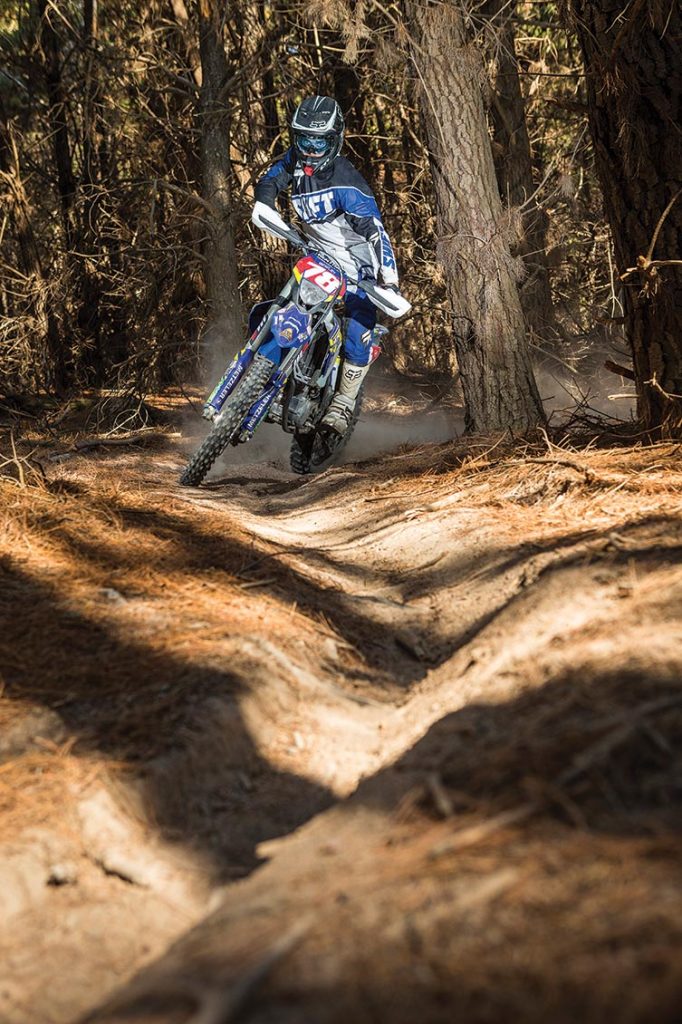
Also interesting to note in the front-on shot, is how high my front wheel is running through the turn. This is because there was very little berm to turn off, which is why having my weight forward was so critical. Steering through the left-hander like this also makes it easier to turn the bike under my body – which remains very upright, rather than leant over with the bike – and flick it into the right-hander. And, unlike the previous spread’s image in the whoops where I’m gripping the bike really tight with my boots, my legs are bent, cowboy-style, in this situation. This lets the bike move independent of me and helps convert the footpeg inputs into direction changes. If I tried to get through this switchback in a seated position – which would require putting one leg back up on the peg, lifting the other leg off, and wrestling the bars more – it would use a heap more energy. Standing is not only a lot faster; it also gives you more control over the bike at the same time.
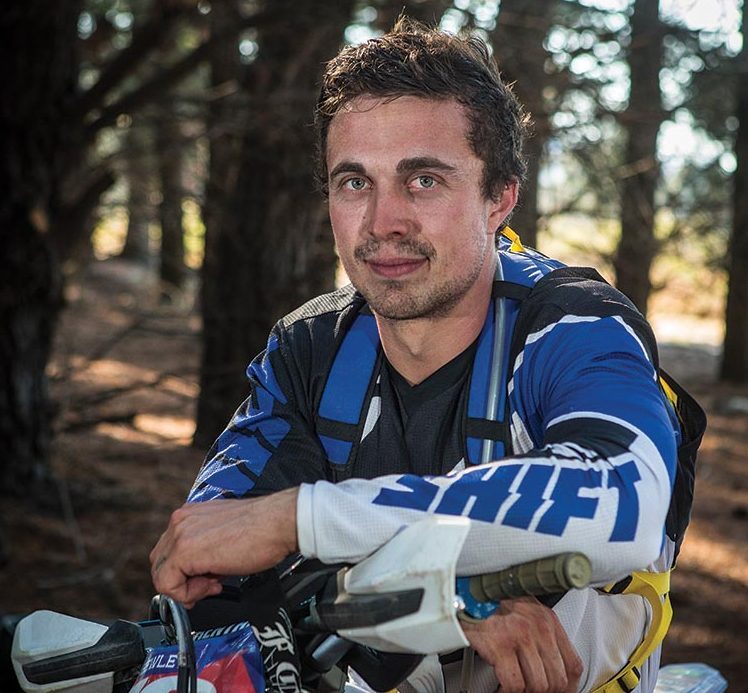
About the Rider
Jarrod Bewley was a title-winning Junior off-road racer, and now excels in both tight terrain and the whooped-out expanses of the Australian desert. Since 2007, he’s been an Outright winner at the Australian 4-Day Enduro; a multi-time class winner at the A4DE and the AORC; and he’s scored Outright podiums at both Hattah and Finke. The 26-year-old Oberon resident is one of the fittest riders in the off-road paddock, but he’s also well aware that standing up on the bike can not only conserve energy; it can also allow you to ride faster, safer and with more confidence in a wide variety of terrain – whether on a casual trailride or in the heat of battle at a national event. Better still, Jarrod’s very good at articulating when and where you should be standing on your bike, and the techniques required to do it properly.
More How To Articles
HOW-TO: FLAT TURNS W/ JOSH GREEN
HOW-TO: RIDE SAND WITH MATT PHILLIPS
You might also like...
HIGHLIGHTS: 2026 TRANSMOTO 8-HOUR AT NARRABRI, POWERED BY KTM
Check out the highlights video from the 2026 Transmoto 8-Hour at Narrabri, NSW, powered by KTM.

2026 SMX WORLD CHAMPIONSHIP VIDEO PASS
The SMX Video Pass is back, and again providing live and on-demand access to all 31 rounds.

2026 ENDURO & CC MODELS: 7-BRAND PRICE COMPARO
A handy table of easy-to-compare prices for seven brands’ 2026 enduro and cross-country models.

HONDA CLAIMS EIGHTH AUSX TITLE
Dean Wilson sealed the deal for Honda with a dominant 2025 Australian Supercross season.
National Motorcycle Insurance
8 months ago
Ride Smart | Presented by National Motorcycle Insurance
Transmoto’s Simon Barratt covers some handy tips on how to protect your dirt bike, presented by National Motorcycle Insurance.
KTM
9 months ago
KTM DOMINATES 2025 AUSTRALIAN ENDURO CHAMPIONSHIP
The KTM DM31 Racing Team wrapped up four titles at the weekend’s AusEnduro season finale.

Boost Secures 2025 AUSX Naming Rights
The Australian Supercross Championship is set to launch into its biggest season yet.

TT Circuit Assen To Host 2027 MXoN
The 80th edition of the MXoN will see the legendary event return to Dutch soil in 2027.
Be the first to comment...