How-To: Replace Four-Stroke Valves
Four-stroke engines have been serving the Powersports community for decades, in applications ranging from street motorcycles, dirt bikes, ATVs, and UTVs, to name a few. Over time, engine technologies have evolved on many fronts, which have ultimately led to ever greater engine performance. Maintenance practices have also evolved, and in this article, we’re going to focus on modern valve installation.
The role the valves play is critical, and, consequently, as valve technology continues to evolve, the margin for error on part of the installer continues to decrease. There are a number of steps that must be carefully considered and done just right when installing new valves to ensure long-term success. We’ll work from the pre-installation phase through to post-installation checks. This article will ultimately give you a checklist so the next time you have to install valves in your engine, you’ll be well equipped.
![]()
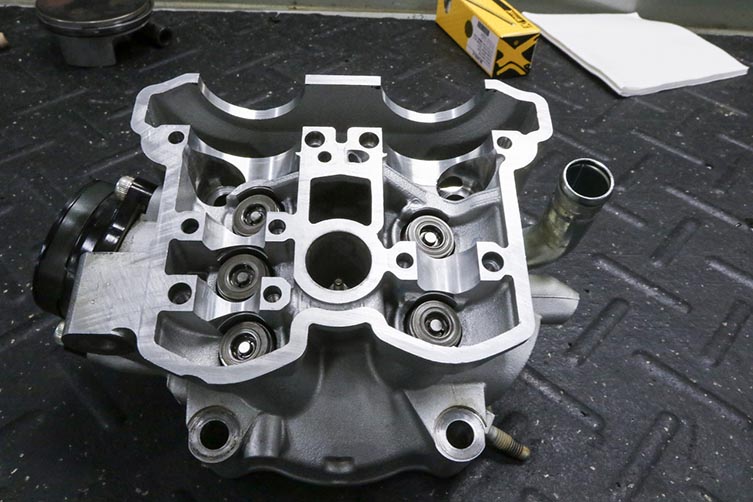
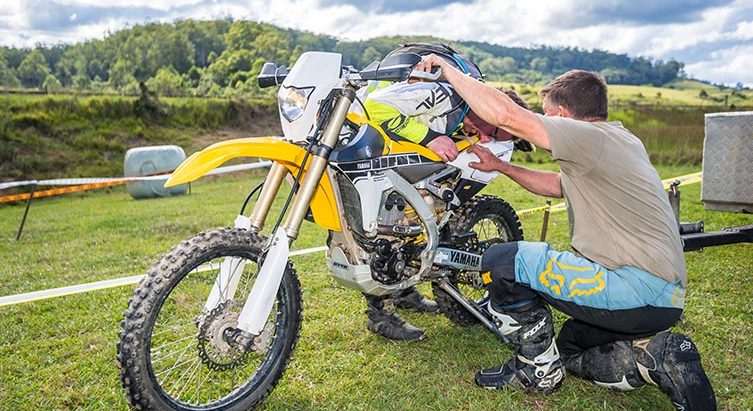
Building a four-stroke head can seem like a daunting task, but understanding how to take each step can greatly lower intimidation.
![]()
Pre-Installation
Work done prior to the installation of the new valves determines how long the refurbished top-end will last. The two most important components that must be considered here are valve guides and valve seats. Due to the way each of these parts interacts with the valve, their condition, and the decisions made surrounding them, will dictate how long the new valves live.
Valve Guides
The role of a valve guide should be no surprise based on its name. A valve guide’s function is to ensure the position of the valve is well controlled as it reciprocates up and down. Ensuring the face of the valve repeatedly contacts the seat in the same location is important for engine performance, and valve seat and valve longevity.
![]()
Valve guides are the passages the valves operate through, allowing the valve stem to lead from the combustion chamber and through the valve, without losing pressure thanks to the valve seals.
![]()
Due to the forces present in most valvetrain designs, as an engine wears, the valve guides will wear into a distinct shape. This shape can visually be represented by thinking of an hourglass. When measured from top to bottom, worn valve guides will usually feature slightly larger diameters at the top and bottom than in the middle. Once the valve guide takes on the hourglass shape, the likelihood that the valve face will contact a much broader area of the valve seat is greatly increased, which will increase the seat and valve face wear rate.
Your OEM service manual will specify the service limits for the valve guide bore. Measurements can be made a couple different ways, usually with small hole gauges and micrometers or dial indicators. Methods specific to your engine are typically outlined in the service manual. It is imperative that the valve guides are measured and qualified prior to installation of the new valves.
Valve Seats
The valve seats serve as the mating interface for the corresponding faces of the valves. This interface, along with the piston rings, is ultimately what seals the combustion chamber during the compression stroke. As a result, the integrity of the seal between the valve face and valve seat is one of the primary drivers of engine performance.
![]()
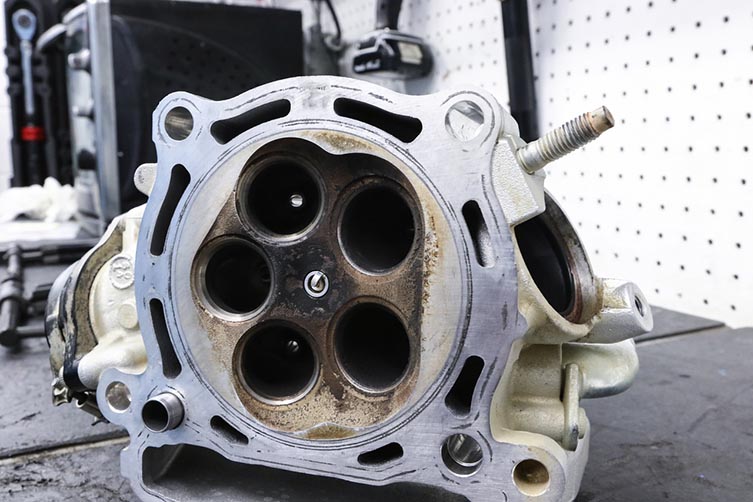
Valve seats are the chamfered rings around the openings in the combustion chamber. These must be consistent and smooth for valves to seal properly. This used head will get the valve seats recut by a reputable shop before new valves are installed.
![]()
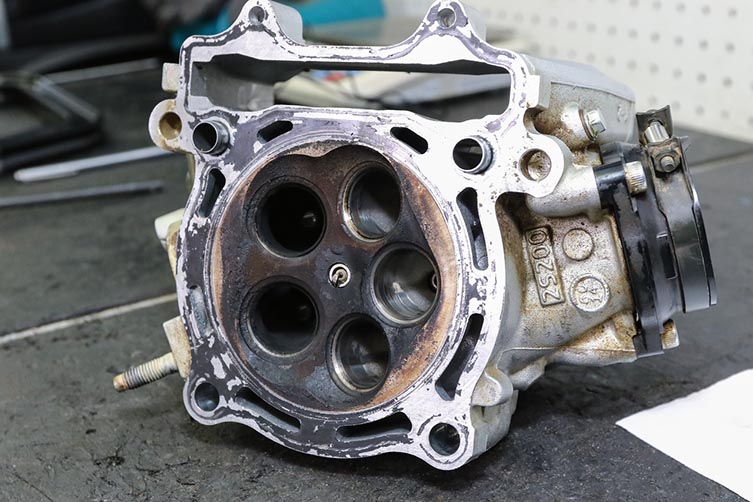
As an engine runs, the valve seat and valve face wear together. Typically, the contact area between the valve and seat will increase in proportion to engine run time, and the valve seat can take on an ovalised shape. Both wear characteristics are detrimental to engine performance and longevity. Since the valve face and valve seat wear together, it is almost always best to have the valve seats recut prior to the installation of new valves. Doing this ensures the valve seat and valve face are properly matched together and will wear together correctly. Installing a new valve to a worn seat often leads to accelerated wear of the new valve face.
A reputable shop that specializes in cylinder head work should be entrusted with the job of re-cutting the valve seats and, if necessary, valve guides. Due to the high level of accuracy required to ensure concentric valve seats and guides, a shop equipped with specialized seat cutting machines should be used, as opposed to hand operated seat cutters.
Valves and Springs
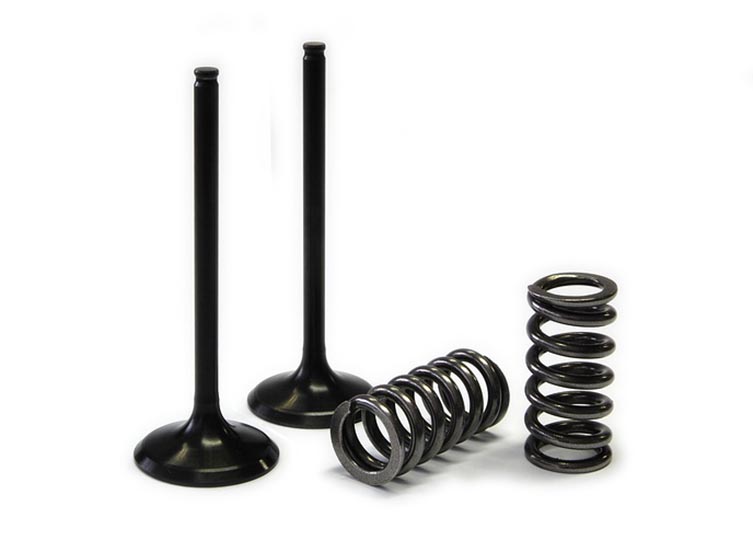
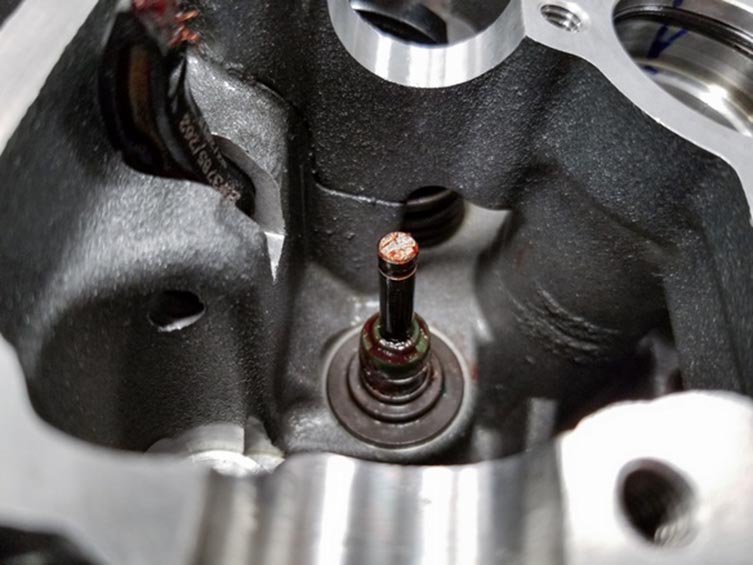
The type of valve being installed will have some bearing on subsequent work and considerations. The scenario that deserves the most attention is the one where titanium valves are being replaced with steel valves. This is a common swap that is made which trades a little performance for added valve life. When this is done, the valve springs must be considered.
![]()
Some OEMs have supplied bikes with titanium valves from the factory. It’s common to convert these valves to steel for longevity, but don’t forget the springs must also be changed accordingly.
![]()
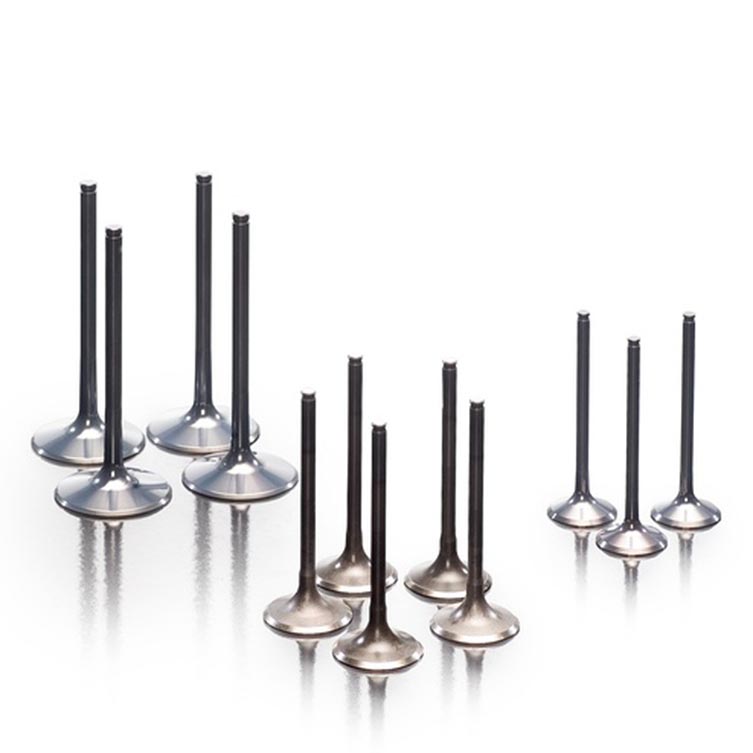
Since steel alloys weigh more than titanium alloys, the steel valves will be heavier than their original counterparts. Valvetrains are finely tuned systems, and the added mass of the steel valves typically will require different valve springs to compensate.
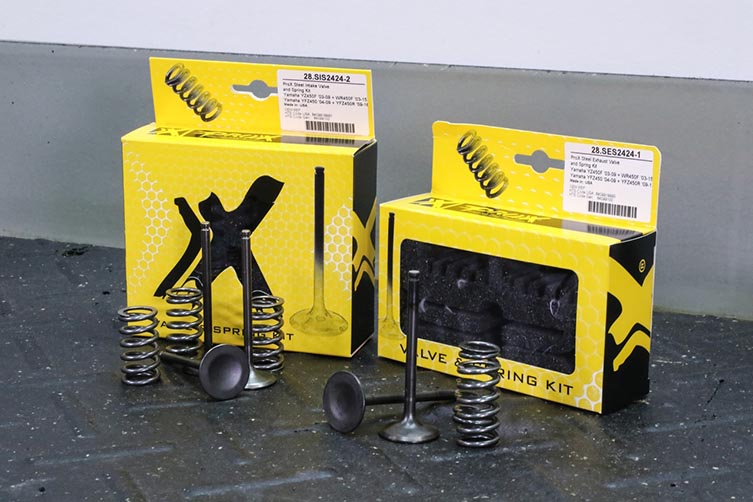
Fortunately for engine builders, brands such as ProX offer an array of valvetrain components designed to meet or exceed OEM quality, which includes valves, springs, valve stem seals, and shims, to name a few. Both direct OEM replacement valves are offered, as well as valve conversions that replace OEM titanium valves with steel valves.
![]()
ProX offers both titanium and steel OEM quality valve and spring kits at a wallet-friendly price.
![]()
Keepers, Retainers, Seats, and Seals
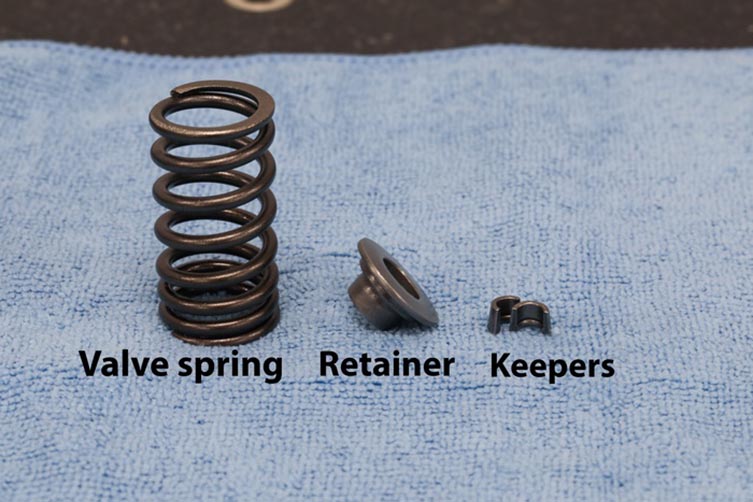
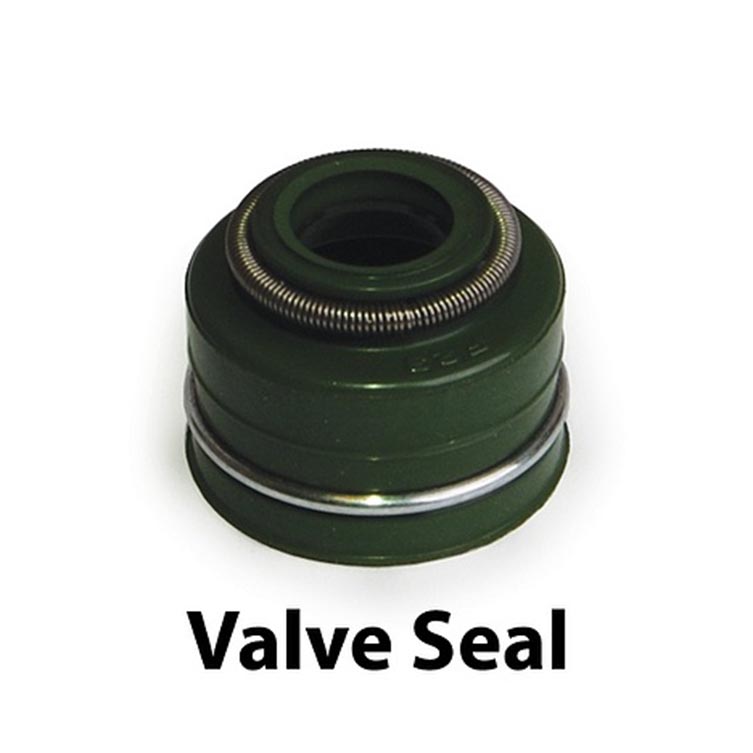
The condition of the valve spring seats and retainers should be checked. It is not uncommon to reuse these components. However, it is important to make sure they have not worn. Check both the seats and retainers for signs of wear, which usually originate as a result of contact with the valve spring. If heavy wear or indentations are observed, these parts should be replaced. Similarly, it is considered best practice to replace the keepers and valve stem seals as part of the valve overhaul.
![]()
Be sure to inspect your retainers for damage and wear before reusing. It is common practice to use new keepers and valve seals. OEM quality valve stem seals are also available from ProX.
![]()
Once all the necessary new hardware is on hand, and servicing tasks have been taken care of, final component checks can be performed. The primary focus here should be on confirming the new valve spring free length is within spec, and contact between the valve face and the valve seat is within specification.
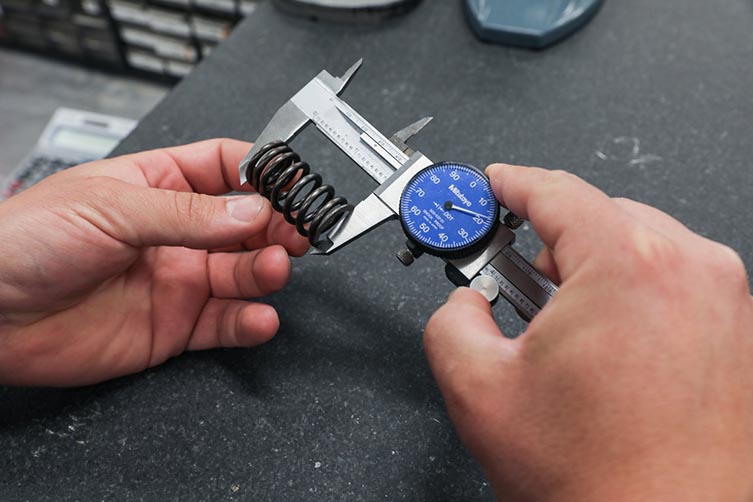
Valve spring free length is simply a measurement of the valve spring’s length in its uncompressed state. The service manual or documentation provided with the valve spring kit should be referenced to determine the acceptable free length criteria.
![]()
Before installing, measure valve spring free length and compare to what is recommended in your owners manual to ensure your valves will be operating and sealing properly.
![]()
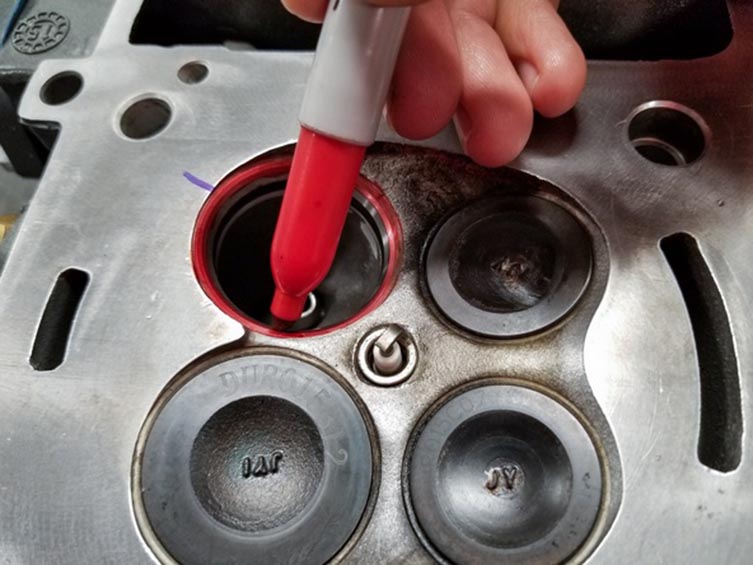
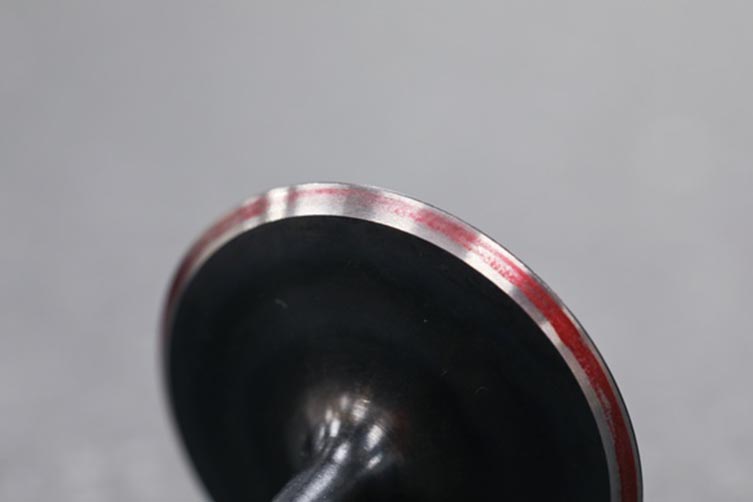
The valve face to seat contact pattern and contact width should be checked to ensure the valve and seat will seal well. To do this, a valve lapping tool is used in conjunction with a transfer fluid, typically a Sharpie marker or machinist’s dye. The valve seat is covered with marker or machinist’s dye, then the valve is inserted. The valve lapping tool is used to apply light pressure to the valve face and seat. Next, the valve is gently rotated back and forth for a few seconds. Upon careful removal of the valve, the marker or dye that covered the valve seat should have transferred to the valve face. The resulting contact pattern and contact width can be referenced to assess the quality of the sealing interface. The valve face should show that it is in complete contact all the way around its circumference with the valve seat. The contact width should be measured carefully with a calliper, and the resulting width should be checked against the specifications outlined in the service manual.
![]()
To test valve-to-seat contact, a permanent marker can be used to dye the valve seat.
![]()
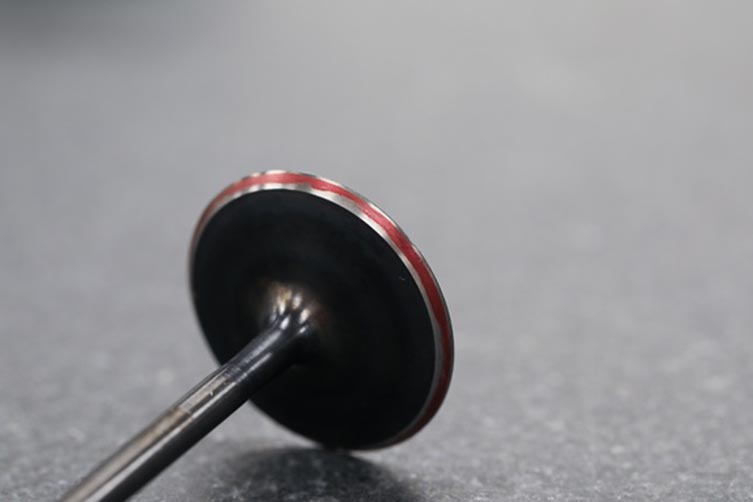
If either contact continuity or contact width is a problem, it is highly likely that the valve seats have not been cut properly or the builder is trying to install new valves into worn out seats. Since almost all modern valves feature some form of a thin coating or hardening process on their exterior faces, lapping valves using a lapping compound should never be considered due to the risk of wearing away the coated or hardened layer.
![]()
A complete seal will leave a solid red line on the valve, while an incomplete seal will have patchy sections of red, or no red at all.
![]()
Installation
Once it has been determined that the new valves and components will result in a well-sealing combustion chamber, the installation process is fairly straightforward. Prepping all components for installation by pairing and separating the new components based on their location is recommended. This is incredibly important since the intake and exhaust valves can vary in diameter and mass, resulting in the usage of different springs, seals, seats, retainers, and keepers.
First, the valve spring seats should be coated with a light amount of engine oil or assembly lube and installed. Next, the new valve stem seals should be installed. Since the intake and exhaust valve diameters can differ, make sure the correct seals are installed in the correct location. Next, apply a couple drops of oil just below the notch in the valve stem. Install the valves by gently rotating them past their respective seals. Lightly coat the valve springs and retainers in engine oil or assembly lube at their contact points. Attempt to keep oil out of the area of the retainer where the keepers reside. Position the keepers inside the retainers, then set the springs and retainers in their respective locations on the cylinder head.
![]()
Be sure your valve components are re-assembled with oil or assembly lube where appropriate.
![]()
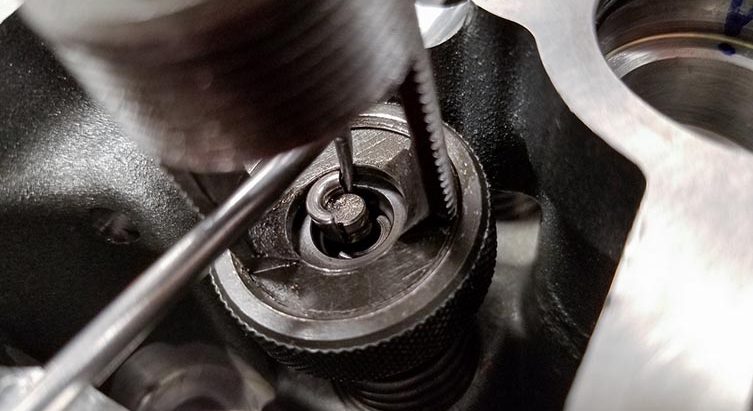
Carefully use a valve spring compressor to compress the valve springs so that the keepers can drop into position. To facilitate positioning of stubborn keepers, a pick can be used to help guide the keepers into position. Once the keepers have located in their notches in the valve stem, the valve spring compressor can be removed and the remaining valves assemblies can be compressed and completed. Once all the valve springs have been compressed, a brass punch and hammer should be used to tap the top of each valve stem a few times. Tapping the top of the valve is a critical step, and will help ensure all the keepers have seated correctly prior to startup.

![]()
When re-installing keepers, use a valve spring compressor to allow you to drop them into place, so they can find the proper position in the valve stem groove. A pick is often used to assist in positioning the keepers.
![]()
Post-Installation Checks
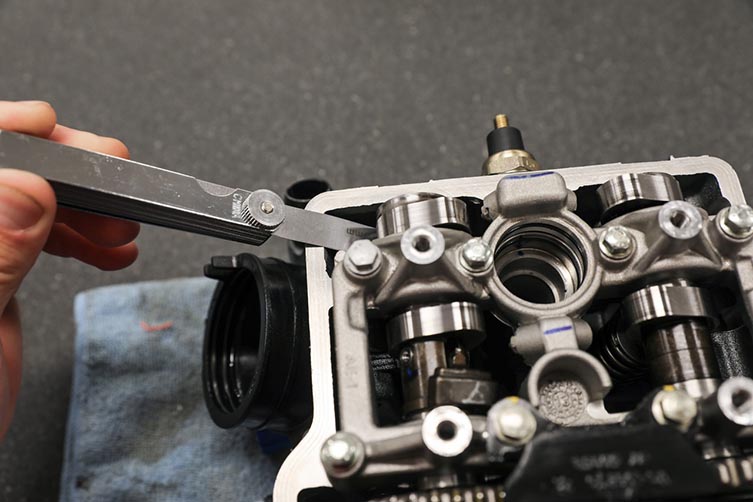
At this point, the rest of the cylinder head and engine can be reassembled. It is of the utmost importance to check the valve clearances and re-shim as needed. Anytime new valves are installed, the likelihood that different shims will be required is very high.
Lastly, upon reassembly, it is critical to ensure that the cam timing is set according to the procedure outlined in the service manual. Mis-timed engines can lead to catastrophic failures. Double or triple checking that the timing is set correctly is cheap insurance. Furthermore, rotating the engine through several revolutions by hand is also good practice, and helps ensure no mistakes have been made during reassembly.
![]()
Checking valve clearance after installing new valves and springs is a must, because different sized shims will often be needed.
![]()
To qualify the integrity of the seal between the valve face and valve seat, a leak down test can be performed prior to startup. A leak down test will provide quantifiable means to assess where any cylinder leakage is originating and the severity of it.
To get all the hard parts needed for this job, find your closest ProX Racing dealer here.
Related Content
10 SIGNS YOUR FOUR-STROKE IS GETTING TIRED
HOW-TO: THROTTLE CABLE ADJUSTMENTS
You might also like...

2026 SMX WORLD CHAMPIONSHIP VIDEO PASS
The SMX Video Pass is back, and again providing live and on-demand access to all 31 rounds.

2026 ENDURO & CC MODELS: 7-BRAND PRICE COMPARO
A handy table of easy-to-compare prices for seven brands’ 2026 enduro and cross-country models.

HONDA CLAIMS EIGHTH AUSX TITLE
Dean Wilson sealed the deal for Honda with a dominant 2025 Australian Supercross season.
National Motorcycle Insurance
7 months ago
Ride Smart | Presented by National Motorcycle Insurance
Transmoto’s Simon Barratt covers some handy tips on how to protect your dirt bike, presented by National Motorcycle Insurance.
KTM
8 months ago
KTM DOMINATES 2025 AUSTRALIAN ENDURO CHAMPIONSHIP
The KTM DM31 Racing Team wrapped up four titles at the weekend’s AusEnduro season finale.

Boost Secures 2025 AUSX Naming Rights
The Australian Supercross Championship is set to launch into its biggest season yet.

TT Circuit Assen To Host 2027 MXoN
The 80th edition of the MXoN will see the legendary event return to Dutch soil in 2027.

First Look: Aus MXGP Battleground
The 2025 MXGP of Australia track design has been revealed.
Be the first to comment...