How-To: Repack Your Muffler
The fibreglass packing in your bike’s muffler not only has to deal with the extreme heat and pressure of the used gases making their way out of the engine – it also has to endure soot, fumes and vibration. The packing is resilient stuff, but after a couple of years it will begin to break down and start to look like a pile of smoldering grass.
This not only increases the noise of your already loud bike, it also decreases the airflow of your exhaust gases, and ultimately decreases the performance of your engine. Repacking is quick, cheap and straightforward, and should be an essential ‘to-do’ item on your bi-annual maintenance checklist. Over the next two pages, Chris Hope explains how it’s done in this step-by-step guide.
This content was originally published in issue #34 of Transmoto Dirt Bike Magazine in Aug, 2013.
TOOLS YOU’LL NEED

- Hammer
- Screwdrivers
- Tire-Wire
- Sidecutters
- Impact Driver
- Socket Set & Allen Keys
- Scissors
1. REMOVE THE MUFFLER
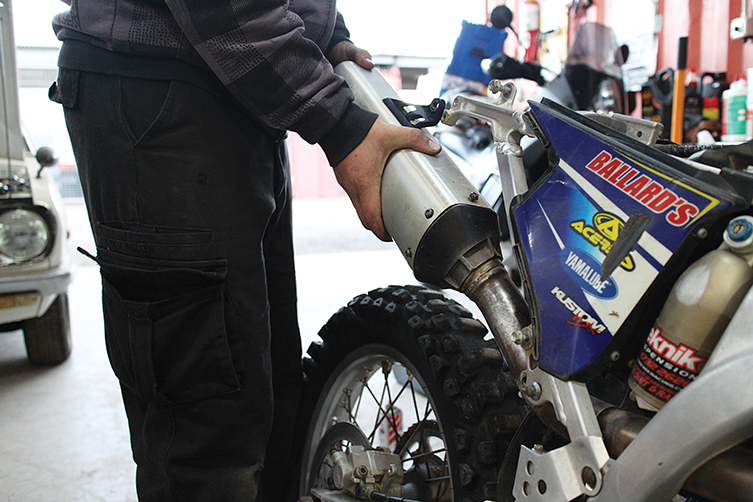
The first step is to remove the muffler. Remove any plastic panels that block access to the muffler mounting bolts, then the bolts themselves. You may also need to remove any fasteners that connect the muffler to the exhaust’s header pipe. Then twist the muffler back and forth until you can pull it free.
2. DISASSEMBLE THE END CAPS
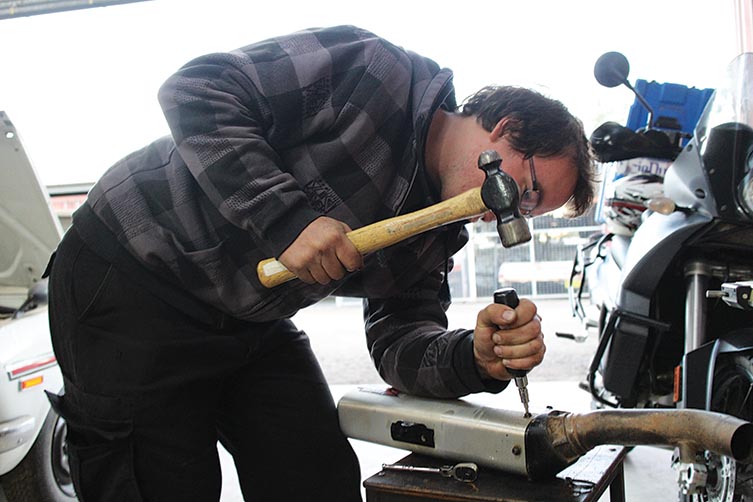
Depending on the design of your muffler, you’ll need to remove the pop rivets, Torx screws or Allen bolts that secure the end-caps to the muffler’s outer casing, using the appropriate tool. These fasteners are usually baked on, so for any threaded fasteners it’s a good idea to use an impact driver to ensure you don’t round the heads.
3. PULL OUT THE STEEL CORE
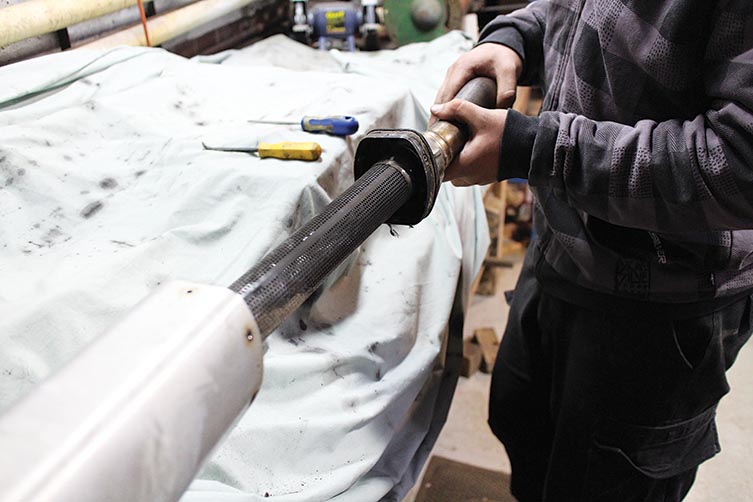
With the end-caps loose, pull the inner-core of your muffler out from the casing. You may need to use a screwdriver or rubber mallet to loosen the casing from the core. Wurth makes a great product called ‘Rost Off’ that will greatly help you loosen any baked-on or corroded parts.
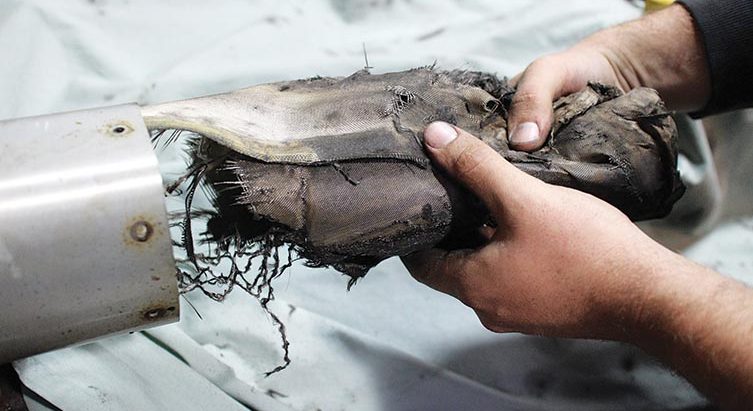
4. REMOVE THE STAINLESS STEEL MESH WRAP & BAFFLE

Enduro bike exhausts are fitted with a baffle and stainless steel mesh wrap (often known as a spark arrestor), designed to prevent you setting off a bushfire or catching your bike alight in the event of a backfire. You’ll need to carefully pull out the mesh to access the muffler packing. If the mesh is stiff, gently run around its diameter to free it from the packing.
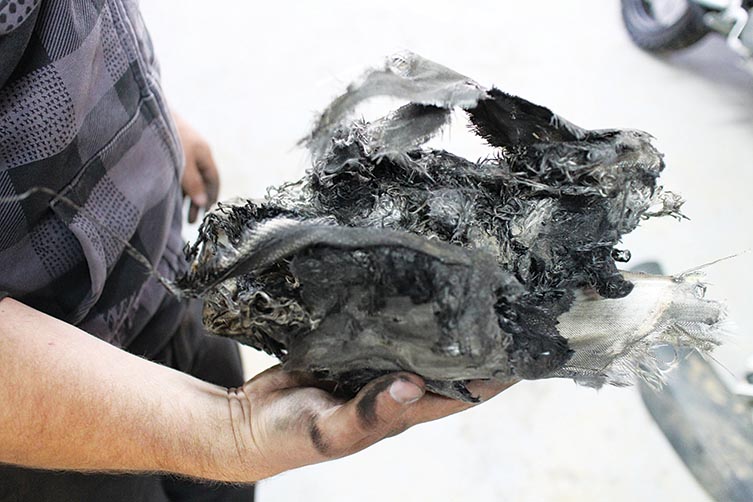
5. PULL OUT THE OLD PACKING
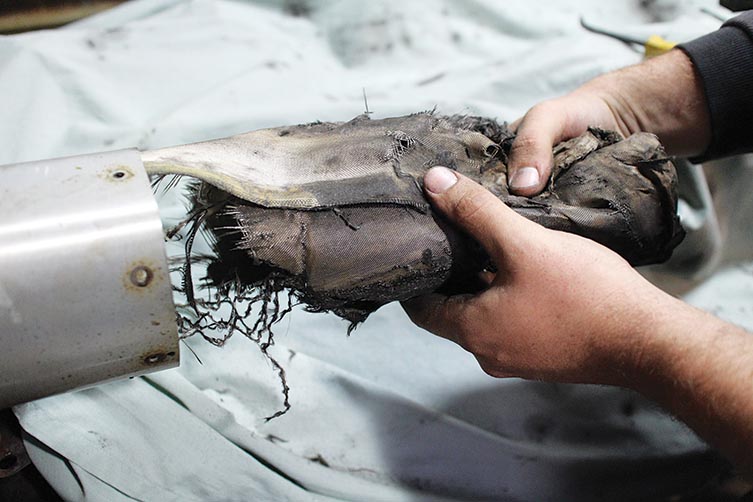
With a facemask on to protect your precious lungs from stray fibreglass fibres, pull out the old packing, being careful to avoid tearing the packing more than can be helped. If necessary, run a long, flatblade screwdriver between the packing and the outer muffler casing to loosen any baked-on packing. A smooth casing will aid easy reassemble.
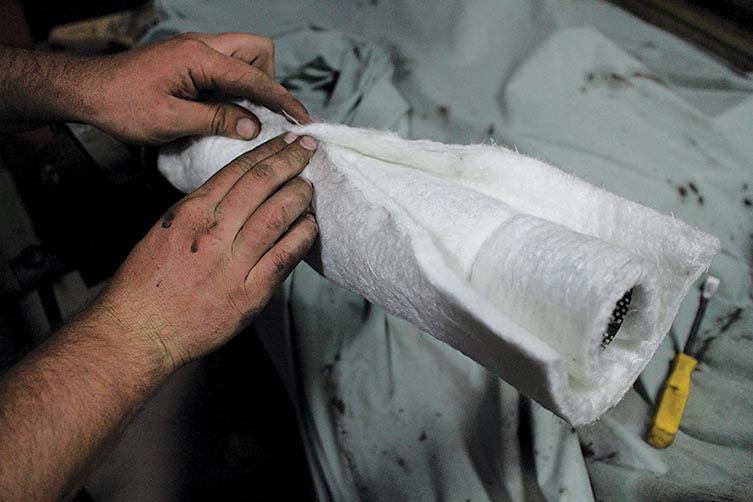
6. CUT THE NEW PACKING TO SIZE
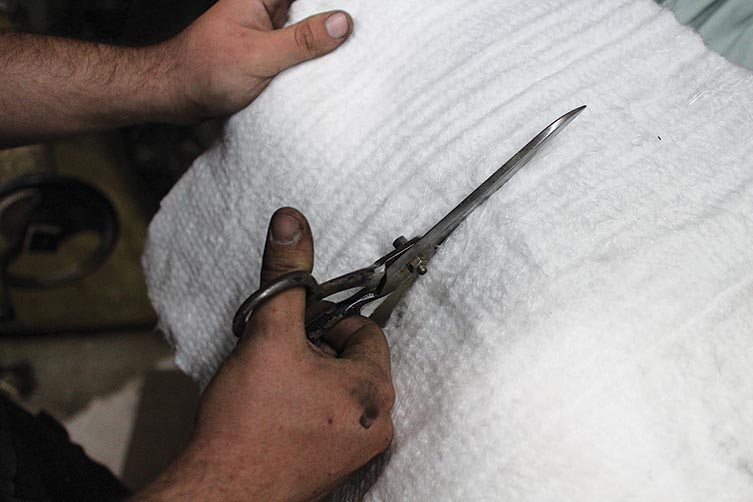
Muffler packing comes in both sheets and as loose, wool-like material. For most mufflers, it’s easiest to use the sheeting. Cut to the length of the inner steel baffle, then into a segment wide enough to wrap around the diameter of the baffle. You’ll need to repeat this step two to four times, depending on how many layers you can fit within the outer casing.
7. TIRE-WIRE THE FIRST LAYER
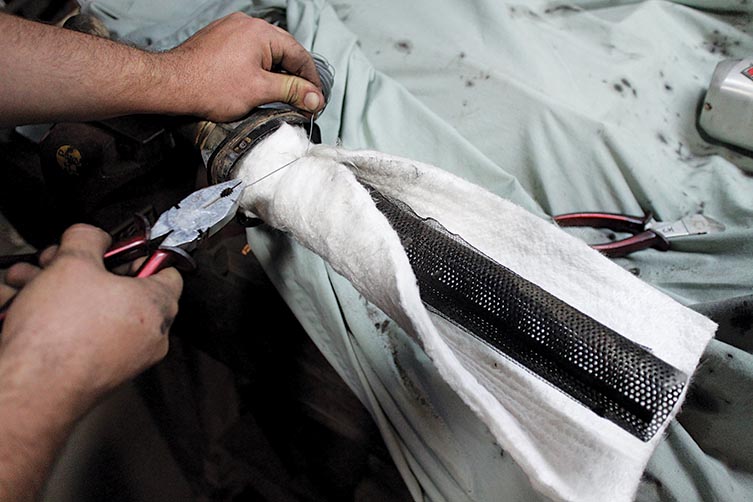
Rather than simply rolling the packing multiple times around the steel core, you’ll get a much tighter fit if you pack your muffler in a series of layers. With a layer cut to size and the steel mesh fitted over the inner core, simply tie-wire the first layer to the core every three or four inches.
8. KEEP ADDING LAYERS, THEN REASSEMBLE
With the first layer of packing secure, measure the new diameter of the packing, then repeat Steps 6 and 7 until you can just squeeze the outer casing back on. Ensuring that everything is square, pop rivet or screw the end-caps back on, then re-install the muffler on the bike.
EXPERT TIPS: WITH CHRIS HOLE
- It’s much easier to get a tight fit on the layers of packing if a mate holds a layer in place while you tiewire it in position.
- With the tie-wire, do a single lap of the core with the wire and pull tight with pliers, then do a single twist. Then cut off both ends and turn the stubs one more turn with the pliers.
- Industrial scissors will provide the neatest cut through the fibreglass packing.
RELATED CONTENT

DIY HOW-TO: BLEED BRAKES

HOW-TO: WHIP WITH BEN TOWNLEY
You might also like...

2026 SMX WORLD CHAMPIONSHIP VIDEO PASS
The SMX Video Pass is back, and again providing live and on-demand access to all 31 rounds.

2026 ENDURO & CC MODELS: 7-BRAND PRICE COMPARO
A handy table of easy-to-compare prices for seven brands’ 2026 enduro and cross-country models.

HONDA CLAIMS EIGHTH AUSX TITLE
Dean Wilson sealed the deal for Honda with a dominant 2025 Australian Supercross season.
National Motorcycle Insurance
4 months ago
Ride Smart | Presented by National Motorcycle Insurance
Transmoto’s Simon Barratt covers some handy tips on how to protect your dirt bike, presented by National Motorcycle Insurance.
KTM
5 months ago
KTM DOMINATES 2025 AUSTRALIAN ENDURO CHAMPIONSHIP
The KTM DM31 Racing Team wrapped up four titles at the weekend’s AusEnduro season finale.

Boost Secures 2025 AUSX Naming Rights
The Australian Supercross Championship is set to launch into its biggest season yet.

TT Circuit Assen To Host 2027 MXoN
The 80th edition of the MXoN will see the legendary event return to Dutch soil in 2027.

First Look: Aus MXGP Battleground
The 2025 MXGP of Australia track design has been revealed.
Be the first to comment...