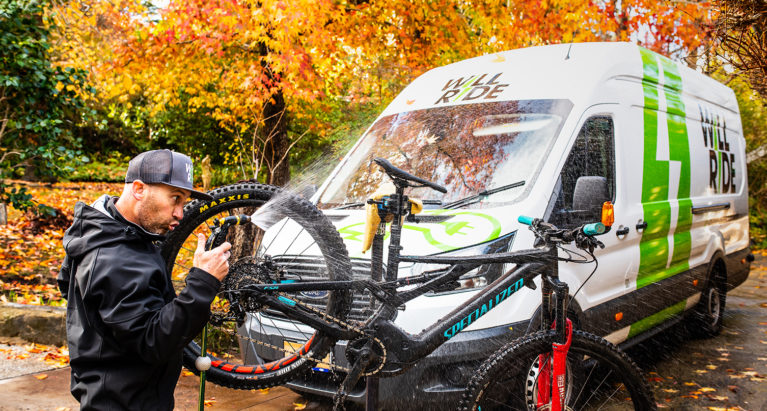
How-To: Clean Your e-MTB
There is a huge segment of dirt bikers who love to throw the leg over an MTB from time to time. In fact, all three of us here at Transmoto regularly hit the trails around the Northern Beaches on both peddle and powered whips. We figured our audience might be of the same mindset so we hit up Australia’s foremost authority when it comes to MTB/e-MTB, [R]evolution + [E]volution Magazine, to showcase the new world of power-assisted riding and understand how these things really work. In this installment, the lad’s dive into washing your pride and joy after a ride.
Step 1.
Prepare your tools! We use the park tool brush set which comes with a soft brush, a firm brush, and a sponge will be suitable.
Step 2.
Turn off your battery. This is a controversial one. Most manufacturers will say to remove the battery, however, we have found that for anything other than majors cleans (ie: removing the entire drive unit) leaving the battery installed with harnesses attached is the most efficient way to clean your e-MTB. Some e-MTB error codes can be caused by water entry into vulnerable components like the handlebar remotes. We try to avoid hosing the remotes directly. Most manufacturers have now updated parts to become less susceptible to water entry.
Step 3.
Place the bike in a stand where you are free to spin the back wheel. This makes cleaning your drivetrain much easier. If you don’t have a stand, flipping your e-MTB upside down like you would on a normal bike isn’t the greatest option, as you have handlebar remotes and display screens in the way that can get easily damaged. Worst case if you do need to flip your e-bike be sure to remove displays especially Bosch Intuvia style. For handlebar remotes, make sure they are not contacting the ground. Placing even timber chocks under the grips can help give you clearance for your remote.
![Salt2Snow [R]-41](https://i2.wp.com/revolutionmtb.com.au/wp-content/uploads/2019/10/Salt2Snow-R-41.jpg?ssl=1)
Step 4.
Get your suds on. Soak the entire bike with a nice spray. We like to use something bio-friendly.
Step 5.
Scrub the tyres first and then clean the drivetrain. On e-MTBs, it is essential that you keep the drivetrain spotless for longevity and smooth operation. Will Ride bonus tip: Use an allen key to turn the chainring backwards as the crank doesn’t engage the chain like a normal bike would, when back pedalling.
Step 6.
Our technicians focus on washing the nitty-gritty parts first, like linkage areas, swing arm, seat rails, forks, spikes nipple area etc, as you tend the wash over easy items to clean like the frame, rims, whilst washing the nitty-gritty areas. It’s all about efficiency, so that you can spend more time on the trails!
Step 7.
Once finished washing your e-MTB, use compressed air or microfibre rags to dry your bike off. Standard bike wash procedures really. WILL RIDE bonus tip: Dry the chain and use a good quality chain lube. For e-MTBs we like to use a wax, (especially in winter) we find it keeps the drivetrain quiet and doesn’t wash off as quick as a dry lube in wet conditions.
Step 8.
Once the bike is dry, we use gods greatest gift to man, to keep our hire fleet and customers bikes fresh. We don’t talk about products much, but Maxima SC1 ‘new bike in a can’ is just so good. Not too heavy like other thick silicone sprays, but heavy enough to keep the mud off the down tube and nitty-gritty areas on a winter ride. We use it after every wash and one can last a long time. It’s safe on plastics, great on fork seals, and literally brings the bike back to new every time. Like any silicone spray. Watch the overspray on your brakes, and avoid getting it on your seat and grips.
Step 9.
After your bike is sparkling and your chain is lubed, it’s time to test ride and make sure everything is still in working order for your next outing. Running a multi-tool over everything is always a good idea before or after every ride. Checking your brakes are working strong and gears are shifting sharp after the wash saves disappointment when you roll your e-MTB out for its next ride.
Before putting your e-MTB back on charge, make sure to check that the terminals on the battery are dry and then place your e-MTB back on charge for you’re next ride
You can keep up to date with everything there is to know about e-MTBs at revolutionmtb.com.au and their epic magazine, which features loads of interesting stories and interviews.
You might also like...
Features
9 hours ago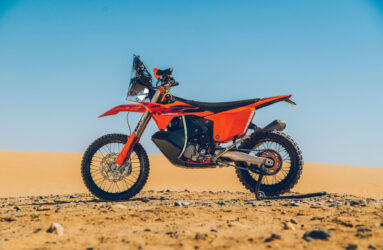
DAKAR DELIGHT: ’27 KTM 450 RALLY REPLICA
Derived from the Dakar-winning machine, the 2027 KTM 450 Rally Replica arrives in extremely limited numbers.
A1
2 days ago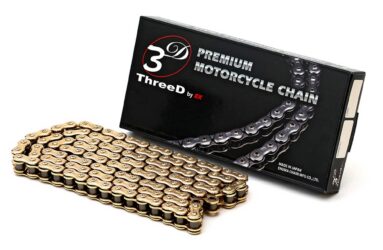
PRODUCT SPOTLIGHT: THREE-D EK CHAINS
The all-new 3D 520MXR Series brings EK’s cold-forged 3D tech to off-road riders and performance motocross.
Ducati
2 weeks ago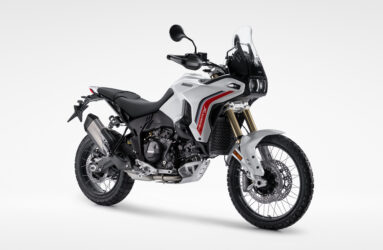
UP CLOSE: DUCATI’S 2026 DESERTX
What did an up-close-and-personal encounter with Ducati’s all-new, second-generation Desert X reveal?
Events
3 weeks ago
WHY YOU SHOULD RACE THE 8-HOUR AT NARRABRI…
The Transmoto 8-Hour at Narrabri oozes quiet-achiever rural appeal. Here’s six reasons you need to race it.
Features
4 weeks ago
WATCH: JACK MILLER’S YZ450F DIRT TRACKER
This is Jack Miller’s Yamaha YZ450F like you’ve never seen it before.
Features
1 month ago
WATCH: Husqvarna Trek 2025 Film
The full-length feature film captures six days of high-country adventure in Victoria.
Ducati
2 months ago
2026 Ducati Xpeditions Takes On Flinders
The six-day, 1800km adventure will take on the South Australian outback for Multistrada and DesertX riders.
Features
2 months ago
2026 KTM 890 ADVENTURE R RALLY
A Dakar-inspired mid-capacity adventure bike delivering the most performance-driven package in its segment.
Be the first to comment...