How-To: Change Brake Pads
Brake pads are among some of the quickest wearing parts on your motorcycle and they are critical components that should be regularly inspected and replaced. Great-working brakes are important for quick lap times, as the better, they bring the bike down from speed, the deeper and harder you can drive the bike into corners. Inspecting the amount of pad material that’s left on your brake pads should be a regular part of your bike maintenance routine, but well-worn pads are not the only ones that should be replaced. Pads that have been overheated can harden the surface and become less effective at efficiently stopping the motorcycle; the telltale sign is a squealing sound and reduced performance.
Inspecting brake components is part of regular maintenance.
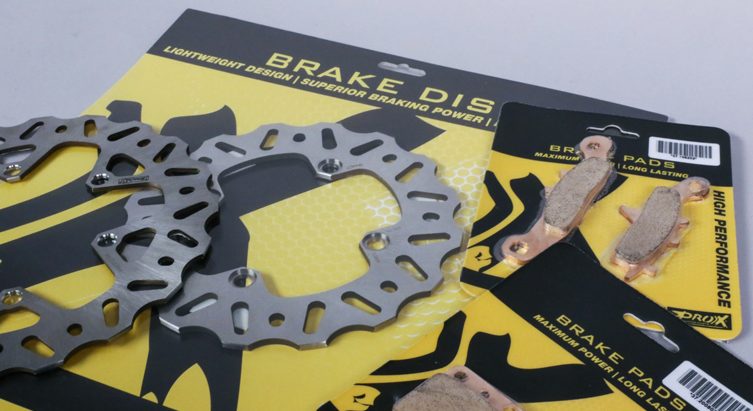
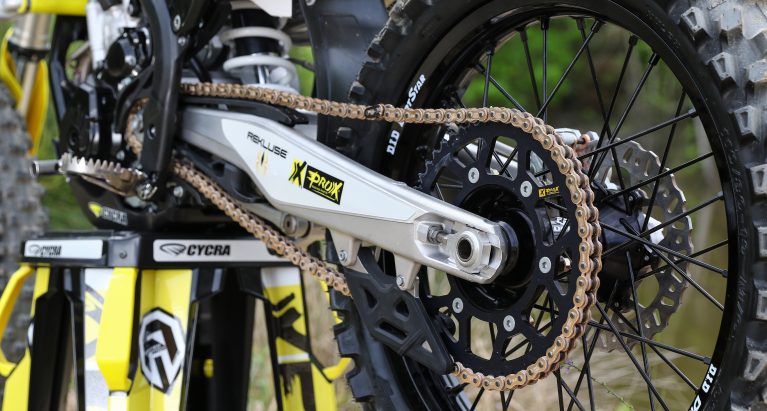
Kawasaki’s new 450 is equipped with an oversized 270mm rear that is prone to overheating, especially in the hands of riders who tend to drag their rear brake. After overheating the stock pads, the guys over at ProX recruited Kawasaki Tech Services Specialist, Mike Chavez, to share some tips about replacing the front and rear brake pads on a motocross bike. They’ll be replacing the stock pads with ProX sintered brake pads. The sintered material provides a superior advantage to OEM pads because they stand up to high temperatures better than organic pads, offer better feel and modulation, and last longer. Let’s dive into it…
Tools Needed:
- Flathead screwdriver
- Various metric-sized Allen wrenches (usually 4mm and 6mm)
- Appropriately sized wrench or socket for the rear axle
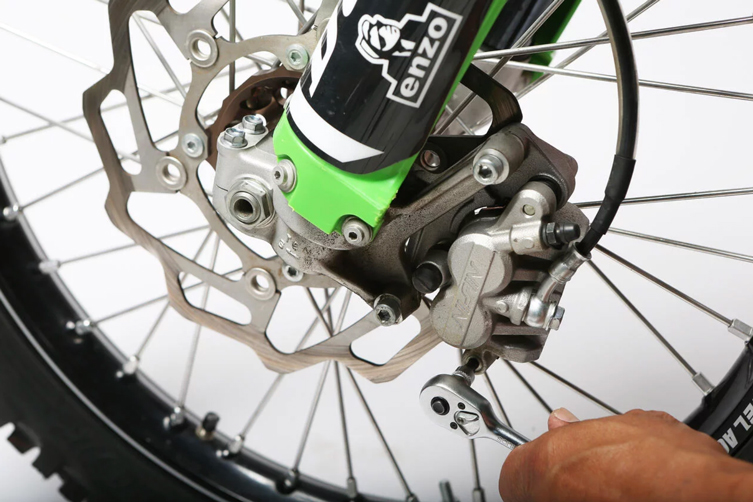
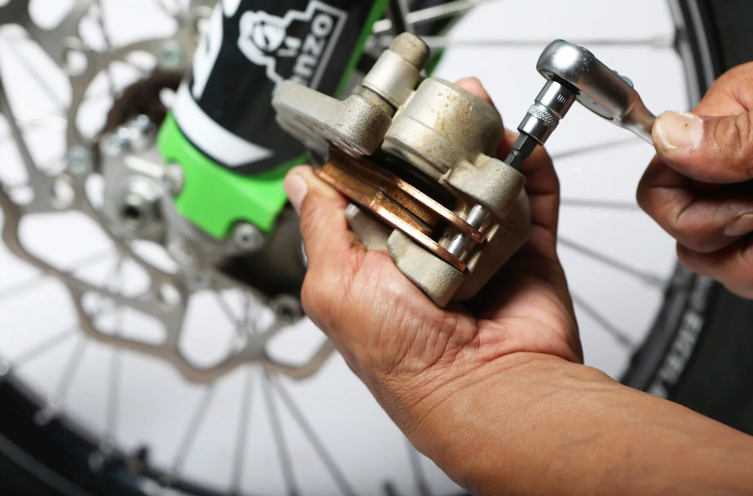
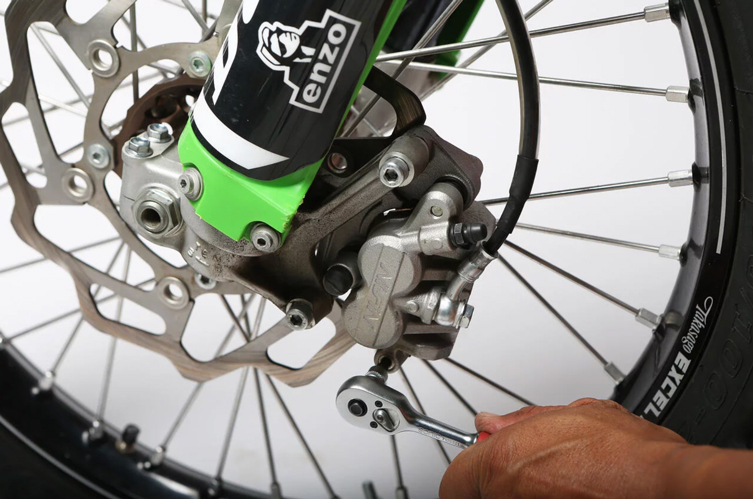
On the front calliper, it is a good idea to loosen the pad retaining pin before you remove the calliper from the fork lug, as you will have limited leverage holding the calliper in your hand. On most bikes, this is a 4mm Allen.
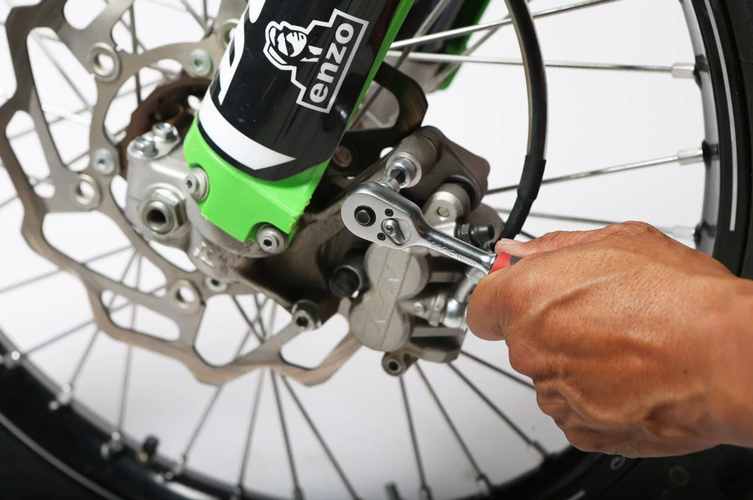
Remove the calliper from the fork lug. On most bikes, there are two 6mm Allen head bolts securing the calliper. If your bike has a front disc guard, this will need to be removed first.
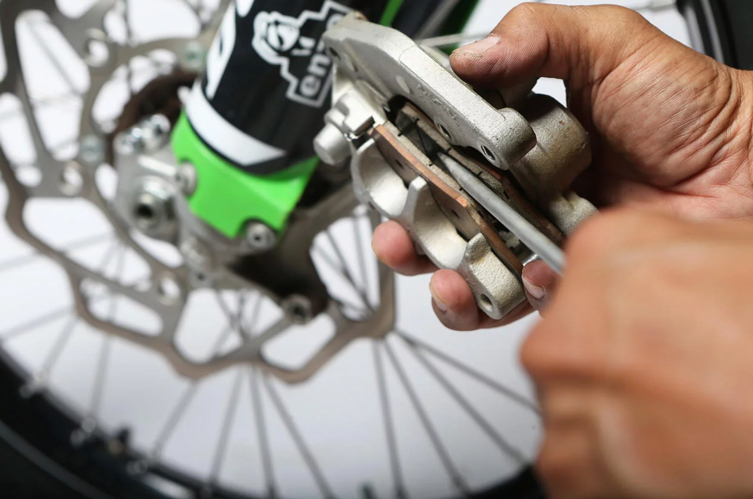
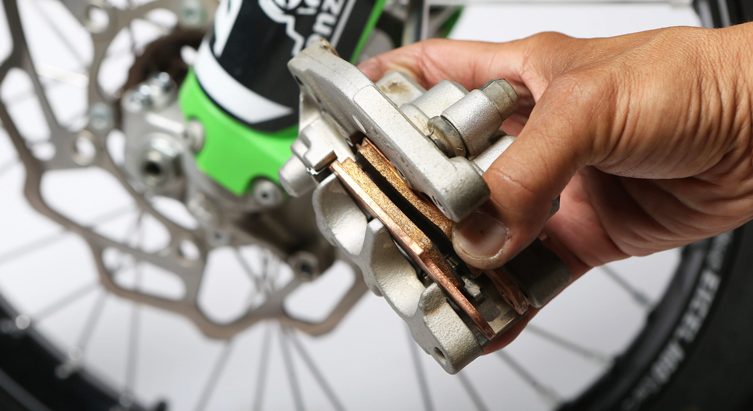
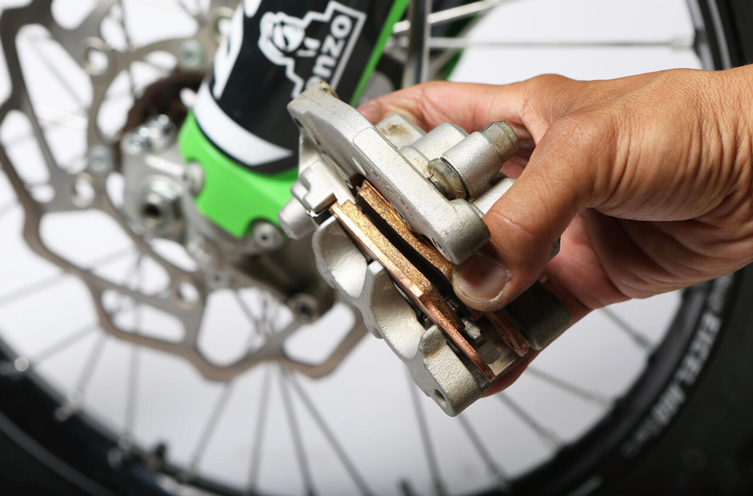
Use a screwdriver to spread the pads apart and get the pistons depressed into the calliper before I remove the old pads. This makes installation of the new pads much easier, as there is plenty of room.
Remove the pad retaining pin from the calliper. Once this is removed, the old pads should practically fall out of the calliper as this is what keeps them in place.
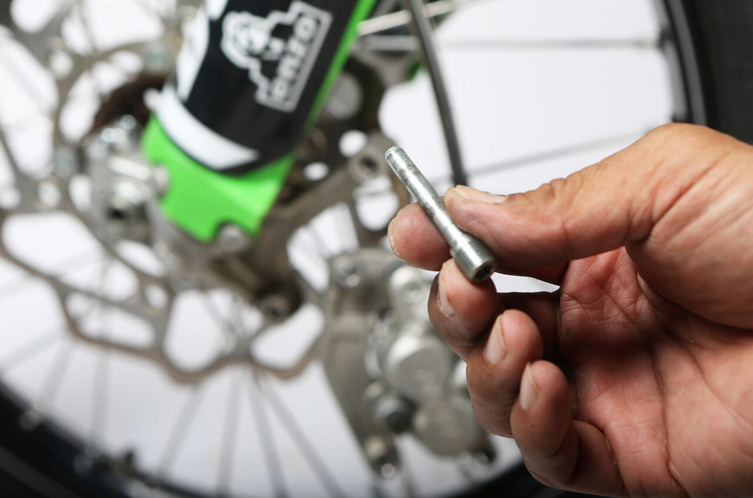
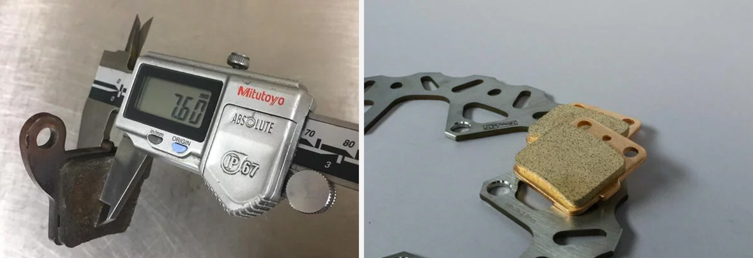
While the pin is out, inspect it for grooves or excessive wear. If there are signs of either, the pin should be replaced as this will prevent the brake pads from sliding freely when the brake is applied.
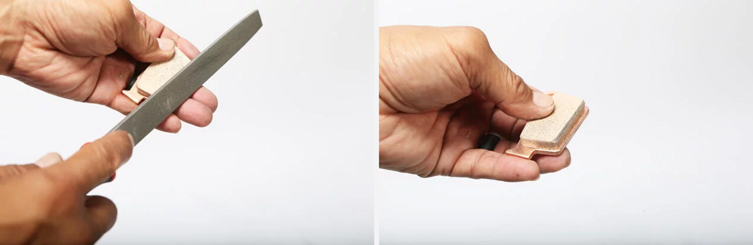
At the manufacturer level, and especially during new bike testing season, I remove and reinstall the wheels of motorcycles numerous times. To help make this an easier process, I like to bevel an edge on the inner edge of the brake pads to help guide the brake rotor in between the pads. It doesn’t take much, just a few passes with a flat-file is good enough to round the edges of a normally square pad.
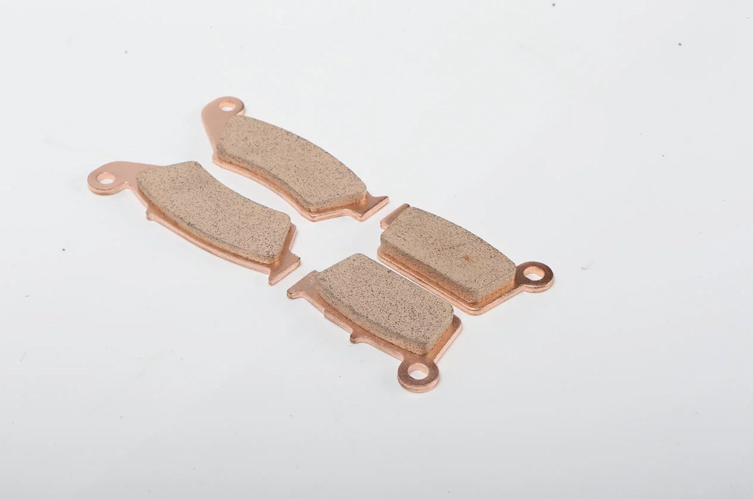
Sintered metal brake pads are better at managing heat, have better feel and modulation, and last longer than organic material brake pads. ProX pads are produced under a very strict sintering process, which fuses metallic particles with a combination of heat and pressure.
Install the new pads by slipping the squared end into the corresponding notch on the inside edge of the brake calliper. Because you’ve already depressed the piston into the calliper, the new, thicker pads should slide in easily.
Slip the pad retention pin back in and thread it in semi-tight. Once the calliper is mounted back on the fork, you should snug it down when you have the benefit of mounted leverage.
Reattach the brake calliper to the fork lug with the two bolts. Before installation, I like to clean the threads of the mounting bolts out and apply a thin layer of grease on the threads to prevent seizing. Check your owners’ manual for proper torque specifications.
Don’t forget to snug up the pad retention pin! Some manufacturers use a small, threaded cap over the head of the pin to prevent against backing out. If your bike has this, it’s a good idea to clean and grease the threads on this, too, as it’s a commonly seized part.
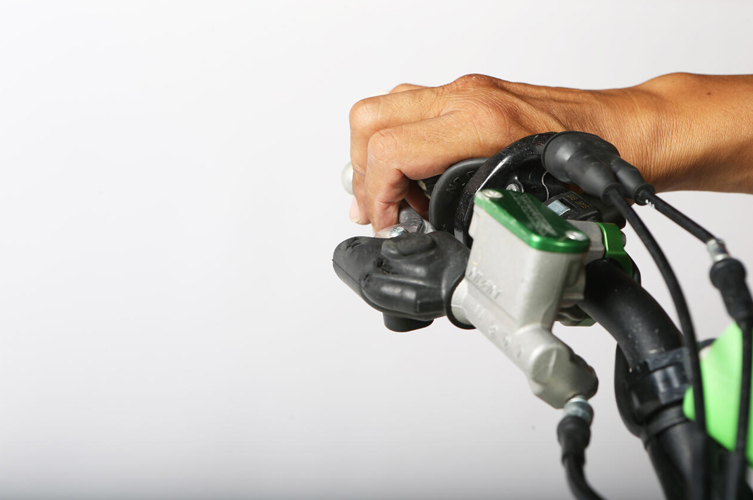
After you have tightened all the fasteners, be sure to pump the front brake lever several times to get fluid back into the calliper. At first, there will be no pressure at the lever, but after a few actuations, all should feel normal again.
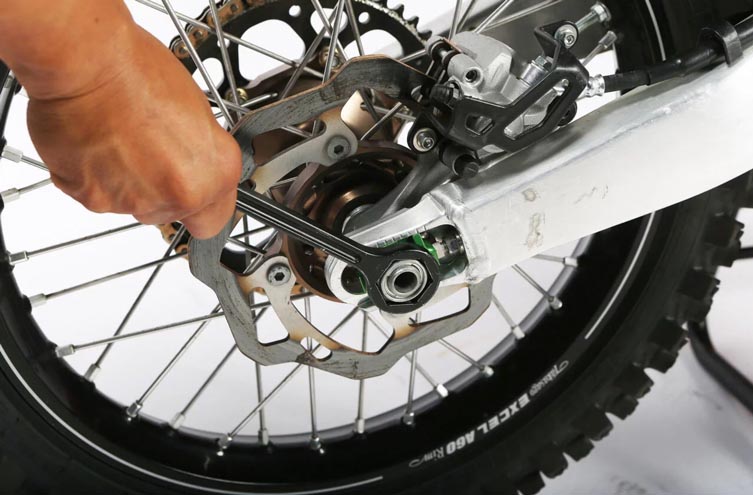
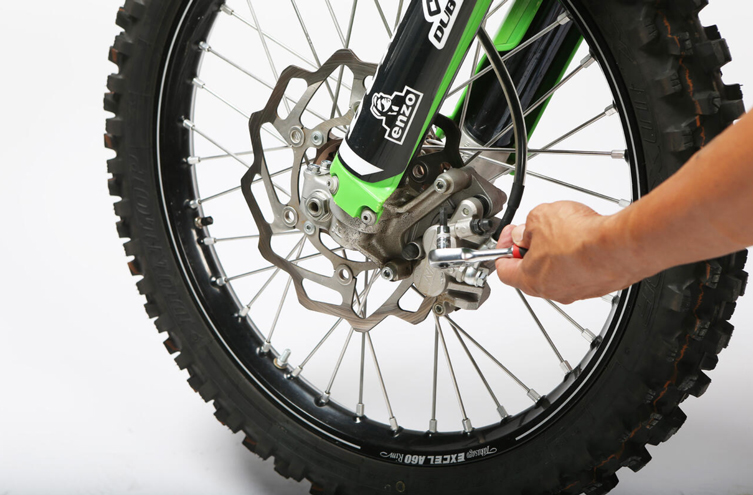
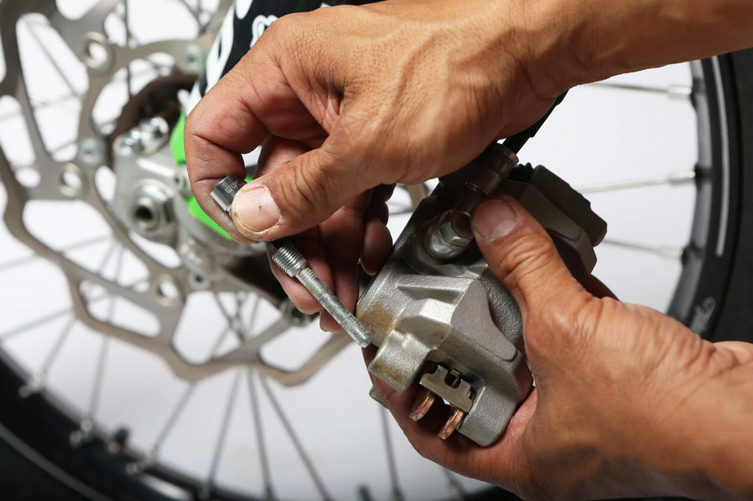
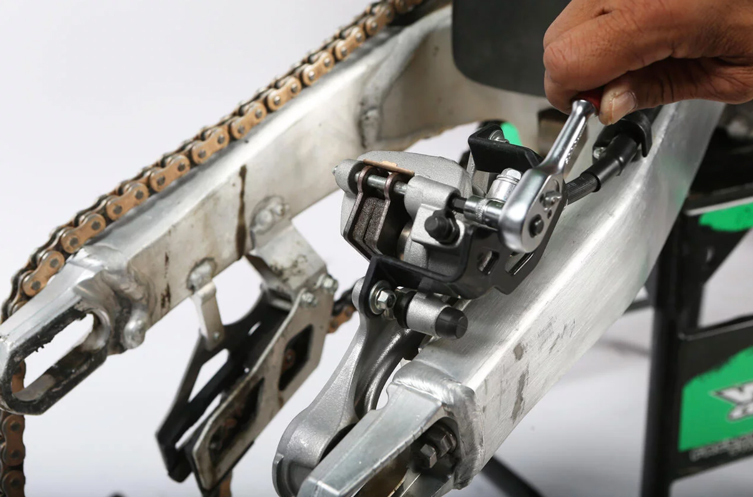
Though it is possible to change rear brake pads without removing the rear wheel, it is tricky to remove and install the pads in the calliper when you have to work around the disc. That said, take the extra step to remove the rear wheel and make your life easier with just a little effort. Loosen and remove the rear axle nut and slide the rear axle out. While it is out, it’s a good opportunity to wipe it clean and inspect it for wear. Be sure to apply a thin coat of grease on the axle and threads before reinstallation.
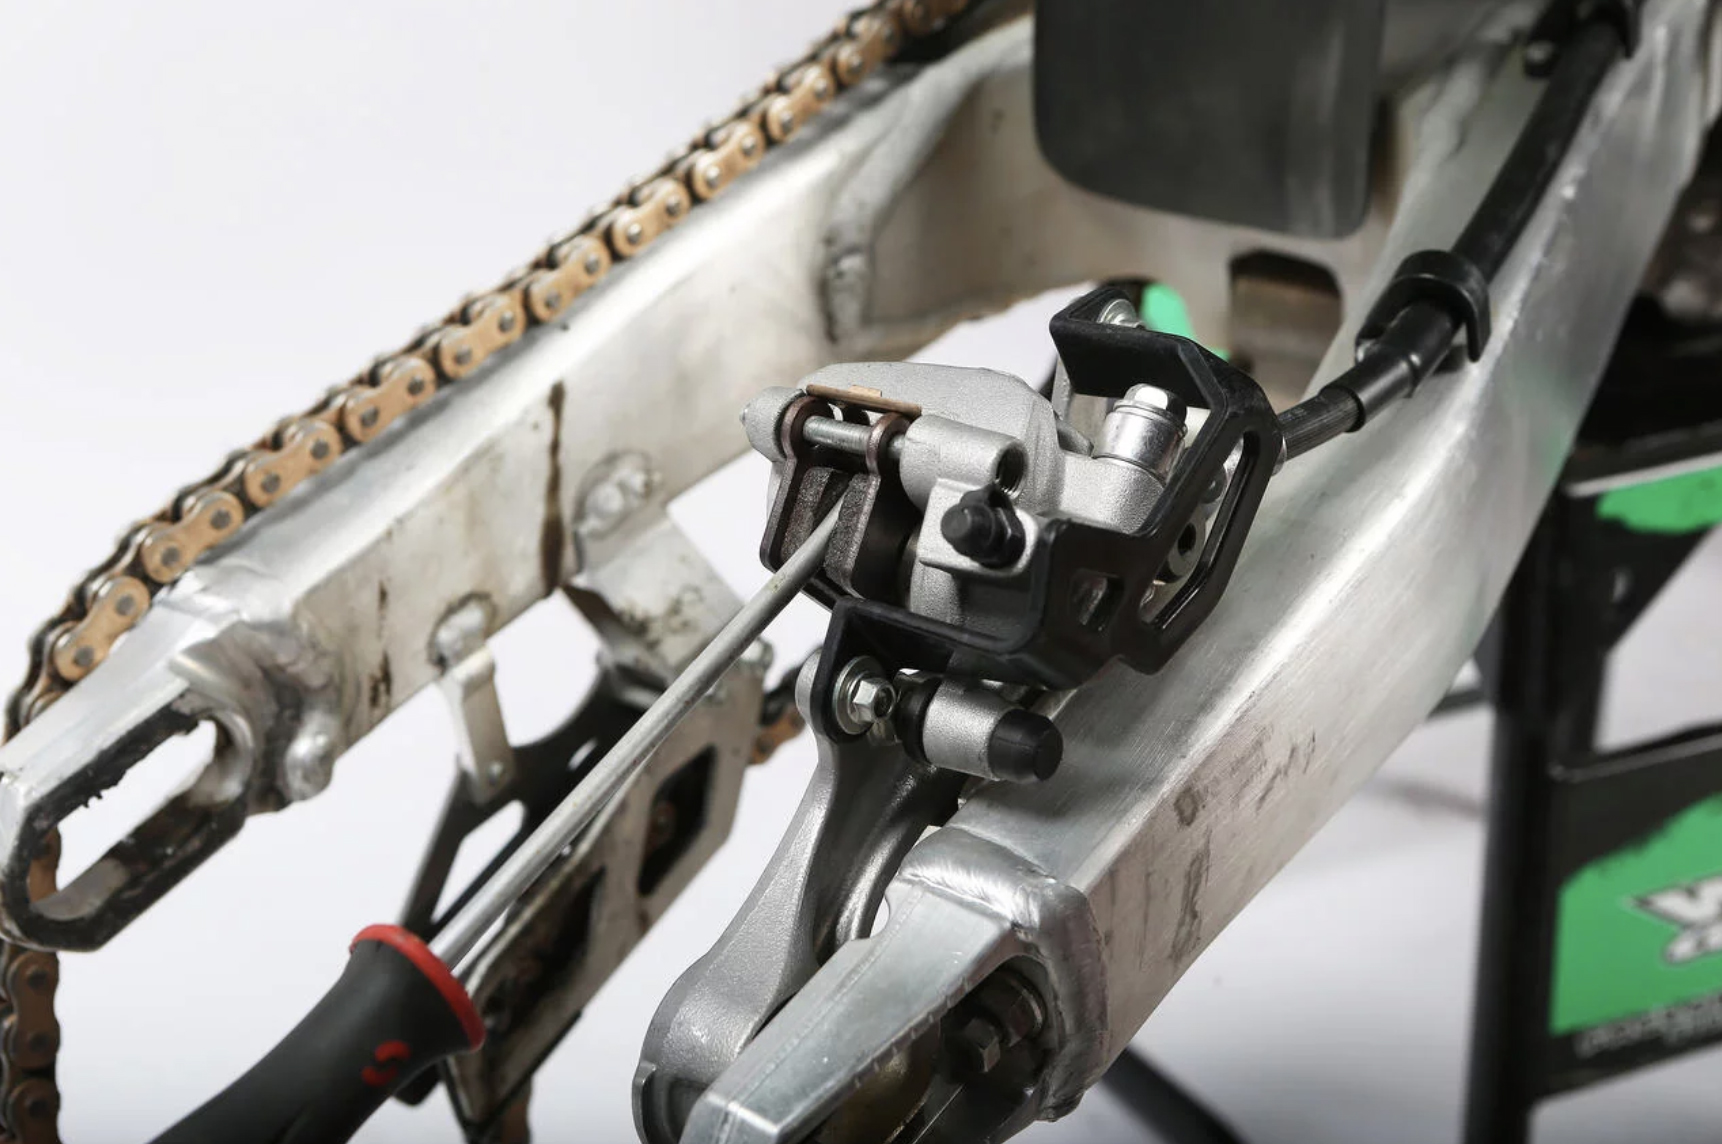
As you did with the front calliper, use a flathead screwdriver to spread the pads and retract the piston into the calliper, as this will make the removal of the old pads and installation of the new ones an easier affair.
From here, the process is the same as replacing the front pads, with the exception of removing the calliper from the swingarm. Loosen, remove, and inspect the pad retention pin, replace the old pads with the new set, reinstall the pin and snug it down before reinstalling the rear wheel and tightening up the rear axle. Be sure to check your owners’ manual for recommended torque settings. Finally, pump the rear brake pedal to activate the calliper and get the pads extended against the disc.
Related Content
HOW-TO: MAINTAIN YOUR BRAKE SYSTEMS
HOW-TO: REPLACE FRONT & REAR SPROCKETS
You might also like...

2026 SMX WORLD CHAMPIONSHIP VIDEO PASS
The SMX Video Pass is back, and again providing live and on-demand access to all 31 rounds.

2026 ENDURO & CC MODELS: 7-BRAND PRICE COMPARO
A handy table of easy-to-compare prices for seven brands’ 2026 enduro and cross-country models.

HONDA CLAIMS EIGHTH AUSX TITLE
Dean Wilson sealed the deal for Honda with a dominant 2025 Australian Supercross season.
National Motorcycle Insurance
4 months ago
Ride Smart | Presented by National Motorcycle Insurance
Transmoto’s Simon Barratt covers some handy tips on how to protect your dirt bike, presented by National Motorcycle Insurance.
KTM
5 months ago
KTM DOMINATES 2025 AUSTRALIAN ENDURO CHAMPIONSHIP
The KTM DM31 Racing Team wrapped up four titles at the weekend’s AusEnduro season finale.

Boost Secures 2025 AUSX Naming Rights
The Australian Supercross Championship is set to launch into its biggest season yet.

TT Circuit Assen To Host 2027 MXoN
The 80th edition of the MXoN will see the legendary event return to Dutch soil in 2027.

First Look: Aus MXGP Battleground
The 2025 MXGP of Australia track design has been revealed.
Be the first to comment...