How To: Apply Graphics
There’s no more cost-effective way to improve your bike’s looks than to replace the graphics. Think of it like getting a haircut – some do it to look like Leonardo DiCaprio, others to just appear respectable. But either way, it’s a job that just needs to happen every now and then.
After a year or two, most graphic kits start to peel around the edges, fade from the sun or have holes worn in them. Although it mightn’t look like it, they actually get a pretty serious workout between your knees as you hang on to your bike for dear life while you approach that triple.
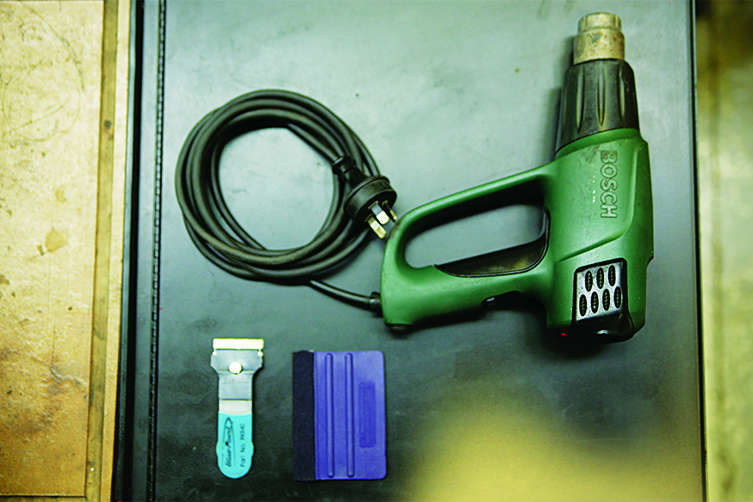
Tools you’ll need:
- Squeegee
- Heat gun
- Razor blade
Fortunately, new graphics kits are relatively cheap, allowing you to add a bit of customised flair to your bike, and they are pretty straight-forward to replace with the right technique. There are plenty of off-the-shelf kits out there for most bikes. Aftermarket kits are fairly cheap, whereas genuine kits tend to be a bit better. Or better still, a few Aussie graphics manufacturers offer custom kits that allow you to fit as many sponsors logos or smartarse slogans as you please.
Nick Dole from Teknik Motorsport explains how to do it the easiest way.
TEAR HER CLOTHES OFF
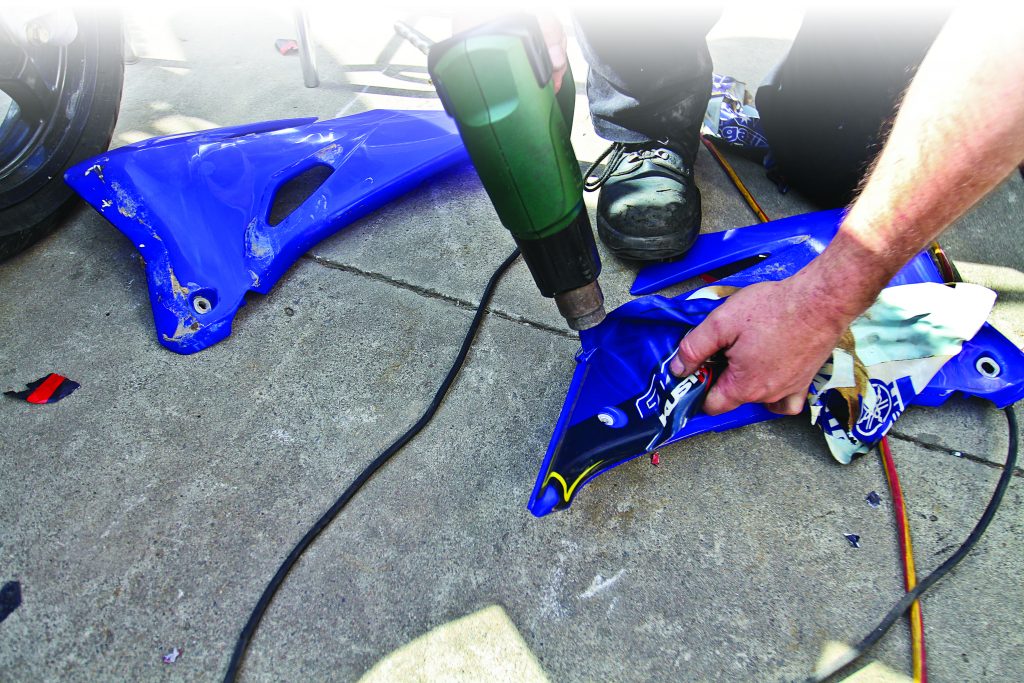
Before you start on the graphics, give your bike a thorough wash. Dirt and grit falling into the new graphics adhesive will create high points, weaken the adhesive and eventually wear through. When clean, leave the plastics out in the sun, then start at one corner and begin peeling. If it’s cold, give the old graphics a quick hit with the heat gun before peeling.
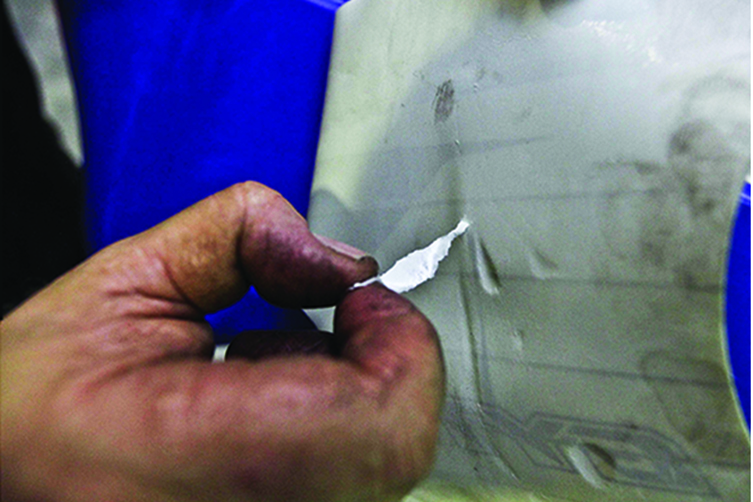
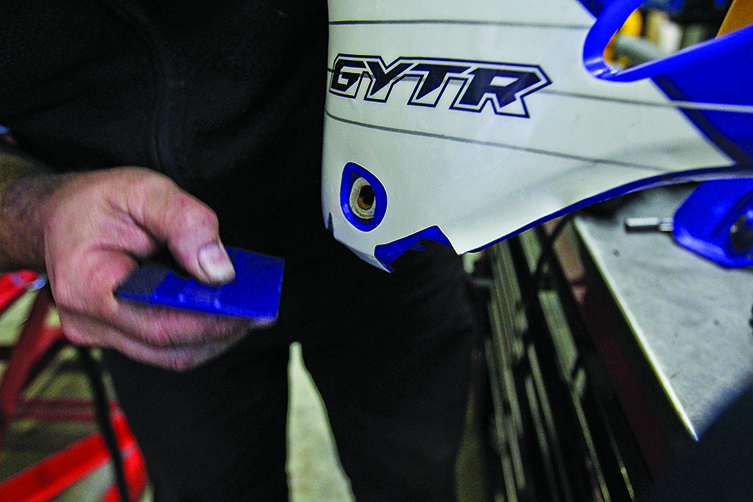
Clean the bare plastics
You can do this job with the plastics on or off. With the plastics on, it’s easier to keep things steady, but we stripped the plastics off for better photo angles. If you were careful about how you peeled the graphics off, there will be little, if any, glue left on the plastics. Whatever glue is left behind should be hit with special glue and adhesive remover or soaked in eucalyptus oil, then covered in glad wrap to soak.
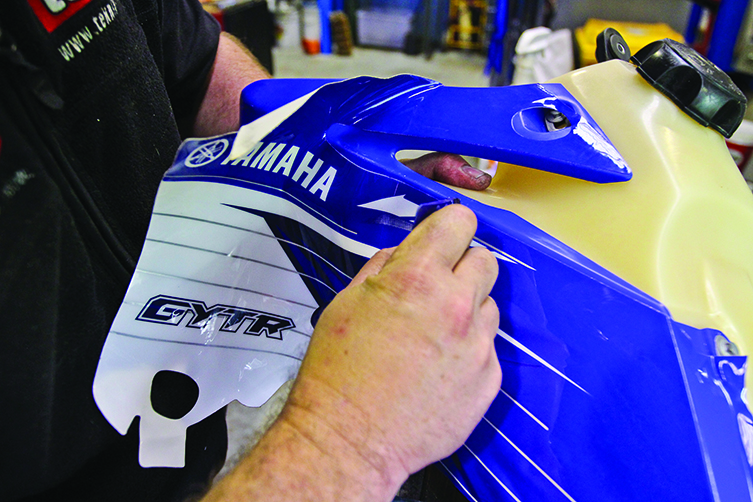
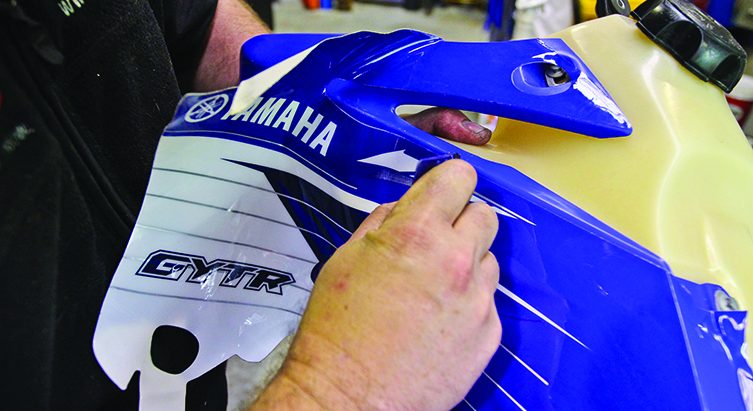
Get a corner started
With the plastics prepped, hold the new graphic up to the panel you’re about to apply it to and see how everything lines up. Ideally, you will have a consistent 2-3mm gap between the edge of the graphic and the plastic, with all holes fully aligned. Give the panel another wipe to remove any airborne dust or dirt particles. Then start with the longest flat edge of the graphic and peel back about half of the backing paper. Line it up with any holes or edges and get it started.
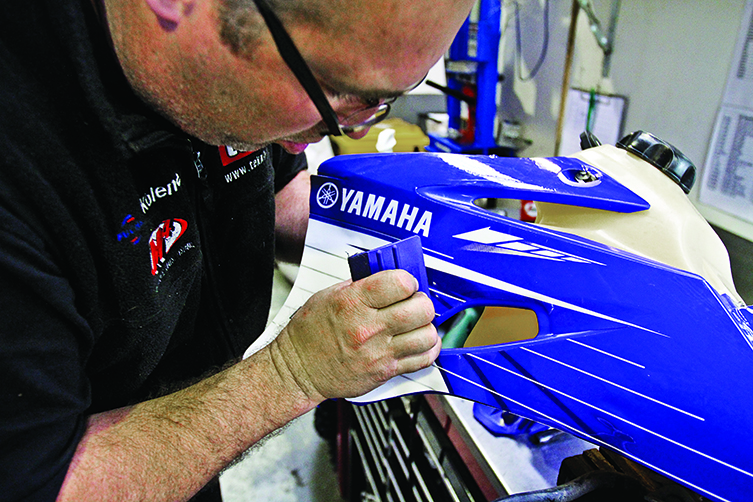
Use heat to your advantage
With one edge started, grab your squeegee and heat gun and start slowly plying more and more of the graphic on. Hold the loose graphic away from the bike with one hand, then use the heat gun in the other to warm up an area about 100mm wide. Then swap the heat gun for the squeegee and start plying the graphic on, directing the flow of traffic by pulling the loose part of the graphic in the right direction.
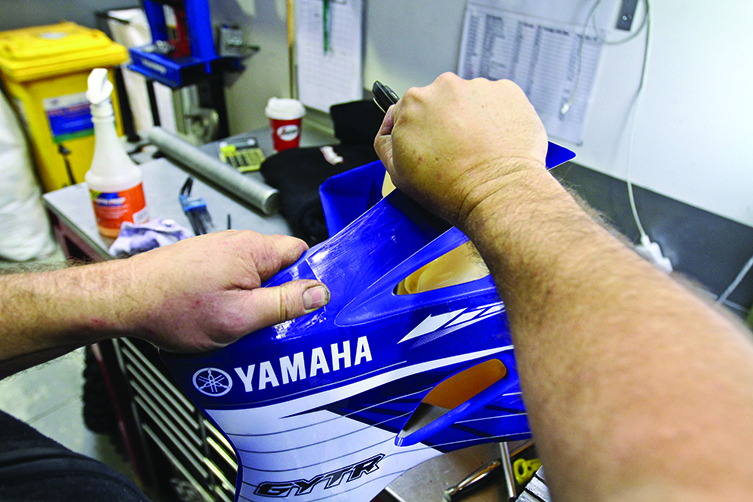
Stretch & manipulate
Don’t be afraid to get rough with the graphics. It’s a bit like pulling your little brother’s hair when you were a kid – pull hard enough and you’ll get it to behave like you want it to. Use plenty of heat and figure out exactly how you need a section to go. You can expect quality graphics to stretch by about 15-20% of their length.
Get rid of bubbles
Bubbles are just trapped air, and bad news. This is where graphics will start to peel from and they can burst, leaving holes. Luckily, the glue on decent quality graphics will give you at least four or five goes at peeling the graphic back and starting again. First try and use your squeegee to push any bubbles to the edge, and if that doesn’t work, peel it back and start again. A small prick with a pin (and we’re not talking about your mate, Shorty, here) will allow you to smooth the most stubborn of bubbles out.
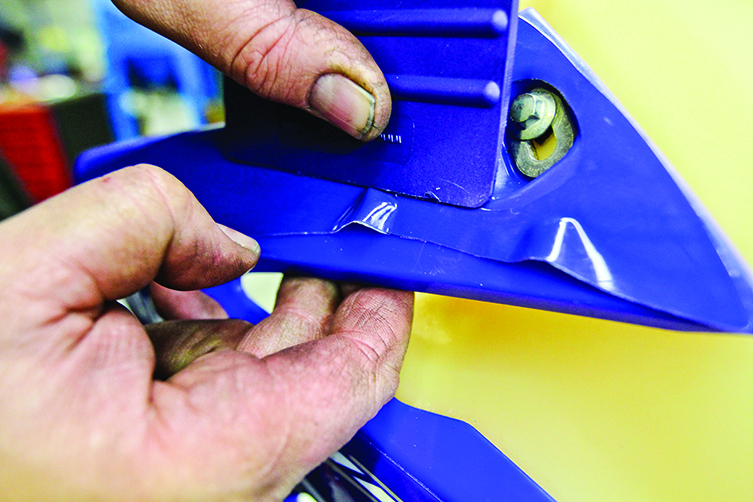
Work the edges
The edges are where graphics start to peel from and begin to look daggy, so pay extra attention to make sure you push the graphics down hard to give the glue the best chance of doing its thing. Use the heat gun to warm them up, then squeegee them down hard. Quality graphics are remarkably flexible, so you can get away with a lot in terms of creases or stretching with a bit of heat and persistence.
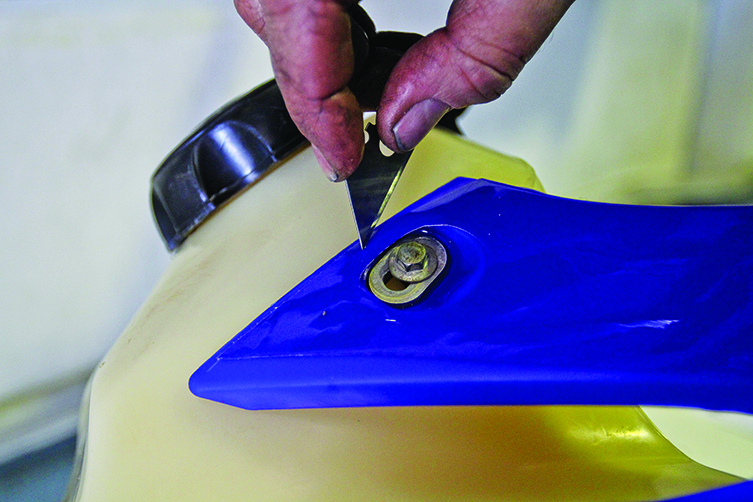
Trim loose edges
Any edges that overhang the plastic will allow water to work its way under the graphics, lifting them off. To prevent this, grab a craft knife and trim any overhanging edges. This includes around any bolt holes. With the edges trimmed, the only thing left to do is wait for the glue to set. This usually takes a couple of days if you want your new graphics to really last, so resist the temptation to ride that shiny lookin’ thing.
Tips & Tricks
- When applying graphics, heat is everything. A heat gun is best, but a decent hair dryer or a bloody hot, sunny day might also do the trick. If the wife’s out, you could try microwaving ‘em.
- If you want a quality heat gun that will last more than a couple of years, get a Bosch. Everything else pales in comparison.
- Make sure all of the backing comes off the graphics completely. A few little bits of paper left on will prevent the glue from setting, causing the graphics to lift.
Related Content
You might also like...

2026 SMX WORLD CHAMPIONSHIP VIDEO PASS
The SMX Video Pass is back, and again providing live and on-demand access to all 31 rounds.

2026 ENDURO & CC MODELS: 7-BRAND PRICE COMPARO
A handy table of easy-to-compare prices for seven brands’ 2026 enduro and cross-country models.

HONDA CLAIMS EIGHTH AUSX TITLE
Dean Wilson sealed the deal for Honda with a dominant 2025 Australian Supercross season.
National Motorcycle Insurance
5 months ago
Ride Smart | Presented by National Motorcycle Insurance
Transmoto’s Simon Barratt covers some handy tips on how to protect your dirt bike, presented by National Motorcycle Insurance.
KTM
6 months ago
KTM DOMINATES 2025 AUSTRALIAN ENDURO CHAMPIONSHIP
The KTM DM31 Racing Team wrapped up four titles at the weekend’s AusEnduro season finale.

Boost Secures 2025 AUSX Naming Rights
The Australian Supercross Championship is set to launch into its biggest season yet.

TT Circuit Assen To Host 2027 MXoN
The 80th edition of the MXoN will see the legendary event return to Dutch soil in 2027.

First Look: Aus MXGP Battleground
The 2025 MXGP of Australia track design has been revealed.
Be the first to comment...