How-to: Foot-Control Set-up
How to get your bike’s footpegs, rear brake pedal and gear-shift lever properly adjusted for your big, booted hooves – all for nix!
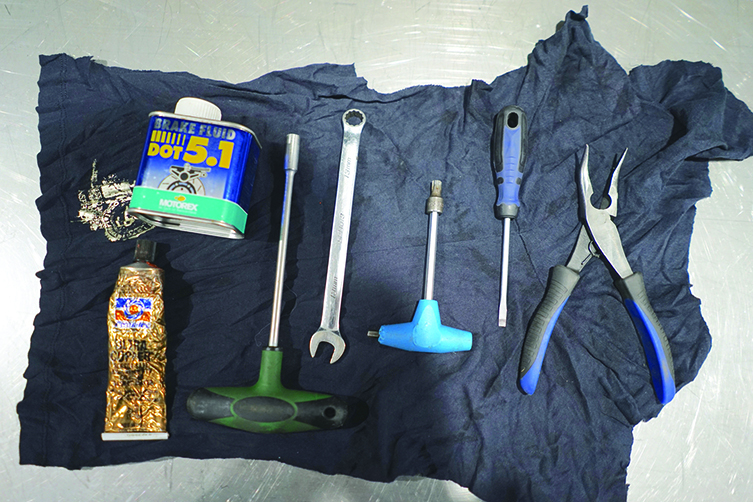
TOOLS YOU’LL NEED
- Ultra Copper Gasket Silicone
- Allen Keys
- Spanner
- Screwdriver
- File
- Pliers
What’s your idea of proper bike set-up?
For plenty of blokes, optimal set-up means forking out a pile of cash for trick aftermarket parts. While it’s true that judicious aftermarket mods will make a difference to some bikes, the biggest improvements can often be made for free. According to former KTM Off-Road team manager and eight-time Australian 4-Day Enduro champ, Brad Williscroft, small set-up changes – especially the changes that improve reliability, reduce service time or make you feel more at home on the controls – can make a massive difference to your comfort, safety, speed and entire riding experience. Brad explains the key set-up changes he likes to make to the components that his size 12s come into contact with.
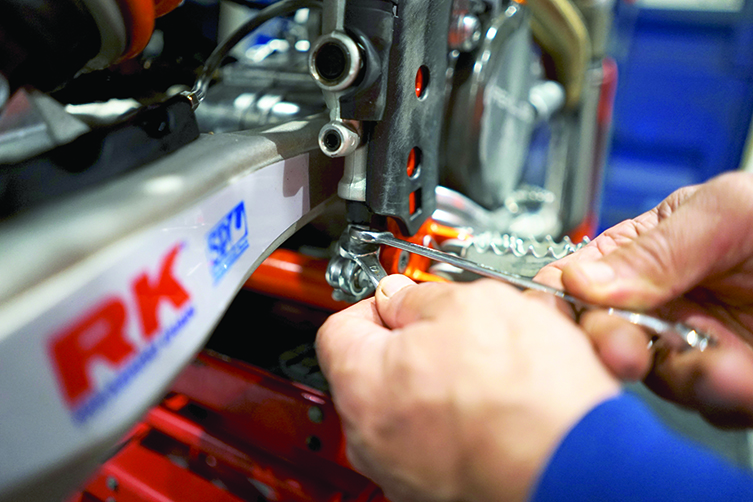
REAR BRAKE ADJUSTMENT
There are two key adjustments on your rear Brembo brake – pedal height and freeplay (Nissin brakes, however, only come with a freeplay adjuster). Set-up of these two adjustments is all about personal preference, but a lot of riders don’t even know where to start. Freeplay adjustment defines how much movement there is in the brake pedal before the brake comes on. My experience is that most riders don’t run enough freeplay, leading to poor feel and excessive brake wear. Unlike the front brake or clutch levers – where 35mm of freeplay is ideal – the rear brake pedal needs more like 10-12mm. That’s because the rear brake is harder to feel with your booted foot, meaning your inputs tend to be much less precise. I like to ride with my foot positioned on the pedal, so I’m ready to stomp on it when he needs it, and the longer freeplay stroke means I can do this without the pads constantly dragging on the disc. Too little freeplay in this scenario would burn through a set of rear brake pads in a couple of rides and/or regularly boil the brake fluid.
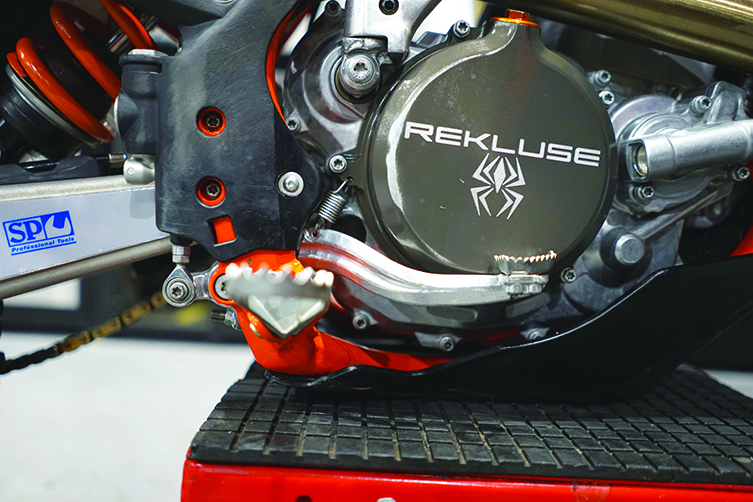
REAR BRAKE PEDAL HEIGHT
Setting your rear brake pedal height is also about personal preference, but I believe most blokes run their pedal height much too low. The key is to get the pedal height right for your natural standing position, taking into account the freeplay you have dialled in. If you have more freeplay, you can afford to set the pedal higher (so you can ride with your foot resting on it). I like to set my brake pedal about 10mm above the height of the footpeg. With 10mm freeplay, the brake comes on when the pedal is parallel with the peg. This added height gives me enough clearance to easily get my right boot under the pedal while attacking left-hand corners in the seated position, while also giving me good feel for the rear brake when standing. Travis Pastrana notoriously set his rear brake pedal as high as it would go and then added a 15mm spacer on the pedal’s tip, so it ran almost 50mm above the footpeg!
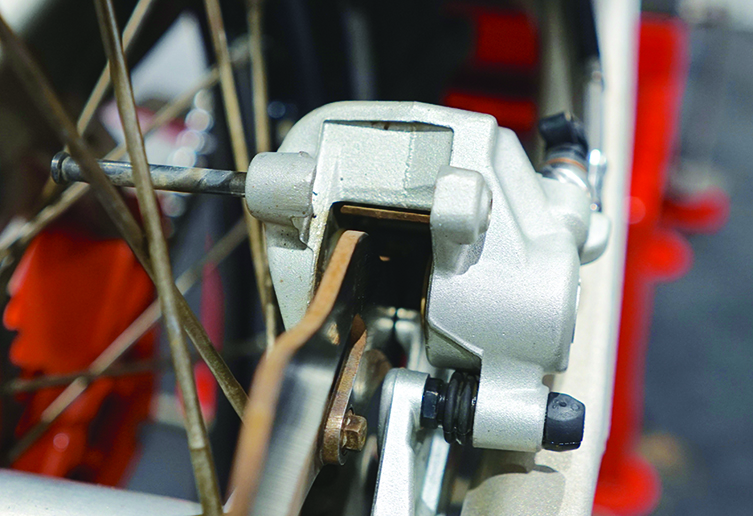
REAR BRAKE ANTI-SQUEAL PLATES
Most modern dirt bikes run anti-squeal plates that sit between the brake pads and the caliper. When new, these plates clip on to the caliper or the pads, but will often deform or get bent over time, meaning they’ll continually fall off when you’re changing or adjusting the pads. Most callipers are designed to allow the pads to be removed while the caliper and wheel are still on the bike (by simply removing the retaining pin), with the plate sitting in the calliper. But to keep these plates in place for quick and easy brake pad servicing – particularly in the bush – put a dab of Ultra Copper Gasket Silicone on the plates before assembly. This effectively glues these anti-squeal plates in place.
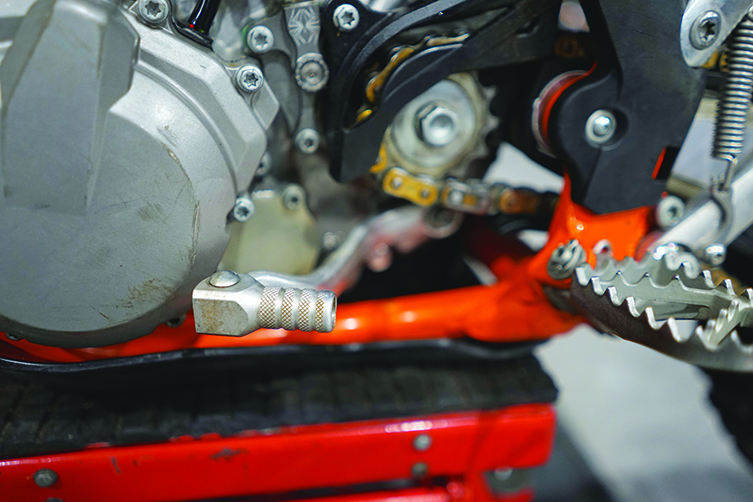
FOOTPEG PINS
From the factory, every bike has the footpeg retaining pin facing top-down, with a washer and split-pin on the underside of the pegs. You’d think this is logical, as gravity keeps the retaining pin in place, right? Well, the problem with that set-up is that rocks and other debris can (and often do) flick up and smack the split pin. In extreme situations, the split pin can even come out, which means you run the risk of losing the retaining pin and footpeg altogether! As a result, I always reverse the retaining pin, placing the split-pin at the top, where it’s out of harm’s way.
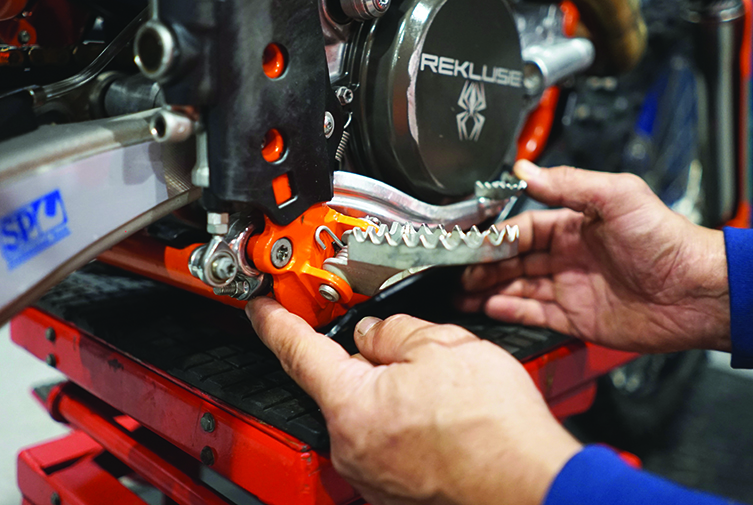
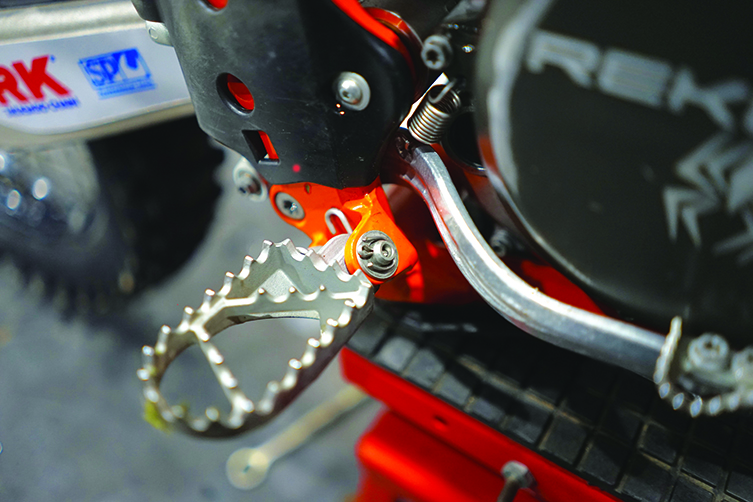
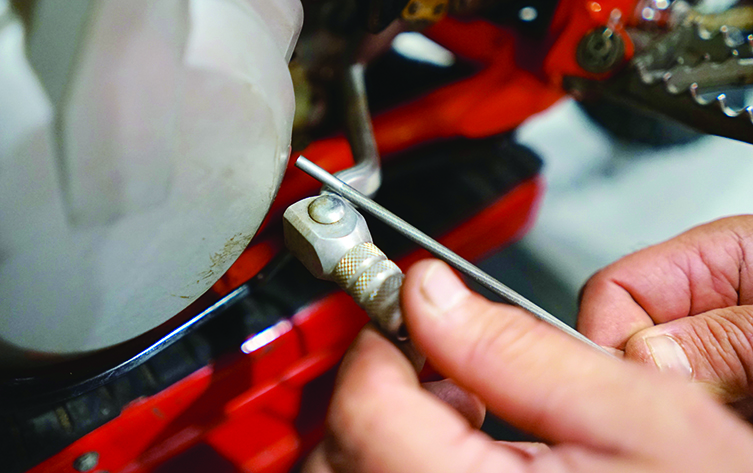
GEAR LEVER TIP
Like your footpegs, the tip of your gear lever is spring-loaded to minimise the risk of lever damage when the tip takes a hit from a rut wall, stick or rock. The problem is that, if the tip of the gear lever gets pushed in, it will often get wedged in the folded-back position, as its return spring is not strong enough to fold it back out again. The main reason for this is that the lever’s moulding is often too thick behind the lever tip. To fix the issue, file away about 1mm of material immediately behind the footpeg tip’s pivot point so that the tip can fold in and out with less obstruction.
Tips & Tricks
- Brake pads often get glazed over if overheated, meaning they lose bite and feel. Refresh them by simply rubbing the pads in a circular motion on a flat piece of rough concrete.
- While there are some super-expensive brake fluids available, Brad likes to run Dot 5.1. It’s a step up from the standard Dot 5 fluid, with a higher boiling point, but without the excruciating expense.
- If you’re especially hard on your rear brake, you might want to consider running aftermarket brake coolers. They sit on either the calliper or the top of the master cylinder and offer increased fluid capacity.
Related Content
- How-to: Adjust valve clearances
- How-to: Change a four-stroke piston
- How-to: Replace wheel bearings
You might also like...

Boost Secures 2025 AUSX Naming Rights
The Australian Supercross Championship is set to launch into its biggest season yet.

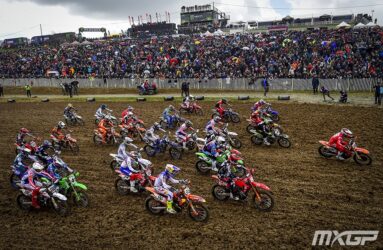
TT Circuit Assen To Host 2027 MXoN
The 80th edition of the MXoN will see the legendary event return to Dutch soil in 2027.
First Look: Aus MXGP Battleground
The 2025 MXGP of Australia track design has been revealed.

Aussie Riders Join Aus Hall of Fame
Four new Aussie riders have been inducted into the Australian Motorsport Hall of Fame.

VIDEO: DAKAR RALLY 2025 – BIKE HIGHLIGHTS
Didn’t manage to keep up with the longest desert race in the world? We’ve got you covered.
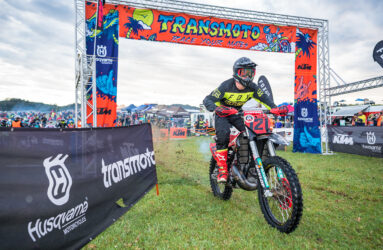
FIVE REASONS TO RACE A 2025 TRANSMOTO EVENT
Need some convincing? We’ve got you covered.

2025 SMX World Championship Video Pass
SuperMotocross Video Pass season subscribers can enjoy 10 months of live event coverage, plus over 900 hours of archived Supercross & Pro Motocross races.

OCEANIA WOMEN’S MX CUP EXPANDS IN 2025
An expanded Oceania Women’s MX Cup promises to be real shot in the arm for female MX riders – in Oz and worldwide!
Be the first to comment...