
Friday Fix No.4
Cleaning your foam air filter is one of the most important things you can do before each ride.
Most bikes come standard with high quality foam air filters these days. If your ride doesn’t have a good quality filter, it’s well worth the coin. Otherwise, you might like to start saving for an engine rebuild?
Air filters will always get dirty, no matter where you ride, how you ride or how long you ride. So it’s vital that you regularly check your air filter. It’s generally best to clean your filter after each ride, helping to decrease the chance of engine damage caused by dirt entering the engine. Along with checking your chain, this is a good habit to get into.
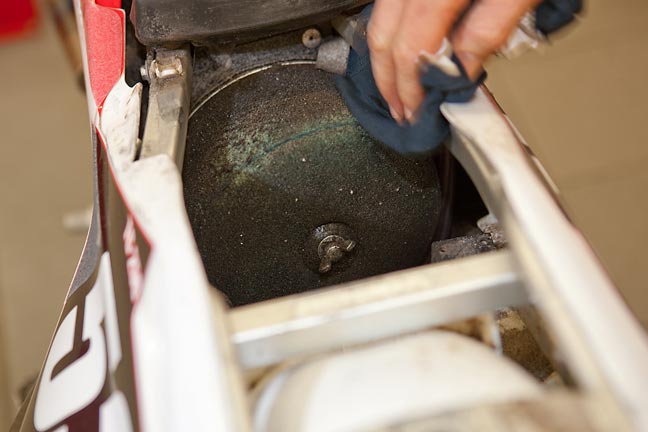
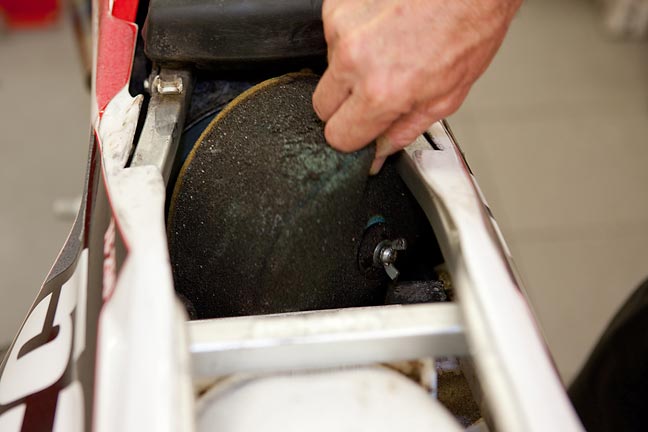
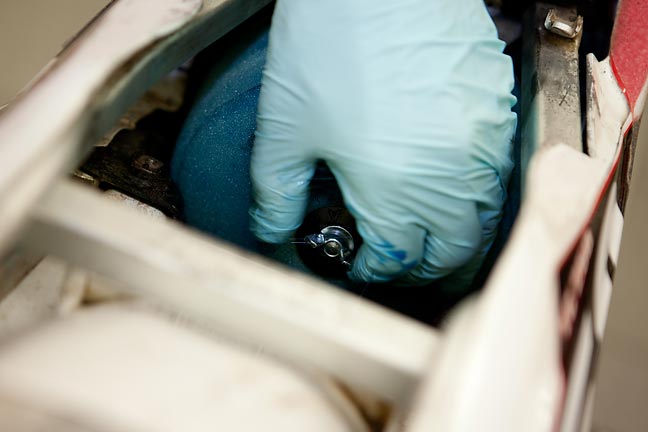
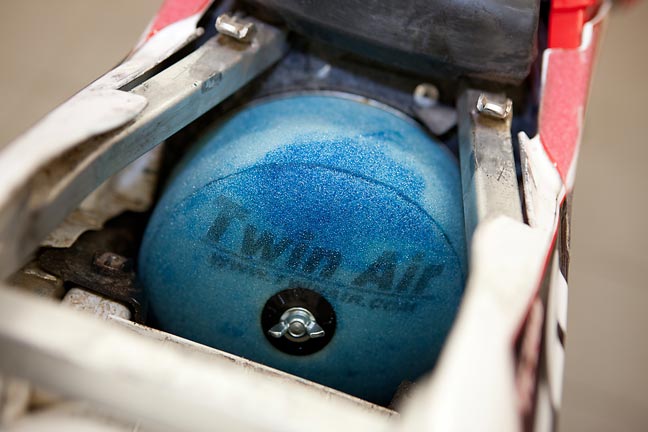
STEP 1: Remove the Air Filter
Grab a clean rag and wipe the excess dirt from around the filter, inside and outside the air box. This will help prevent any dirt falling into the air boot while you are removing the dirty filter.
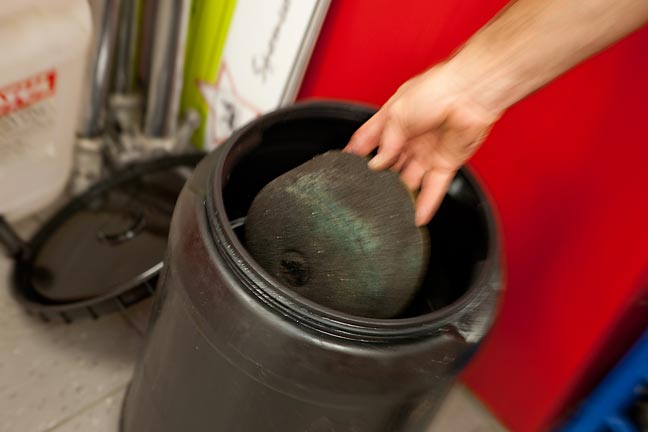
STEP 2: Cleaning
Soak the filter in a kerosene-based solvent. Don’t use petrol or any other harsh chemical solvents, as they break down the glue that helps hold the foam filter together. They will also prematurely deteriorate the foam element. Here we have a larger container full of cleaner to soak the filter for approx three to five minutes to break down the old filter oil. After the filter oil has been soaked, work out any trapped dirt or particles with your fingers. The most important thing to remember at this stage is that there are no loose dirt particles on the inside of the filter – make sure you check this thoroughly. Repeat this step if necessary.
STEP 3: Rinsing
Now wash the filter with a washing detergent to remove the solvent cleaning agents on the filter. Cover a small patch on the outside of the filter with car shampoo or similar and slowly and carefully massage it into the filter, making sure all dirt particles are removed. Now wash it under water, squeezing all of the washing detergent out of the filter. This will take some time, but be patient, as it’s easier to get rid of the dirt now than when it’s ground through the side of your piston.
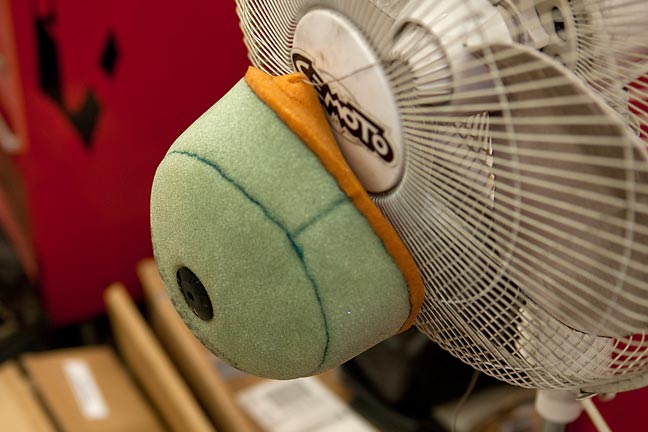
STEP 4: Drying
Place the filter on a paper towel or hang it somewhere clean, and allow it to dry properly. Don’t use hot air guns to help dry the filters, as the excess heat will damage the foam and degrade the glue in the filter. We have placed the filter on a pedestal fan to speed up the drying process – this works best in summer.
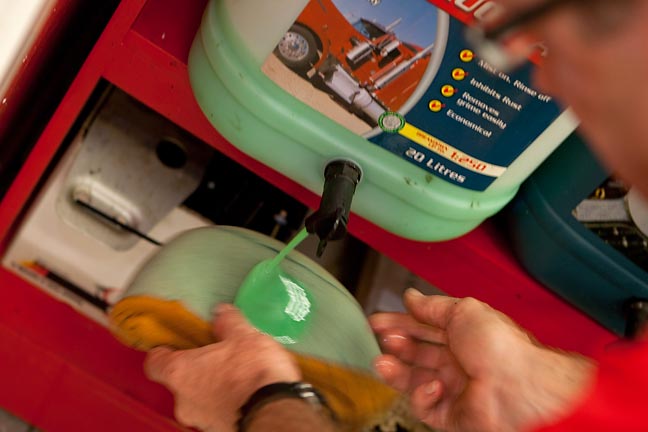
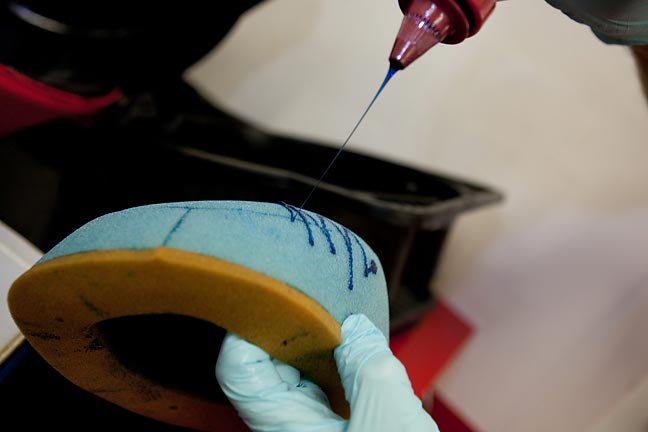
STEP 5: Oiling
Make sure that the filter is dry before you begin the re-oiling process, as not allowing it to dry sufficiently will trap some of the moisture. Cover the filter with filter oil, making sure you saturate the entire filter, coating it uniformly. Be sure to apply oil to the inside and outside of the filter. Don’t oil your air filter right before riding. Pre-oil the filter at least 24 hours before riding to allow the oil to evenly penetrate the pores and allow the thinning agent to evaporate. A recently oiled filter may cause your bike to run rich.
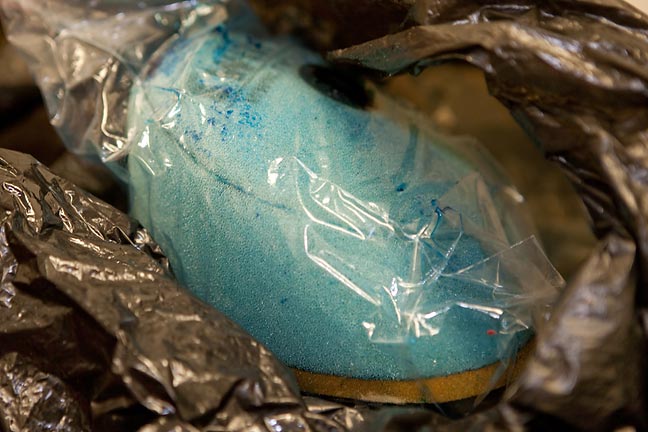
STEP 6: Squeeze Excess
Massage the oil through the filter, squeezing the excess oil out so that a light coat of oil remains. You can place the filter in a plastic bag to help massage the oil completely through the filter. The excess oil should be redirected to parts of the filter that only have a light coating. Don’t ring out it when oiling, as this could damage the foam. It’s best to massage the oil through the pores with your hands. You can gently fold the filter and squeeze out the excess oil.
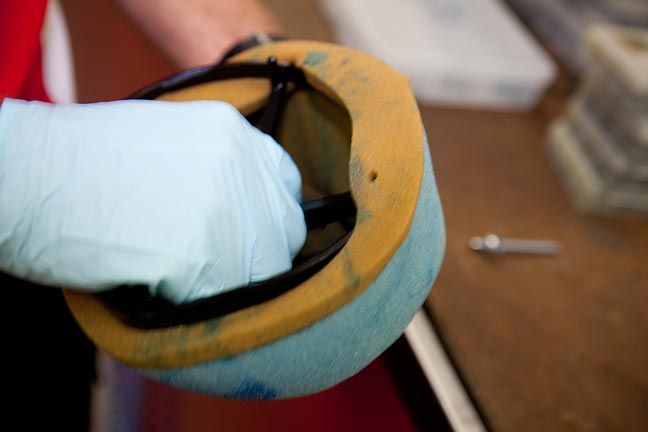
STEP 7: Installation
Install the cage into the filter, checking that the cage is dry and clean from dirt. Before installing the filter, check the carburettor boot for any dirt or damage. Locate the sealing ring of the air filter and use a small amount of multi-purpose grease to ever-so-slightly coat the leading edge of the filter to help seal it. Now install the clean filter into the airbox.
Additional Air Filter Care Tips
Clean Air Filter Cage and Bolt:
Using contact cleaner, spray the filter cage and bolt to remove old oil and dirt.
Clean Sealing Ring:
Spray contact cleaner on a rag or towel and wipe the sealing ring of the air box to remove dirt and oil residue. Look inside the air boot to make sure no dirt fell in when you removed the filter.
Air Box Cleaning:
Install an air box cover (available for most modern bikes) before you wash your bike. With the air box cover installed, you can wash out your air box without getting dirt or water into your air boot, and subsequently your engine.
Air Box Boot:
Regularly inspect your air box boot as if broken, it will let unfiltered air into the engine. Look for any lacerations to the boot, and also check that the boot is sealing to the carby properly.
You might also like...
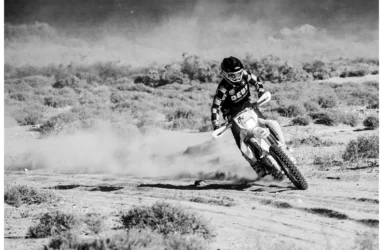
BAJA 1000: ‘BEYOND THE LINE’
‘Beyond the Line’: a cool, bite-sized insight to the iconic annual Baja 1000 race.
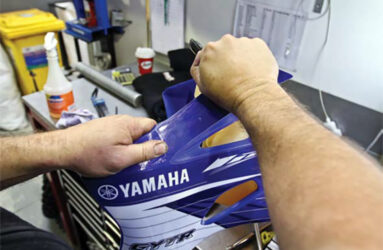
HOW-TO: REPLACE YOUR GRAPHICS – PROPERLY!
The six key steps involved in replacing your bike’s old, worn graphics.

GIFT A MATE – AMA SUPERMOTOCROSS VIDEO PASS
Buy your mate an exclusive ticket to watching AMA SX outside of the USA.
HOW-TO: CHAIN & SPROCKET REPLACEMENT
We walk you through the 10 key steps that’ll ensure your bike’s chain and sprocket are doing their job properly.
Royal Enfield
2 months ago
ROYAL ENFIELD’S HIMALAYAN 450 – FAQS ANSWERED
We answer your most FAQs about Royal Enfield’s landmark new Himalayan 450 adventure tourer.
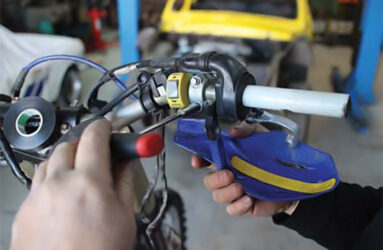
HOW-TO: HANDLEBAR CONTROLS SET-UP
Eight simple steps to help you declutter, service and update your bike’s handlebar-mounted controls.
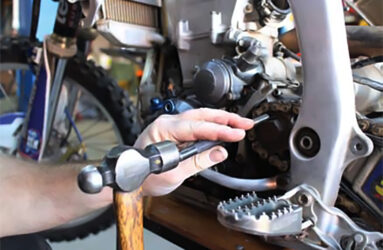
HOW-TO: FOOT-CONTROL SET-UP
Five simple steps to help you get your footpegs, rear brake pedal and gear-shift lever properly adjusted.

Harry Norton Takes the Helm at Red Bull KTM Factory Racing
Aussie Harry Norton has taken the step into the role as Team Manager of the Red Bull KTM race team.
Be the first to comment...