
How-To: Maintain Your Clutch
Your clutch is the critical conduit between your engine’s 50-odd horsepower and the rear wheel. And in comparison to other forms of motorsport, no other lightweight system – made up from little more than several pieces of cork, fibre and metal – has to handle so much punishment, week in and week out. Most slipping clutch problems are the result of worn-out plates not providing the bite and friction required to drive the countershaft sprocket under load. Luckily, it’s easy to diagnose. First, find some open space and put your bike in a tall gear. Then snap the throttle open from low to medium revs and release the clutch lever. If the revs increase disproportionately to your speed, you know it’s time to break out the tools. Because a bike’s clutch system is made up of many integral parts, it also means plenty can go wrong – anything from a worn throw-out bearing to shagged damper springs. Fixing those parts can be slightly too technical if you’re a newbie, so for now we’ll show you how to easily check and replace your clutch’s plates.
Tools You’ll Need

- Spanners, T-bars or a socket set.
- Two flat-blade screwdrivers.
- A set of verniers.
- A thin file.
Clutch Pack Thickness
A typical dirt bike clutch pack is made up of driven (metal) and drive (paper or cork on metal) plates. If the overall thickness of the pack becomes too thin as a result of wear on those drive/driven plates, the clutch will slip and need replacing. Your machine-specific owners manual will state the minimum thickness for each plate.
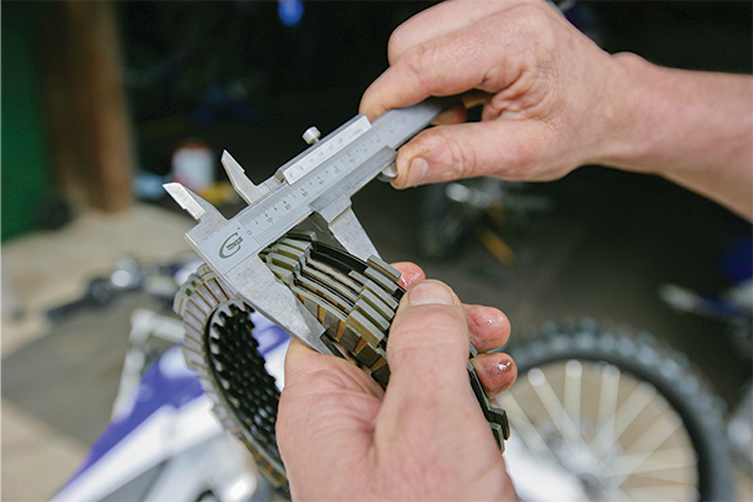
But to save time, add up the minimum thickness of all of the drive and driven plates together from the manual. It gives you a base figure to compare against the thickness of your bike’s clutch pack, and is a handy way of checking whether your clutch will hold up through the upcoming club day.
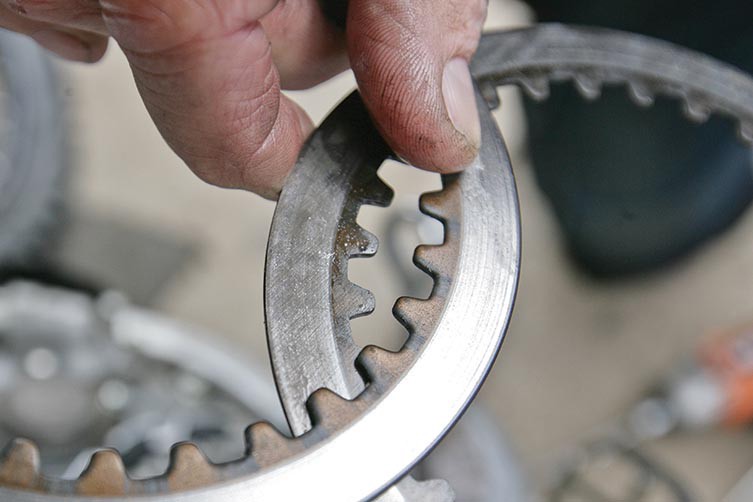
Worn Basket
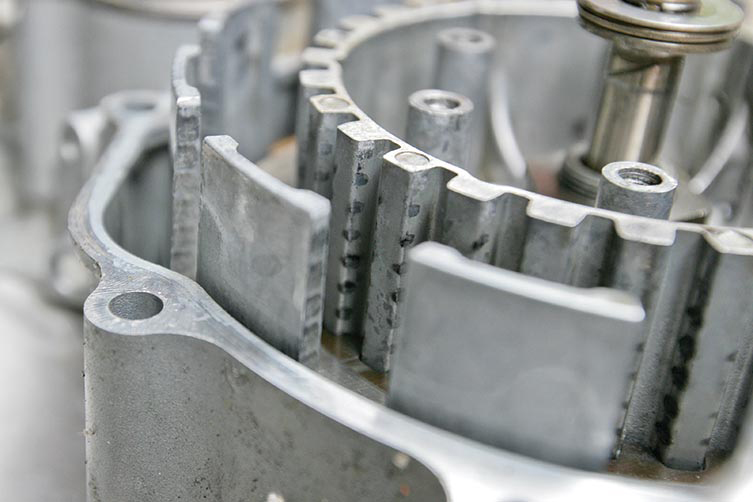
The alloy fingers of the clutch basket and drive hub will eventually suffer from ‘grooving’ – the wearing of slots into the alloy where the plates sit in their ‘engaged’ position. If this is the case, the plates won’t move freely when the clutch is disengaged. This will make the clutch lever hard to pull, the clutch jumpy, or the gearbox difficult to put into neutral. A quick fix is to lightly file the grooves out of the fingers to create a smooth edge again, but this accelerates overall wear. For a longterm solution, replace the basket and/or hub with a forged unit.
Worn Drive Hub/ Pressure Plate
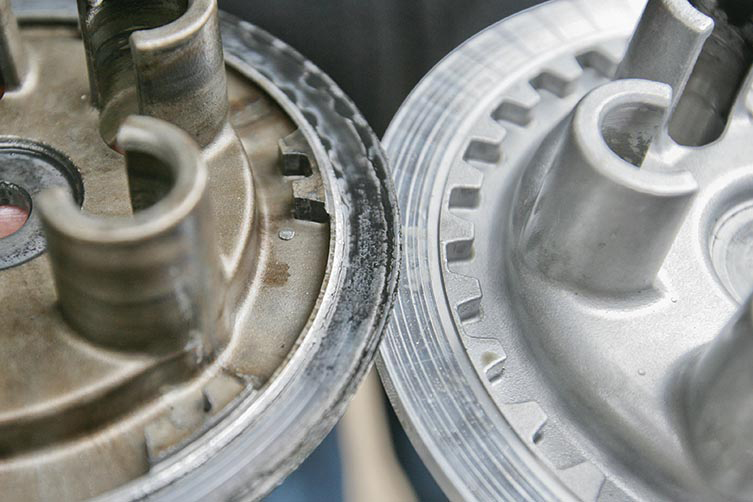
A clutch’s drive plates continually rub against the driven plates, the pressure plate and the drive hub. Apart from some late-model motocross bikes, most driven plates are steal, meaning they’ll often outlast the drive plates. Similarly, the pressure plate and drive hub are made from cast alloy, meaning they wear out quickly as well. If the friction area on the pressure plate or drive hub wears too much, the outside drive plates won’t create sufficient amounts of friction and the clutch will slip.
1. Lay Her Down
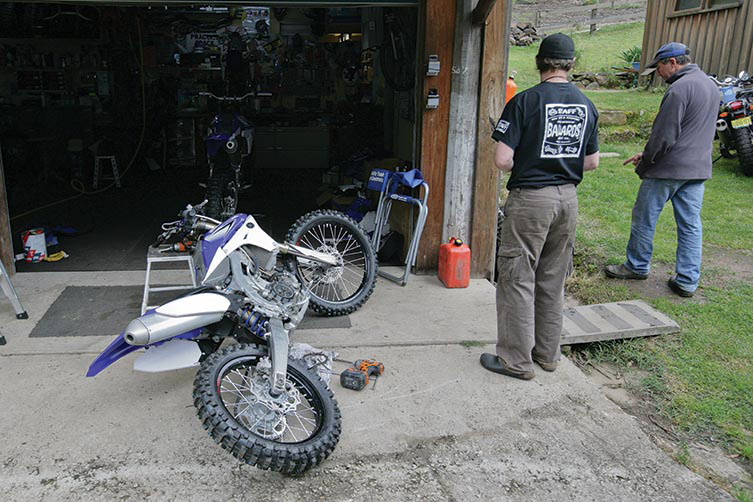
Almost all dirt bike clutches are wet, meaning they run in oil. To save draining your bike’s engine oil (if it’s relatively new) before attacking the clutch, simply lay the bike down on it’s left side with the clutch cover facing up. You don’t even have to be in a workshop to service your clutch – anywhere that’s dust-free will do.
2. Push The Calliper
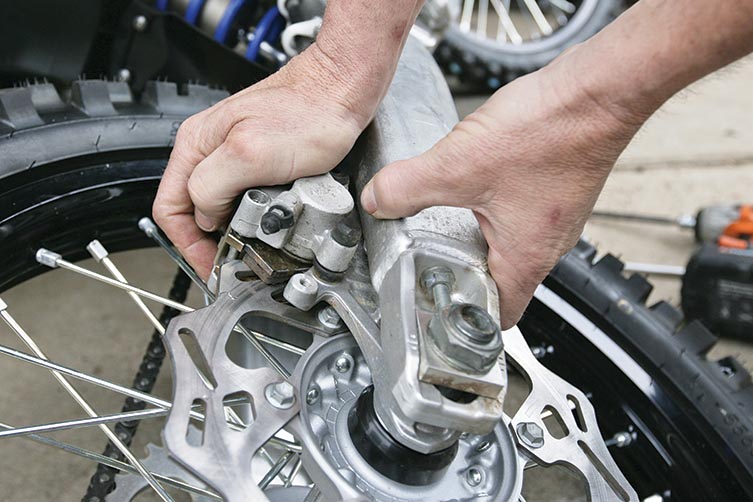
The bike’s rear brake lever typically blocks access to the clutch cover’s lower bolts. Removing it is a chore you can avoid by simply pushing down on the rear brake calliper to move the pads off the disc. The lever will then drop freely near its full extension, providing quick and easy access to those previously hidden bolts.
3. Spanner Time
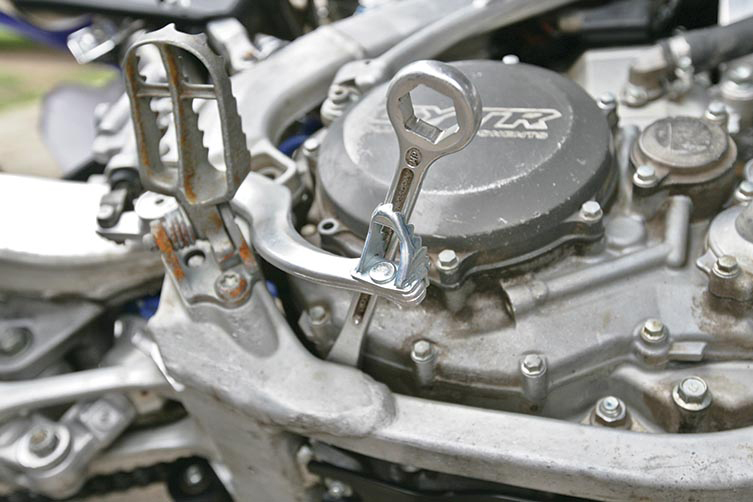
To keep the rear brake lever down while you tinker, poke a long spanner or screwdriver between the case and the frame. Then, carefully remove all the cover’s bolts (lay them out in a pattern to help remember where they went) and gently lift the cover off the case to avoid tearing the super-thin gasket, and inspect.
4. Strip Her Down
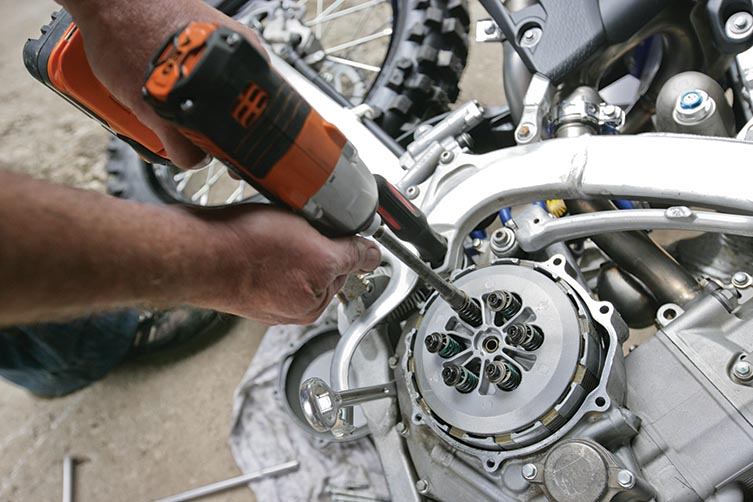
With the appropriate socket or T-bar, remove all the bolts and springs that hold the pressure plate and clutch pack inside the hub. This is a good time to inspect those clutch springs, looking for “blueing” (a telltale sign of overheating). Measure each spring’s overall length and compare that measurement with the owners manual, as worn-out springs can also contribute to a slipping clutch.
5. Pack Removal
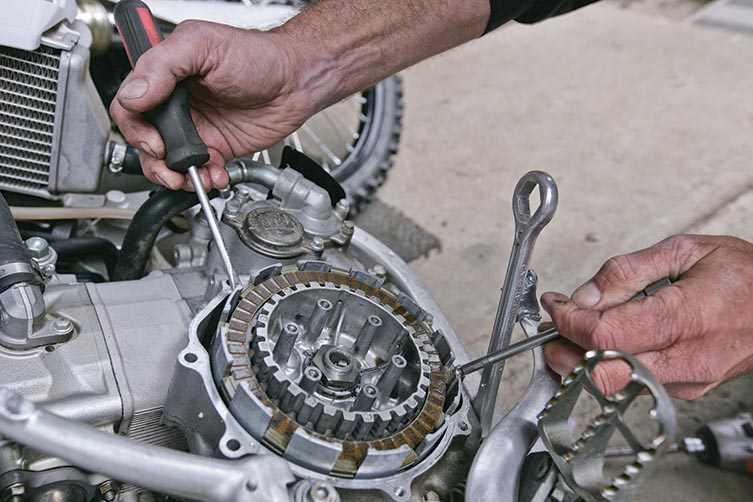
Before you remove the pressure and drive/driven plates, lay out a rag or grab a 2L ice-cream tub to contain everything – it’s the messiest part of the process. Most plates can be pulled out with your fingers, but a couple of screwdrivers will be necessary (as demonstrated in the photo) to remove the last few. Also, when handling and inspecting the plates, be sure to keep them in the right order you extracted them in, if you plan to reinstall the same clutch pack. It will save you all sorts of future headaches.
6. The Right Order
Installing a new or recently inspected clutch pack is straightforward. But unlike the drive plates, which can be installed in any polarity, each of the steel driven plates have to go in rounded edge-first for the smoothest clutch action. Thankfully, it’s easy to tell by running your thumb over the steel plates’ edges – one will be sharp the other will be blunt. Just make sure each sharp edge is facing towards you. Once all the plates are installed, replace the clutch cover (first checking for seal wear), then insert and tighten each bolt to the manual’s torque specification. Job done!
Related Content

HOW-TO: CHANGE YOUR ENGINE OIL & FILTER

HOW-TO: REPACK YOUR MUFFLER
You might also like...

HIGHLIGHTS: 2026 TRANSMOTO 8-HOUR AT NARRABRI, POWERED BY KTM
Check out the highlights video from the 2026 Transmoto 8-Hour at Narrabri, NSW, powered by KTM.

2026 SMX WORLD CHAMPIONSHIP VIDEO PASS
The SMX Video Pass is back, and again providing live and on-demand access to all 31 rounds.

2026 ENDURO & CC MODELS: 7-BRAND PRICE COMPARO
A handy table of easy-to-compare prices for seven brands’ 2026 enduro and cross-country models.

HONDA CLAIMS EIGHTH AUSX TITLE
Dean Wilson sealed the deal for Honda with a dominant 2025 Australian Supercross season.
National Motorcycle Insurance
8 months ago
Ride Smart | Presented by National Motorcycle Insurance
Transmoto’s Simon Barratt covers some handy tips on how to protect your dirt bike, presented by National Motorcycle Insurance.
KTM
9 months ago
KTM DOMINATES 2025 AUSTRALIAN ENDURO CHAMPIONSHIP
The KTM DM31 Racing Team wrapped up four titles at the weekend’s AusEnduro season finale.

Boost Secures 2025 AUSX Naming Rights
The Australian Supercross Championship is set to launch into its biggest season yet.

TT Circuit Assen To Host 2027 MXoN
The 80th edition of the MXoN will see the legendary event return to Dutch soil in 2027.
Be the first to comment...