How-To: Grease Headset Bearings
![]()
This content was originally published in Issue #32 of Transmoto Dirt Bike Magazine, 2013
![]()
Every time you smash a square-edged bump, suffer a flat landing or hit gnarly whoops, your steering head bearings bear the brunt of the force being transferred, via your front wheel, to your bike’s chassis. With proper maintenance, the bearings will provide years of service, but if neglected the bearings can seize, locking the steering and leading to some serious grief. Greasing these bearings is a quick job, and if done every year or so, you’ll prevent the bearings (and their cups) becoming pitted and therefore any need for replacement. Listen up as we explain how it’s done, in a few easy steps, with basic tools and a tub of grease…
![]()
Tools You’ll Need
![]()
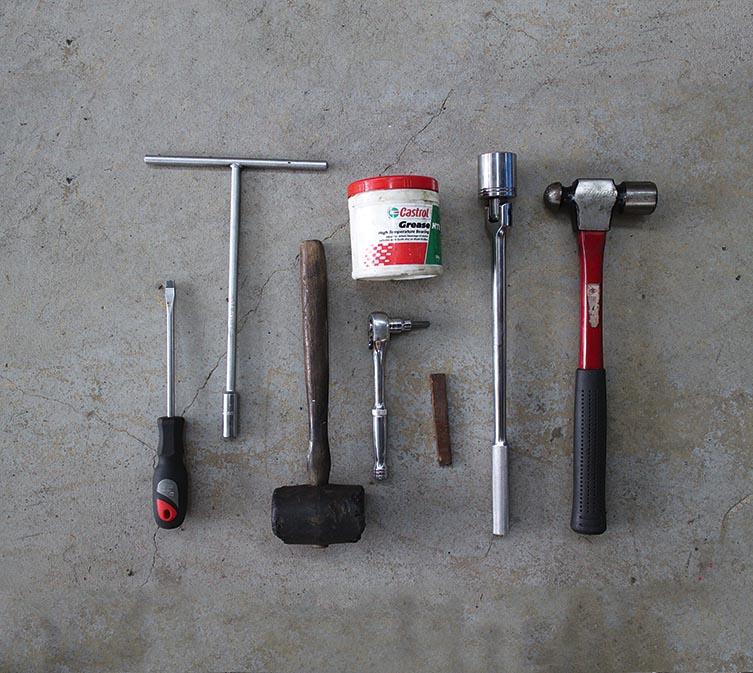
● T-Bars
● Large socket
● Hammer
● Rubber mallet
● Screwdriver
● C-spanner
● Allen key
● Brass punch
● Grease
![]()
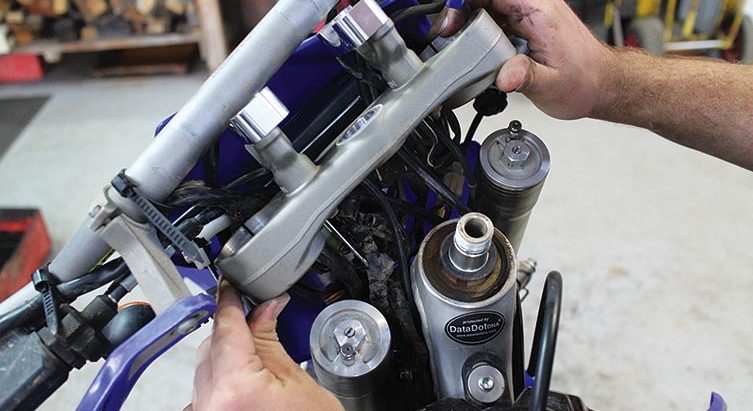
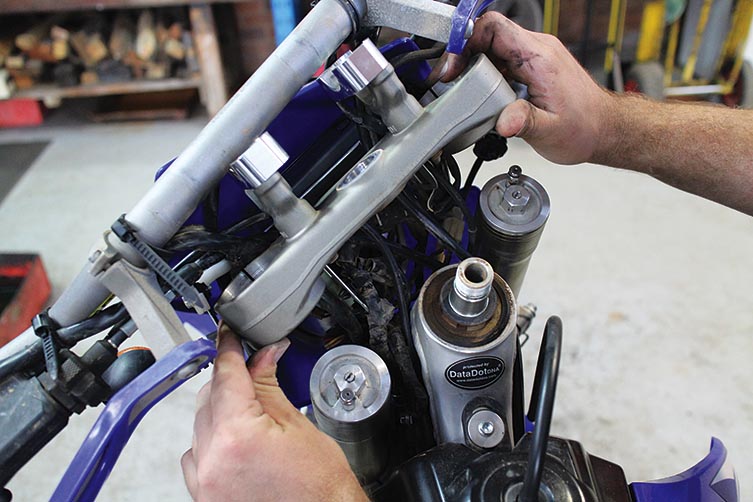
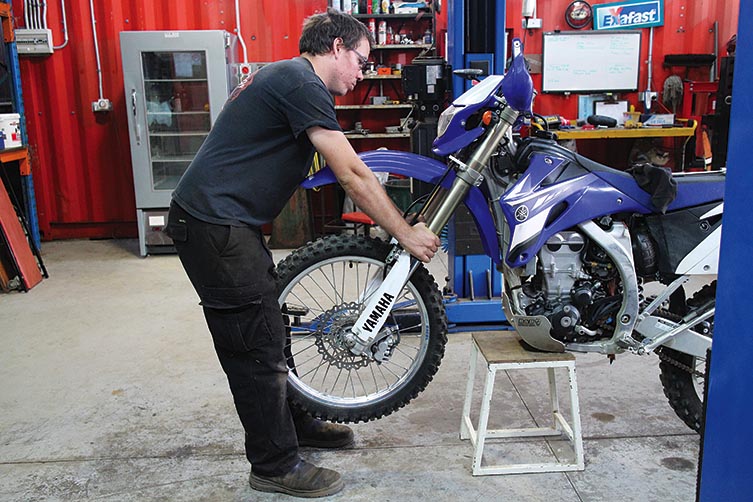
Step 1. Remove The Bars
![]()
Clean your bike on a paddock stand before you begin, as dirt or grit will spell a quick death for your bearings. Then unbolt the handlebars and push them forward over the headlight or front plate. With clear access, remove the exposed clamp nut by turning the front wheel to the left and leveraging with your right arm on the rear guard.
![]()
Step 2. Slide The Fork Legs Down
![]()
Before you can remove the top triple clamp, you’ll need to get the fork legs out of the way. Some people prefer to remove the front wheel and forks entirely. However, the quickest way is to loosen the triple clamp bolts, then slide the fork legs down about 100mm until they’re clear of the top triple clamp. Retighten the lower clamps’ bolts.
![]()
Step 3. Remove The Top Triple Clamp
![]()
With the bars, triple clamp nut and fork legs removed, the upper triple clamp can be lifted off. Use a rubber mallet if it’s being stubborn. On mx bikes this can be removed entirely. However, some enduro bikes have cables and wires that prevent easy removal. If so, just fold the triple clamp over the headlight.
![]()
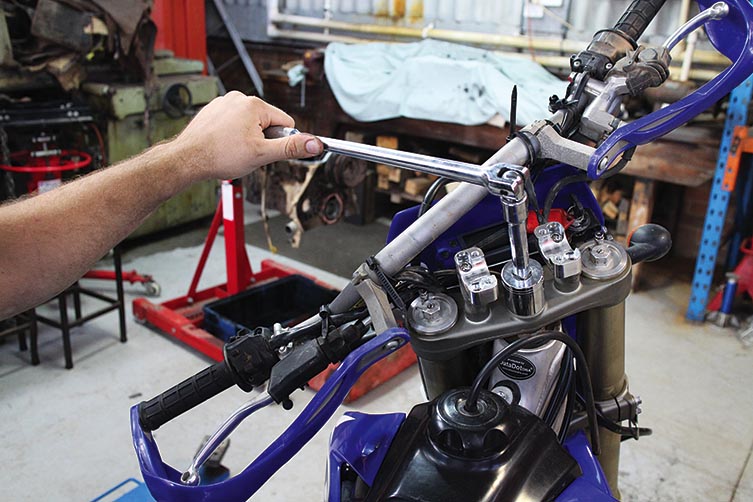
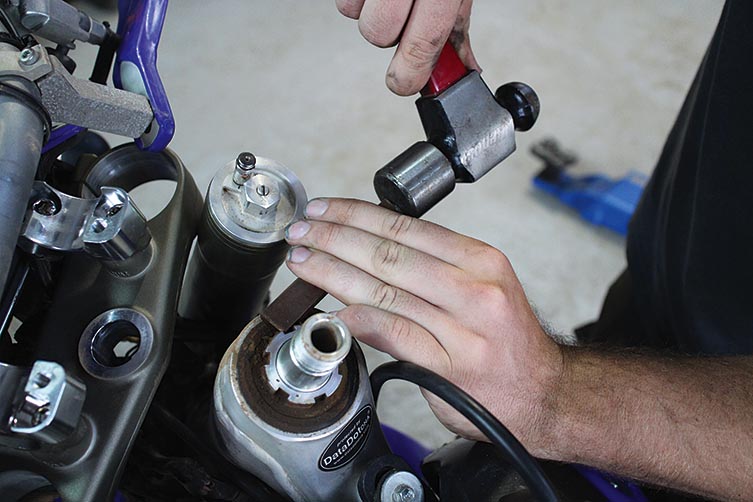
Step 4. Loosen The Steering Head Nut
![]()
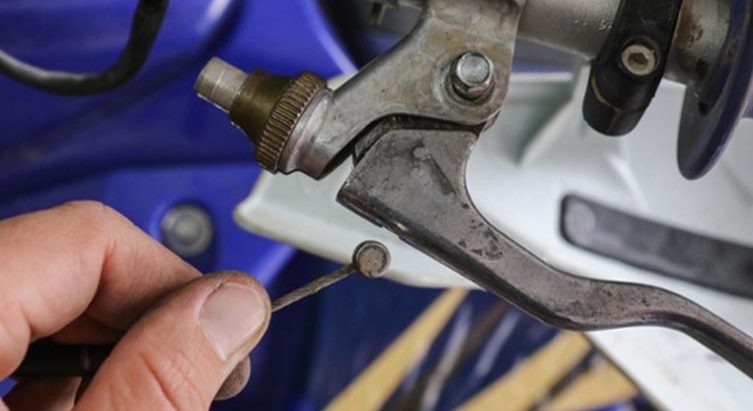
The tension on the steering head bearings comes courtesy of the nut under the top triple clamp. Ideally, you should buy an appropriately-sized C-spanner to remove it. If not, use a soft punch (such as a piece of brass or aluminium) that will bruise more easily than the nut. Have a mate hold the front wheel up to release tension on the nut.
![]()
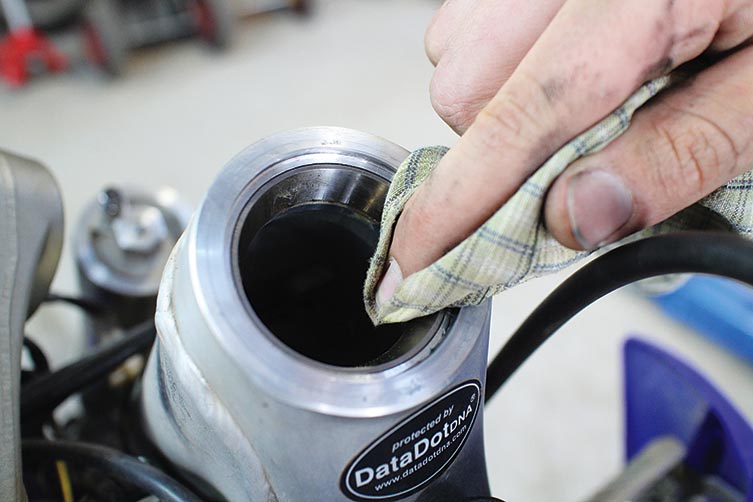
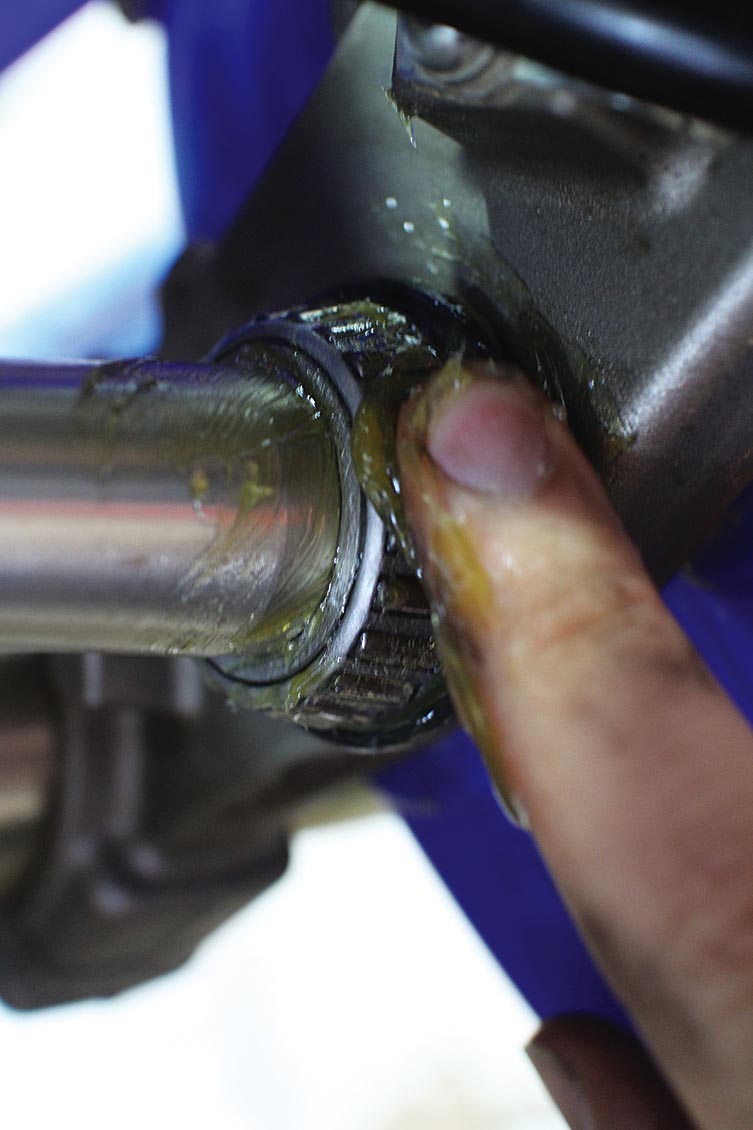
Step 5. Inspect And Clean
![]()
With the nut removed, lower the forks and triple clamp away from the bike, then chock the front wheel. Now give everything a good clean to remove all old grease using degreaser and a rag. Inspect both upper and lower bearings and races for any pitting or damage – if found, you’ll need to replace the bearings.
![]()
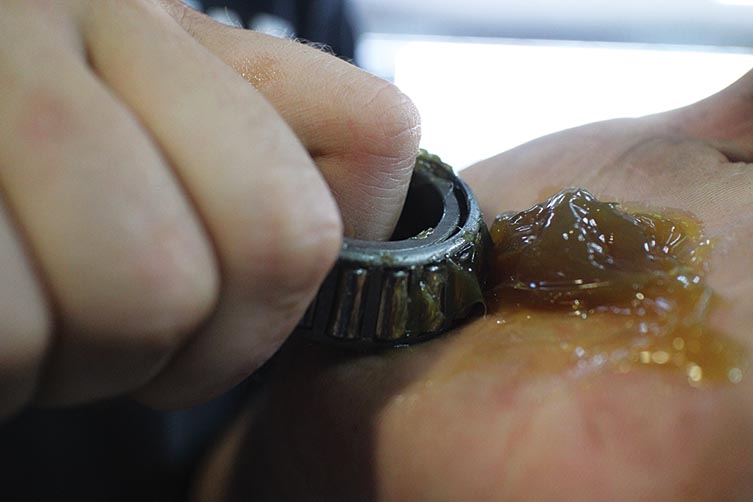
Step 6. Grease The Bearings
![]()
With everything clean, grease the bearings and races. The top bearing can be removed and greased properly (according to the explanation below). As the bottom bearing can’t easily be removed fully, work the grease into the rollers thoroughly by spinning the rollers and pushing grease in from the top.
![]()
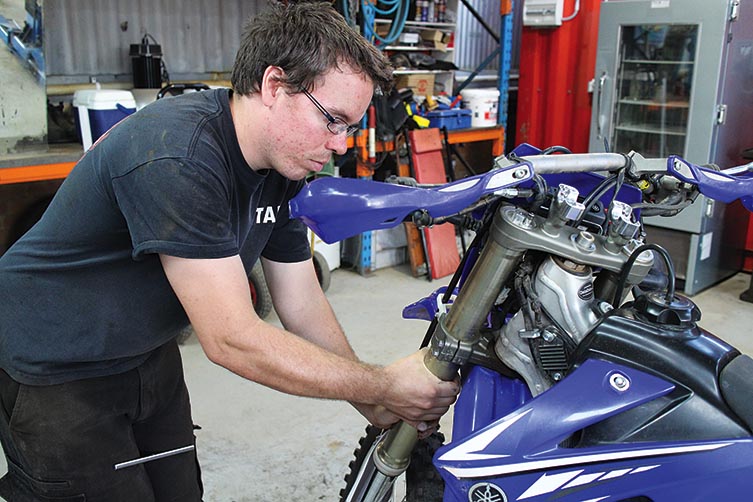
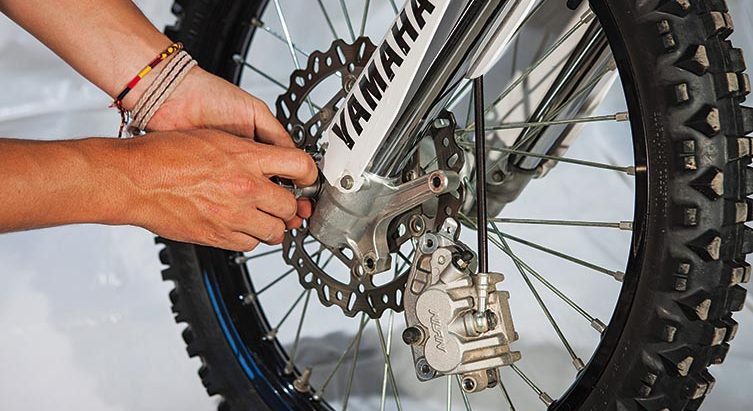
Step 7. Reassembly
![]()
Now the bearings are greased, lift the steering stem and forks back into the steering head, replace the weather seal and put the nut on a few turns. If possible, have a mate hold the wheel up while you tighten the nut. Replace the spacer and upper clamp, before repositioning the forks. Tighten only the lower triple clamp bolts to hold the forks in place.
![]()
Step 8. Check The Tension
![]()
The steering head nut should be tightened to your manufacturer’s specs. Generally, it should be tight enough for the steering to remain straight if positioned on a bike stand, but loose enough that you can slowly turn the steering without feeling any glitches, tight spots or undue resistance. Grab the forks and ensure there isn’t any play in the bearings by rocking them back and forth. With the tension right, tighten the upper triple clamp fork bolts and replace the top triple clamp nut.
Related Content
HOW-TO: FIT OVERSIZED ROTORS
HOW-TO: CLUTCH CABLE CARE
You might also like...
News
2 weeks ago
2026 AUSSIE FLAT TRACK NATS CALENDAR
The 2026 Yamaha Aussie Flat Track Nationals calendar is confirmed – here’s where, when and who’s racing.
News
2 weeks ago
BEATON TIGHTENS HIS GRIP AT TOOWOOMBA
Yamaha’s Jed Beaton goes 1-1 at Echo Valley to extend his ProMX lead to 40 points at the halfway mark.
News
3 weeks ago
AUSENDURO ROUND 5 & 6 REVIEW
Yamaha’s Wil Ruprecht extends his perfect 2026 season at a brutal QMP double-header.
Interviews
2 months ago
Davies Eyes 250SX East Title In Philly
Catch Cole Davies’ thoughts on potentially wrapping up the 250SX East title this weekend in Philadelphia.
News
2 months ago
Ruprecht Dominates Dungog AusEnduro
Brutal conditions shook up the field across Round 3 and 4 of the AusEnduro Championship in Dungog, NSW.
Features
2 months ago
WATCH: JACK MILLER’S YZ450F DIRT TRACKER
This is Jack Miller’s Yamaha YZ450F like you’ve never seen it before.
Interviews
2 months ago
Get To Know Yamaha’s Souya Nakajima
The two-time Japanese IA2 champion joins Monster Energy Yamalube Yamaha for the 2026 ProMX season.
News
3 months ago
YAMAHA FLEX AT WONTHAGGI OPENER
Yamaha Australia’s motocross teams dominated Round 1 of ProMX, winning four classes and eight races.
Be the first to comment...