DIY: Chain & Sprocket Replacement
Keep your drivetrain driving; a guide to timely replacement…
Your chain and sprockets have the unenviable job of transferring 40+ horsepower from the bowels of your engine, directly to the rear wheel. As if that’s not difficult enough, they also have to cope with being regularly doused by water, grit, and mud, plus a lack of proper maintenance.
Worn chains and sprockets not only sap power from your bike by adding significant friction to the process of turning your rear wheel, consequences of not properly caring for them can be expensive and frustrating. Worn out chains run the risk of breaking, potentially leading to cracked crankcases or leaving you stuck in the bush, and old, worn sprockets can lead to chains skipping teeth.
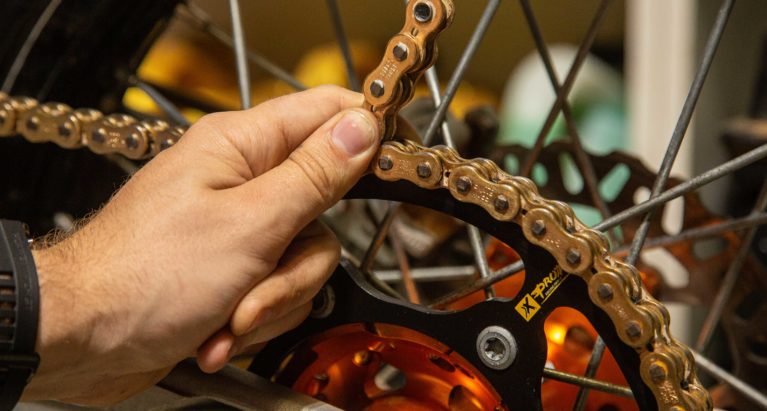
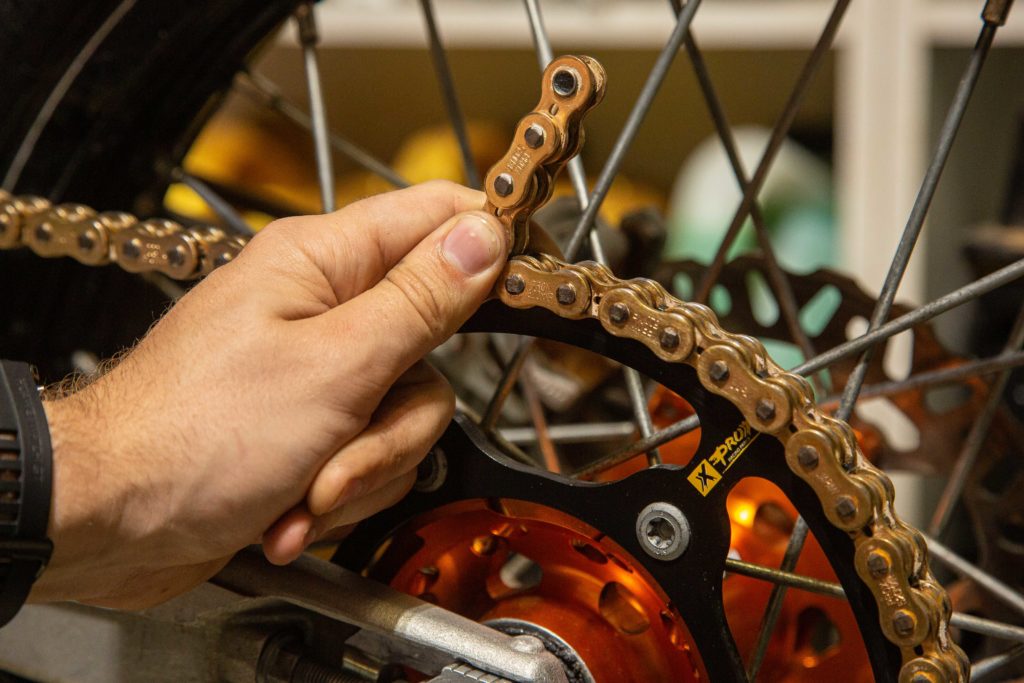
So, how can you tell when it’s time to replace? A chain is worn out and due for replacement if it can be pulled away from the rear sprocket by more than half a tooth. As a general rule, sprockets are past their use-by-date if the teeth are looking uneven, disfigured or the tops of the teeth are starting to curl-over like a wave. Just like on your pushbike, chains and sprockets are best replaced as a pair – old sprockets will only serve to wear out a brand new chain more quickly, and vice versa.
Here’s how to replace your bike’s chain and sprockets… the easy way.
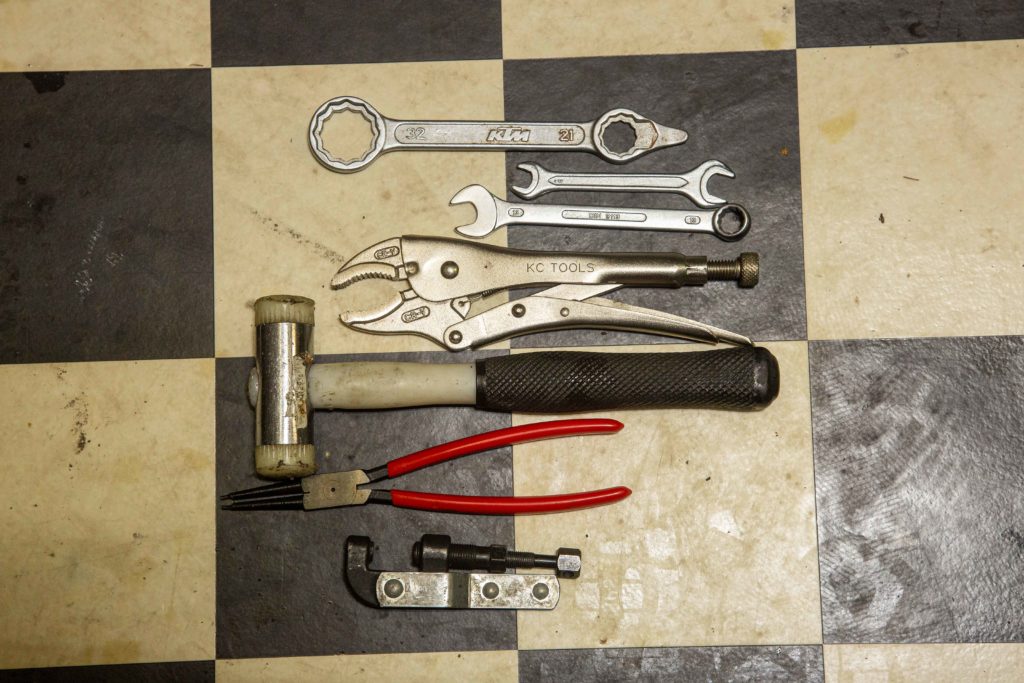
Tools You’ll Need:
● Spanners & T-bars
● Vice grips
● Circlip pliers
● Chain-breaker
● Soft Hammer
1. Remove the front sprocket nut/Circlip
Before the chain or rear wheel is removed, remove the front sprocket nut or in this case, the circlip.
– If your bike has a sprocket nut; Start by using a punch and hammer to push the tabbed washer flat. Next, use a rattle gun to remove the sprocket nut if you’ve got access to one. If not, put the bike in neutral, then have a mate stand on the rear brake lever to lock the rear wheel.
Next, loosen the sprocket nut using a spanner – using a breaker bar will help if you really can’t loosen it.
– If your bike has a circlip; grab your circlip pliers, put them in the open part of the circlip, lever the circlip open, and remove the circlip.
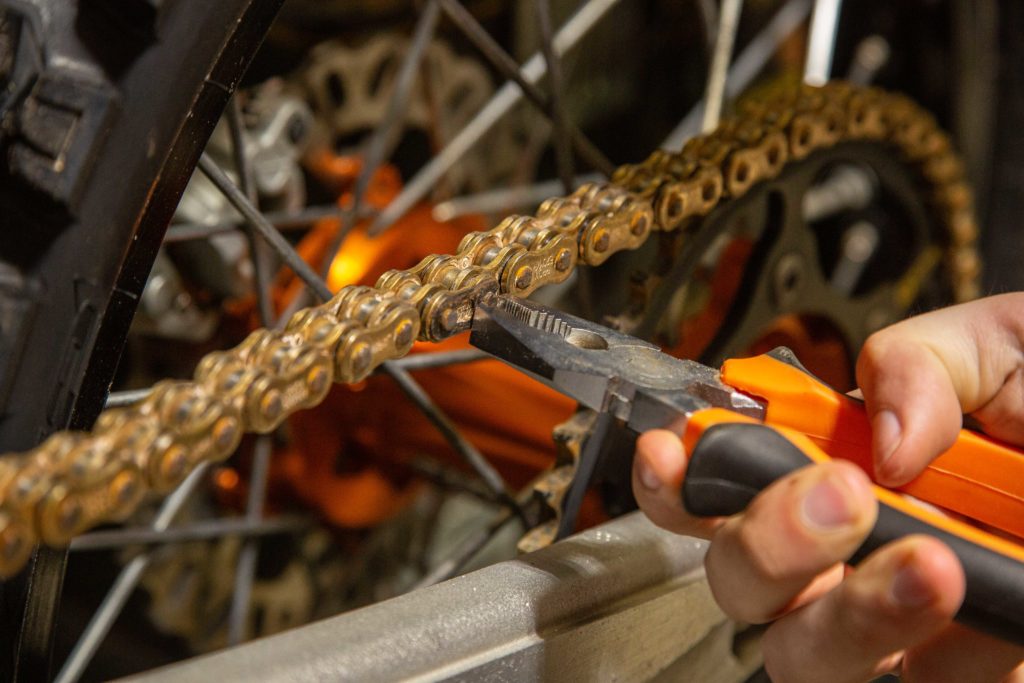
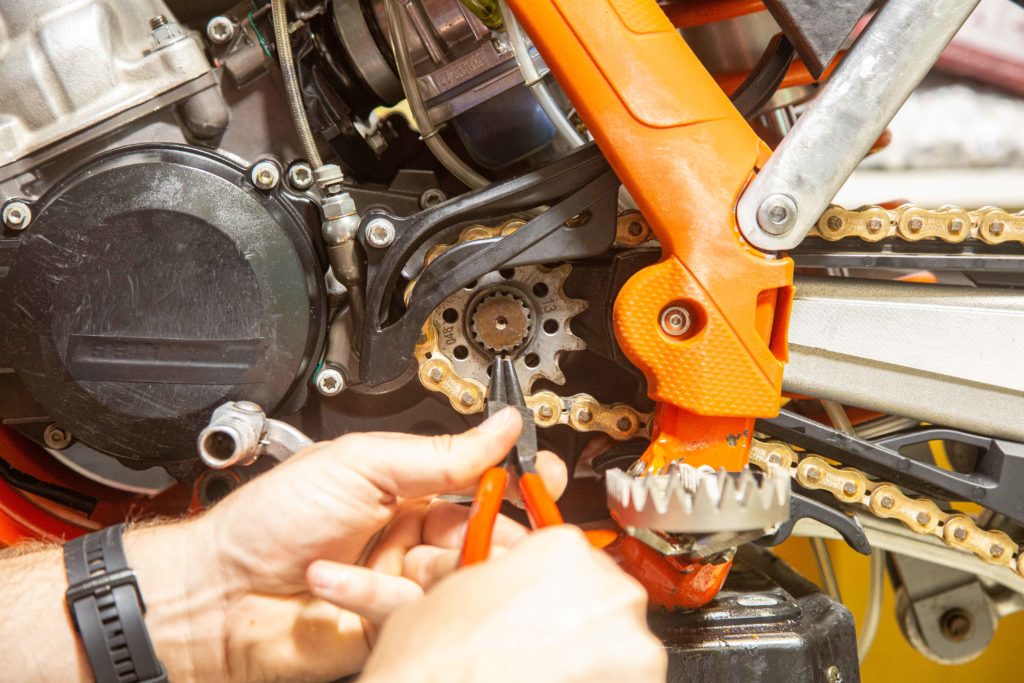
2. Remove the old chain link
If the old chain uses a clip-link, use a pair of pliers to push the old clip forward to remove it. Now lever off the old link plate behind the clip using a screwdriver, or pull it off using a pair of pliers or multigrips. The chain ends can then be pulled off the joining link and the chain can then be removed entirely.
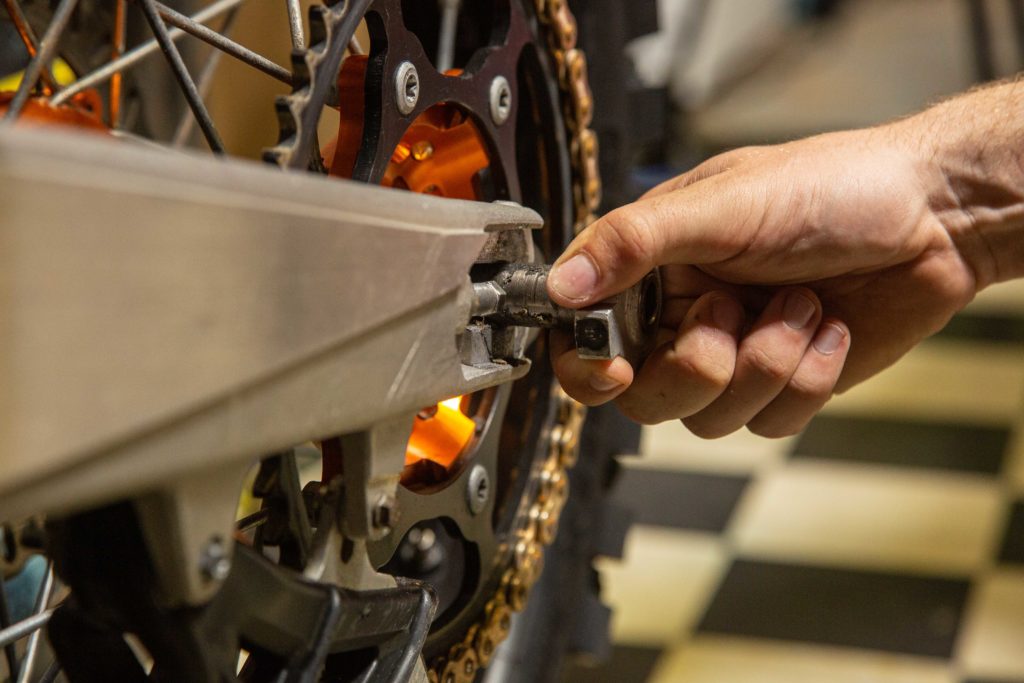
3. Remove the rear wheel
With the front sprocket nut loose, and the chain removed, loosen and remove the axle nut and pull out the rear axle. The rear wheel can then be pulled out of the bike to replace the rear sprocket.
With the axle removed, give it a clean and apply some copper-based anti-seize onto the axle and thread.
4. Replace the front sprocket
With the chain removed and the sprocket nut loosened back in the first step, simply take the nut and tab washer (or circlip) off of the spline and slide the old front sprocket off. You should inspect the sprocket shaft to ensure that the oil seal isn’t leaking, and then slide the new sprocket onto the spline.
– If your bike has a sprocket nut; Slide the tab washer into place and lightly tension the nut. Now, use a hammer to tap an unused part of the tab washer over one side of the nut.
– If your bike has a circlip; simply clip the circlip back over the spline to secure the sprocket in place.
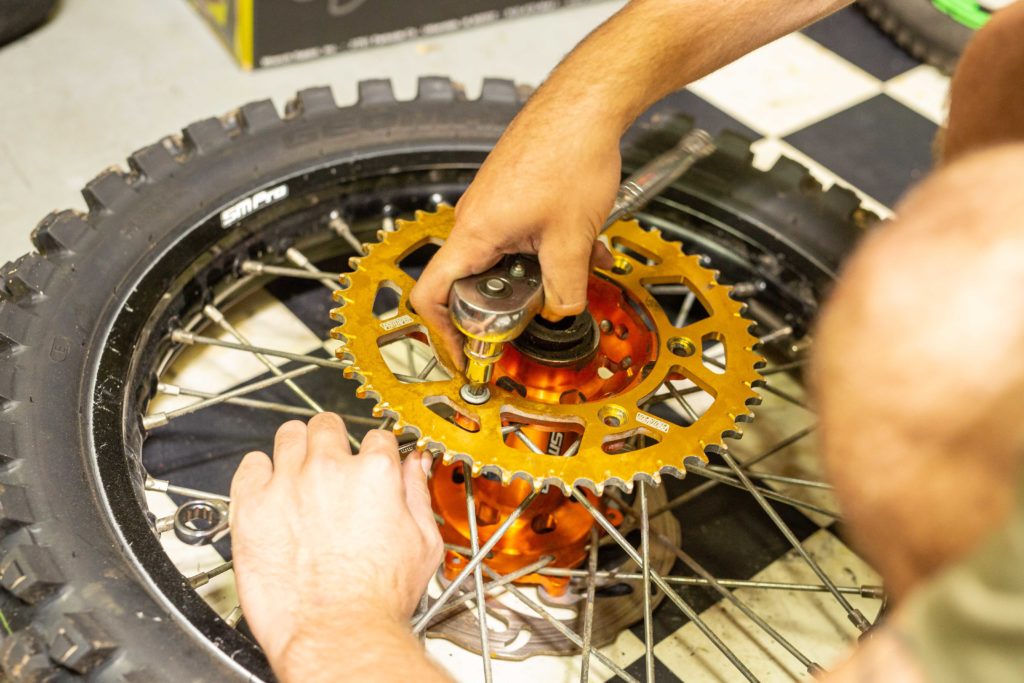
5. Remove the rear sprocket & clean the hub
To remove the rear sprocket, use a spanner to loosen all nuts on the sprocket bolts, then remove all of the old bolts and put them in the bin – they will have stretched and warped so should not be re-used. Then, use some steel wool to give the hub surface that’s in contact with the sprocket a thorough clean to reduce further corrosion and wear on the hub over time.
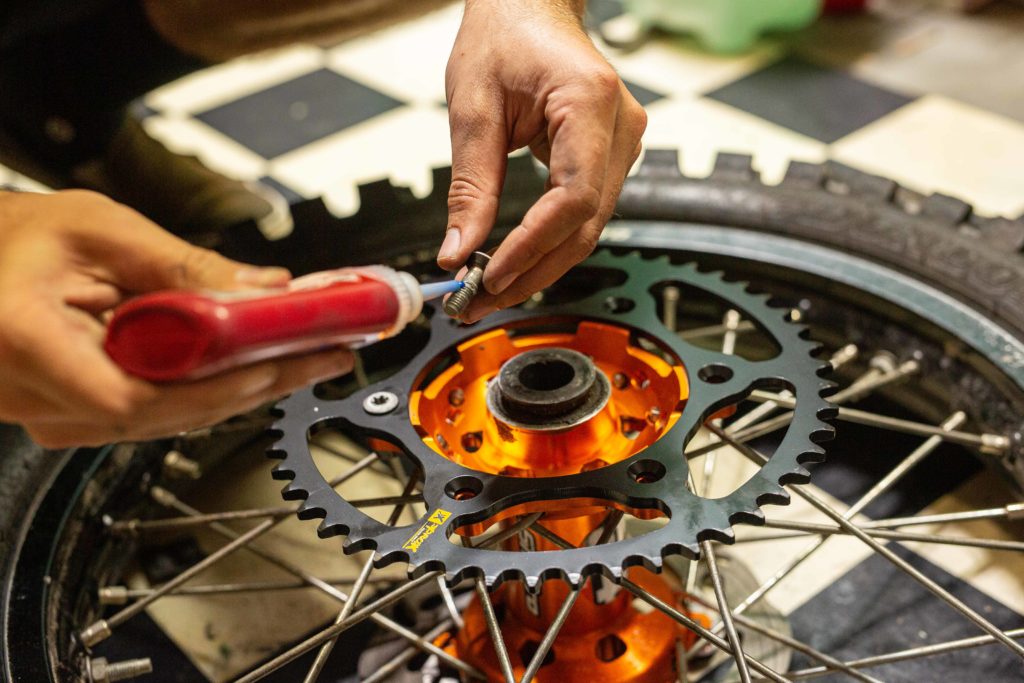
6. Install the new Rear Sprocket
Before installing the new rear sprocket, put a dab of Loctite on all sprocket bolts. Place the new sprocket on the hub and drop the new bolts into place. To remove any play in the sprocket bolt holes, rotate the sprocket forwards in the drive direction before doing the bolts up. This will reduce wear as the bike’s power pulls the sprocket forwards.
7. Decide Where to shorten the new chain
Wind the chain adjusters in as far as possible, and then reinstall the rear wheel and axle so that they’re pushed fully forward. Slide the new chain into position around the front sprocket, and place one end on the rear sprocket. Pull the other end of the chain as tight as possible, and place it on the rear sprocket. You want to remove the pin that will leave an inner link of the chain on the end – this will allow the two ends to be joined using a joining link.
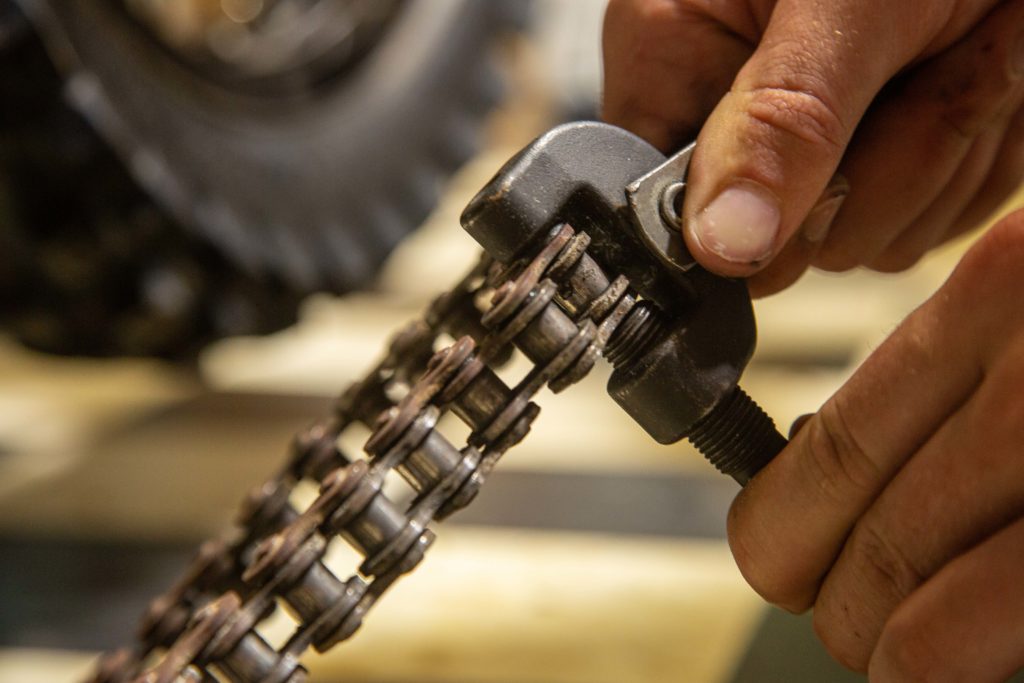
8. Shorten the new chain to length
Use a chain-breaker to push out the pin identified in the last step and shorten the chain to the correct length. All chain-breakers vary, however, most require you to place the chain-breaker over the pin you’re trying to remove and gently tighten a positioning bolt to hold the chain captive and tighten the second bolt to press the pin out.
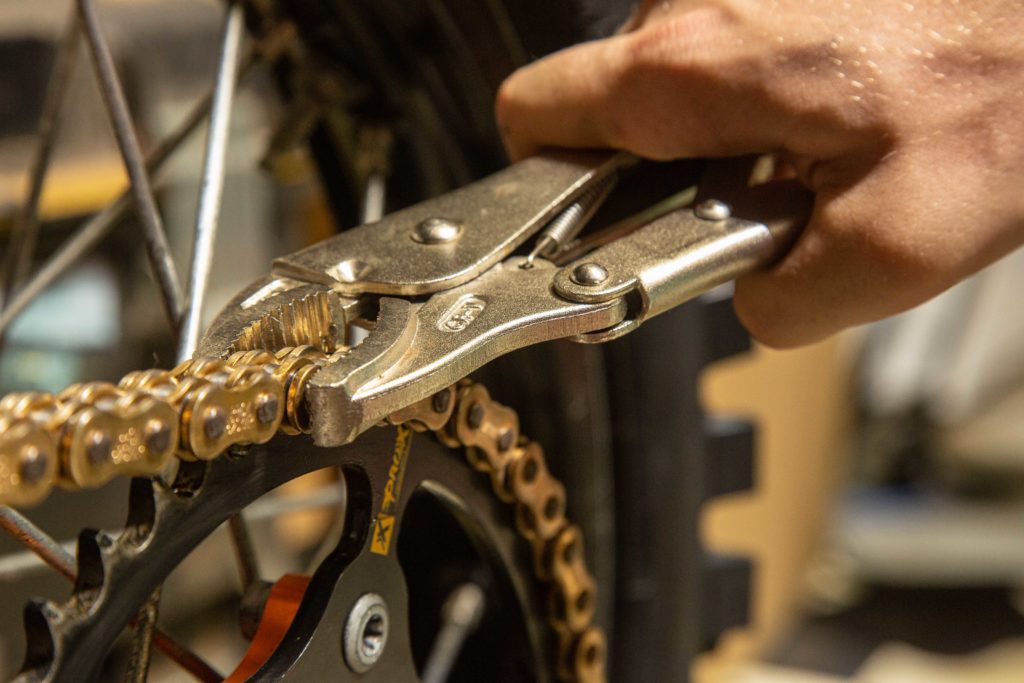
9. Install the joining link
With the shortened chain in place on the rear sprocket and the two inner link ends in sprocket diverts next to each other, slide the new joining link through the ends from the inner side, then press the new link plate onto the joining link (your chain-breaker usually has a function to do this – otherwise use some vice grips). For clip-link chains, place the clip-link – with the closed end facing forwards in the direction of travel – into the groove on the pins and clip into place using pliers. Rivet links can now be installed by using a riveting tool to flatten the pin ends and secure the link plate.
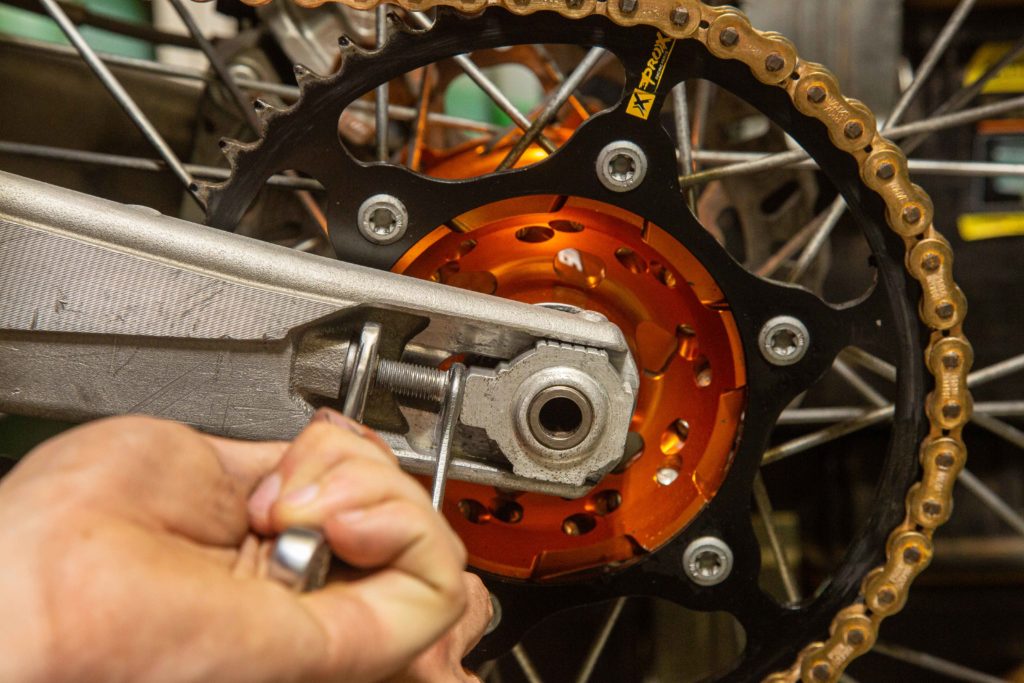
10. Set The Chain Adjustment
With the new sprockets and chain installed, set the chain adjustment by winding the chain adjusters outdo this evenly on both sides. The correct adjustment is different on every type of bike so refer to your manual, however, a general guide is to have about two fingers width of play on top of the swingarm, in line with the end of the plastic chain slider that wraps around the front of the swingarm. Then set the chain adjusters by tightening the lock nuts, push the wheel forward, and firmly tighten the axle nut.
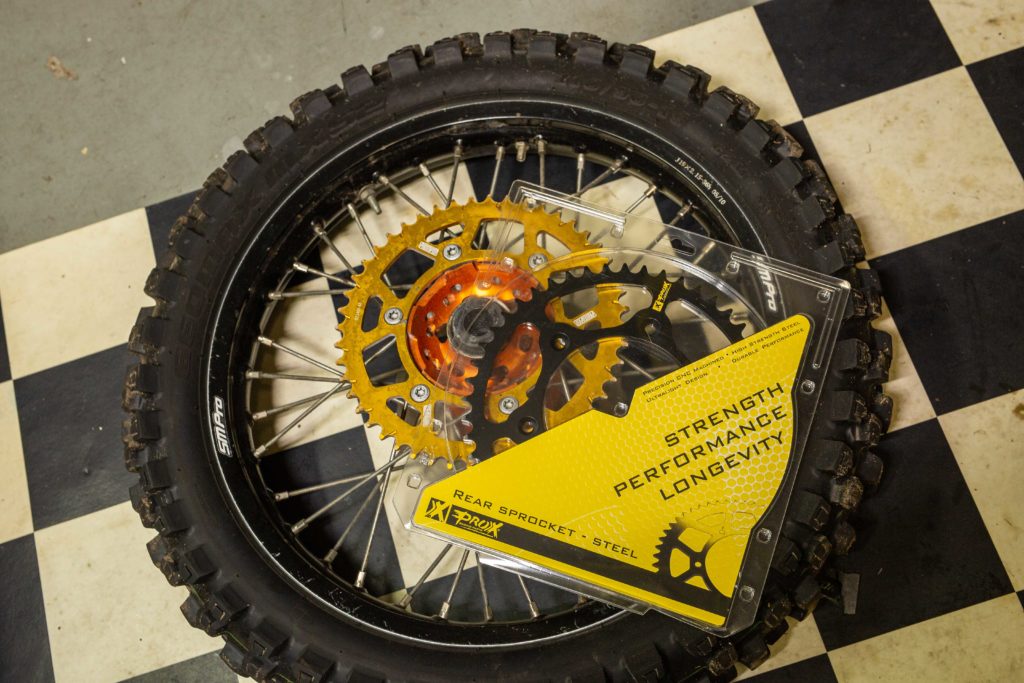
ProX Racing Parts featured
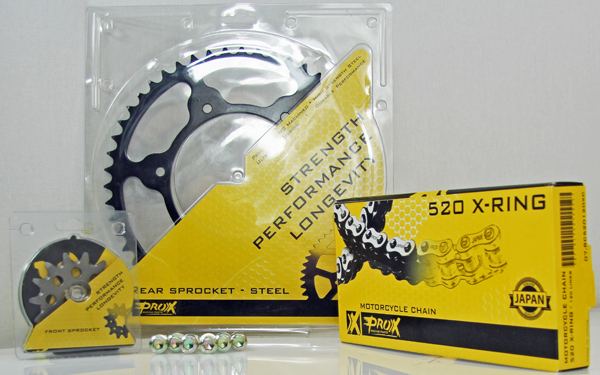
- ProX Racing X-Ring Chain
- ProX Racing Steel Rear Sprocket
- ProX Racing Lightweight Front Sprocket
WHERE TO PURCHASE PARTS
You can get sorted with ProX Racing parts through the Australian distributor, BBI Imports, by clicking here.
You might also like...

2026 SMX WORLD CHAMPIONSHIP VIDEO PASS
The SMX Video Pass is back, and again providing live and on-demand access to all 31 rounds.

2026 ENDURO & CC MODELS: 7-BRAND PRICE COMPARO
A handy table of easy-to-compare prices for seven brands’ 2026 enduro and cross-country models.

HONDA CLAIMS EIGHTH AUSX TITLE
Dean Wilson sealed the deal for Honda with a dominant 2025 Australian Supercross season.
National Motorcycle Insurance
6 months ago
Ride Smart | Presented by National Motorcycle Insurance
Transmoto’s Simon Barratt covers some handy tips on how to protect your dirt bike, presented by National Motorcycle Insurance.
KTM
7 months ago
KTM DOMINATES 2025 AUSTRALIAN ENDURO CHAMPIONSHIP
The KTM DM31 Racing Team wrapped up four titles at the weekend’s AusEnduro season finale.

Boost Secures 2025 AUSX Naming Rights
The Australian Supercross Championship is set to launch into its biggest season yet.

TT Circuit Assen To Host 2027 MXoN
The 80th edition of the MXoN will see the legendary event return to Dutch soil in 2027.

First Look: Aus MXGP Battleground
The 2025 MXGP of Australia track design has been revealed.
Be the first to comment...