How-To: Custom Paint a Helmet
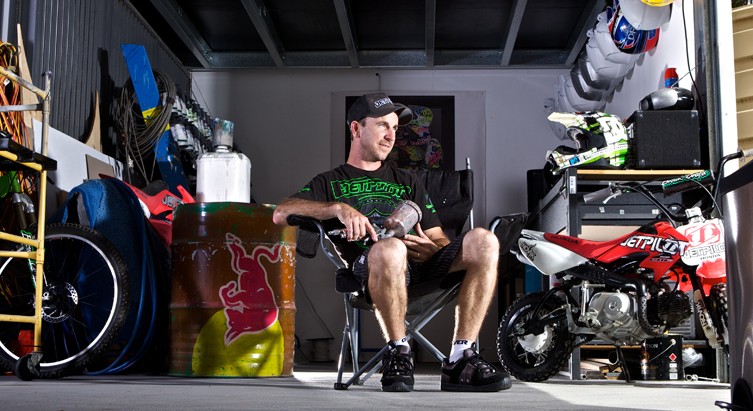
Ever wondered what goes into custom painting a stack-hat? Back in 2014, took a brand-spanking new M2R X4 helmet for a custom paint job. The man for the job? Mark Brown from Browns Grafix. The project took about ten hours to complete over the course of a few days. Below, we’ve posted iPhone shots that Browny snapped off while painting the lid – from start to finish – with detailed captions from the man himself. He doesn’t give away all of tricks-of-the-trade, but he definitely offers up an interesting insight.
STEP ONE:
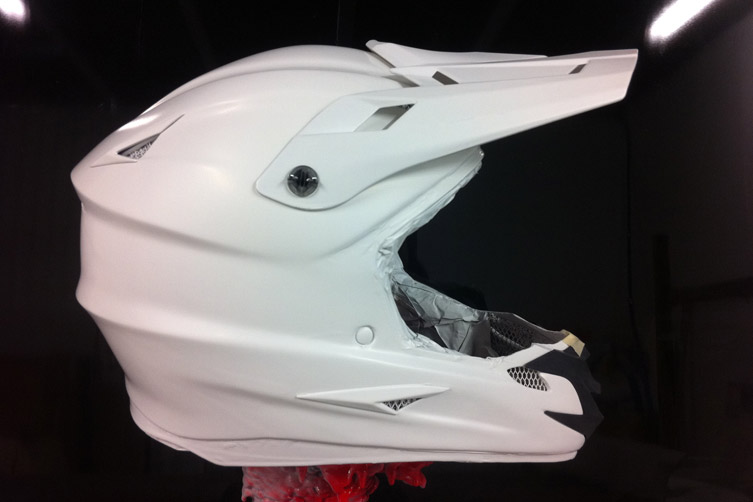
For this project, we started off with an out-of-the-box M2R X4 helmet, with standard graphics on it. I start by taking the helmet apart – taking the liners out of it, taking rubbers off, taking the vents out. I basically have to strip the lid down to a bare shell. Then, I can prepare the helmet for its first coat of white paint.
STEP TWO:
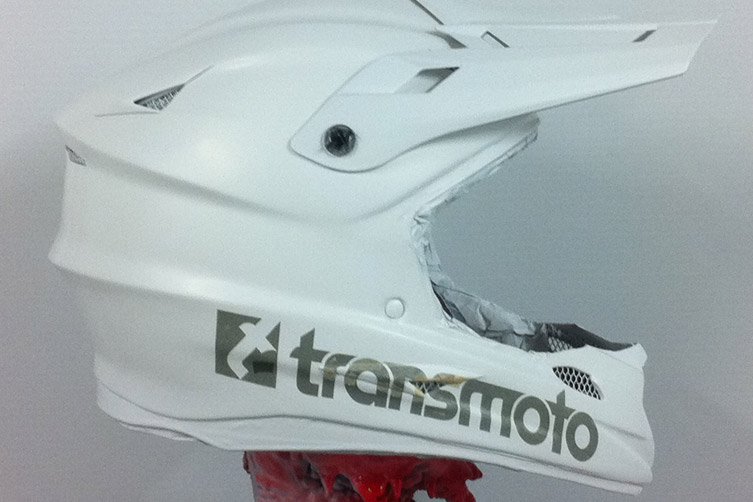
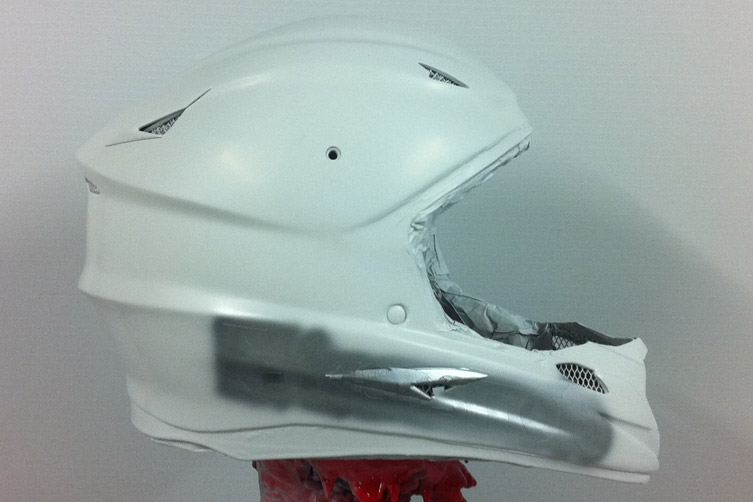
The silver Transmoto logo you’re looking at was applied using a mask. This goes on first, but it’s actually going to be the last thing you see. Colours will be applied over it. You just peel the mask off when you’re ready and there it’ll be. In the end, it’ll be a white logo with a silver outline.
STEP THREE:
I take the visor off at this stage, to make painting the actual helmet easier. As you can see, I can spray over the mask and it won’t affect the Transmoto logo in the end.
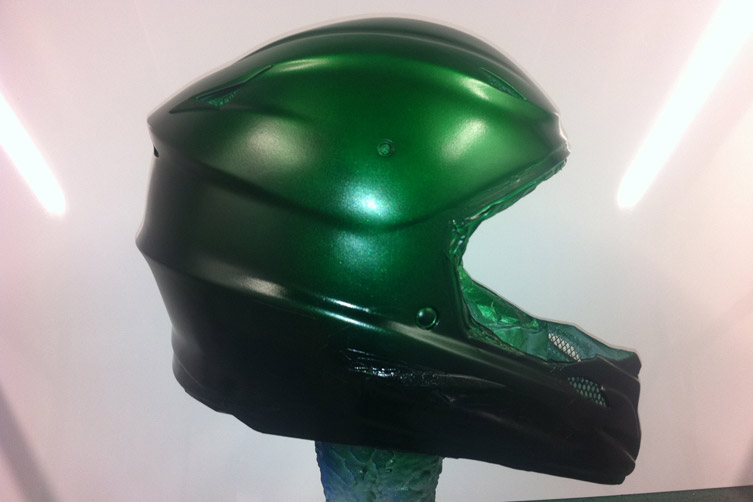
STEP FOUR:
With the Transmoto logo masked off, I can start painting the helmet. Andy wanted to have green at the top, fading into a dark green/black at the bottom. I laid down the green and then formed the gradient to black from there.
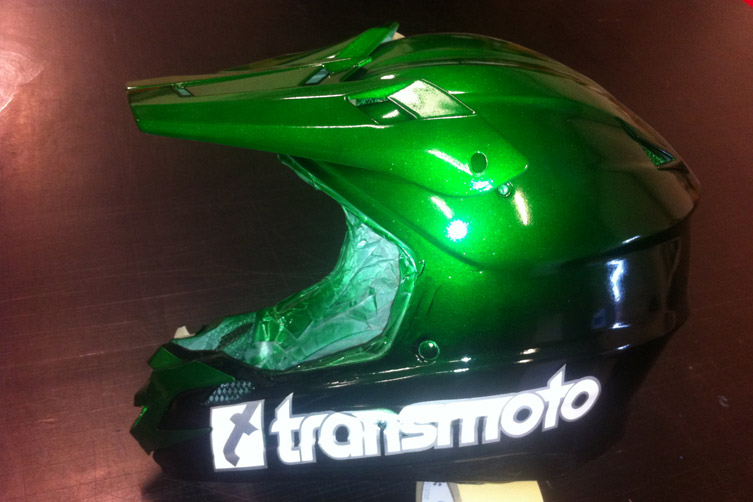
STEP FIVE:
Take away that mask, and there’s our logo! At this stage, I apply the first coat of glossy clear paint, which makes the colours pop. The clear coat also protects what we’ve done, so I can continue to add more graphics from here on in.
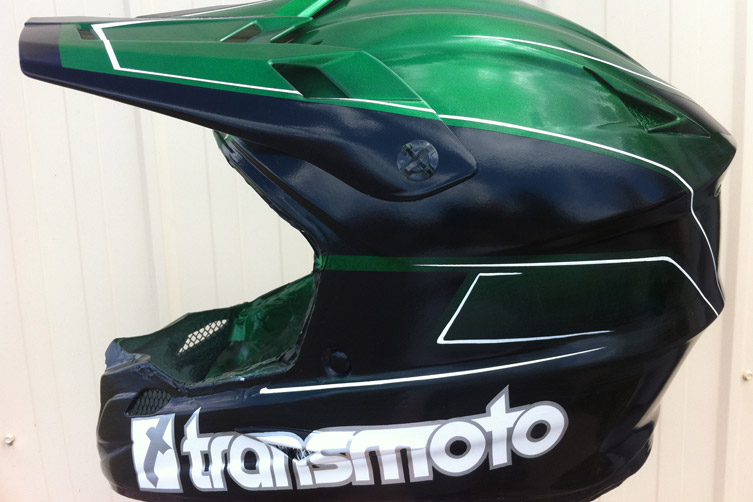
STEP SIX:
Now, the design factor kicks in as far as graphics go. The Transmoto logo has been done, so all I need to do is apply the black sections (first) and the white pin-lines (second). I do this using an air-brush, by hand. I put the visor back on, match the pin-lines up, and make sure that’s everything’s looking right. I check that there are no pieces that are wrong in any way before the next coat of clear goes on.
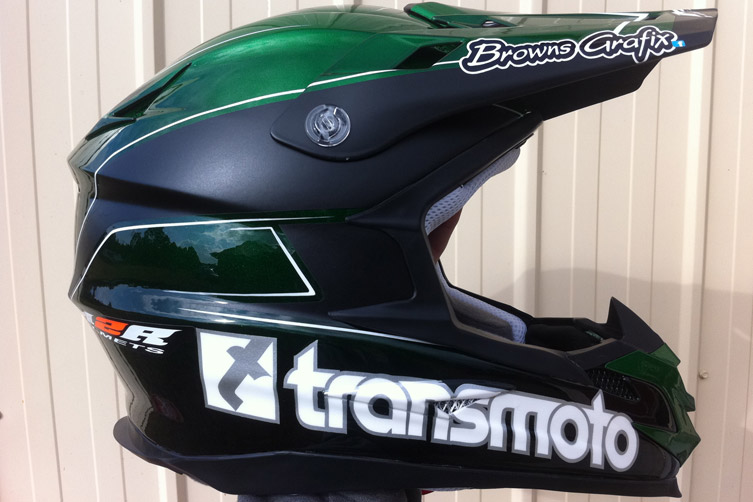
STEP SEVEN:
The final stage includes applying any remaining logos to the helmet, and giving it one more clear coat. A matte clear gets applied to all the matte areas. All the tape comes off, everything gets put back inside the lid, and it’s ready for Wigan to put on his head!
VIDEO
If you’re interested in having your own helmet custom painted, click here.
You might also like...
Features
5 days ago
WATCH: Husqvarna Trek 2025 Film
The full-length feature film captures six days of high-country adventure in Victoria.
Ducati
4 weeks ago
2026 Ducati Xpeditions Takes On Flinders
The six-day, 1800km adventure will take on the South Australian outback for Multistrada and DesertX riders.

2026 SMX WORLD CHAMPIONSHIP VIDEO PASS
The SMX Video Pass is back, and again providing live and on-demand access to all 31 rounds.

2026 ENDURO & CC MODELS: 7-BRAND PRICE COMPARO
A handy table of easy-to-compare prices for seven brands’ 2026 enduro and cross-country models.

HONDA CLAIMS EIGHTH AUSX TITLE
Dean Wilson sealed the deal for Honda with a dominant 2025 Australian Supercross season.
National Motorcycle Insurance
4 months ago
Ride Smart | Presented by National Motorcycle Insurance
Transmoto’s Simon Barratt covers some handy tips on how to protect your dirt bike, presented by National Motorcycle Insurance.
KTM
6 months ago
KTM DOMINATES 2025 AUSTRALIAN ENDURO CHAMPIONSHIP
The KTM DM31 Racing Team wrapped up four titles at the weekend’s AusEnduro season finale.

Boost Secures 2025 AUSX Naming Rights
The Australian Supercross Championship is set to launch into its biggest season yet.
Be the first to comment...