How-To: Creek-Crossing
Yep, this week’s news bulletins have been awash with stats about how wet it’s been on Australia’s east coast during March. According to meteorological experts (bearded types who love a good stat), 20 of the past 23 days have rained, and we might just be on-track to upstage the wettest March on record (26 days’ rain)!
Now, while the 14km loop used for the Transmoto 12-Hour is not overly technical, it does feature a couple of creek-crossings that can be tricky to negotiate, especially after they’ve seen a fair bit of two-wheeled traffic. All of which made us think that some timely advice about how to best approach and cross a creek could just be very helpful. Whether you’re racing the Transmoto 12-Hour this weekend or simply trailriding elsewhere, chances are you’re going to run into a creek-crossing or three. So, tune in as the AORC’s reigning E2-class champ, KTM’s Tye Simmonds, imparts a bunch of practical advice about to get through a creek-crossing without ending up in the drink…
Why do spectators flock to creek crossings at enduro events? Because they offer guaranteed entertainment as riders routinely struggle to navigate this notoriously tricky and constantly changing obstacle. Surely it can’t be that hard, though. How does a foot or two of water make riding in a straight line so difficult? Pro riders make it look relatively easy, but for those without the experience and skills to perform these crossings safely, their day can be turned upside-down, literally, before they know it.
So, what are the techniques required to ride through a creek without falling over in the drink or, worse, drowning your bike? How fast should you approach the water? Do you sit or stand? What gear should you be in? How do you choose the best line?
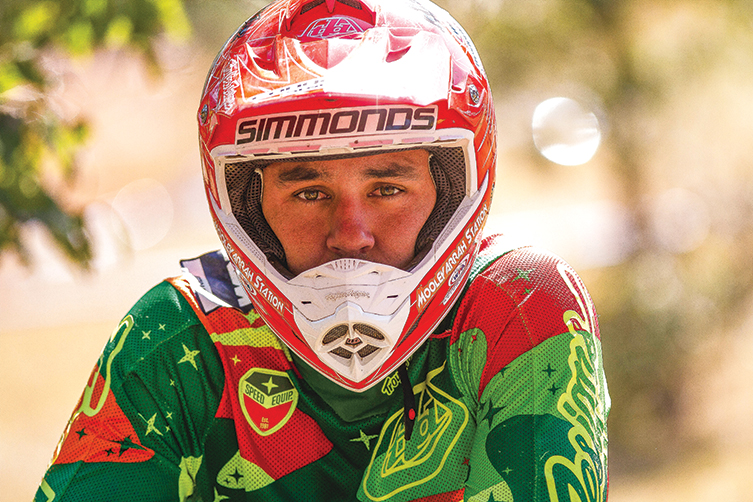
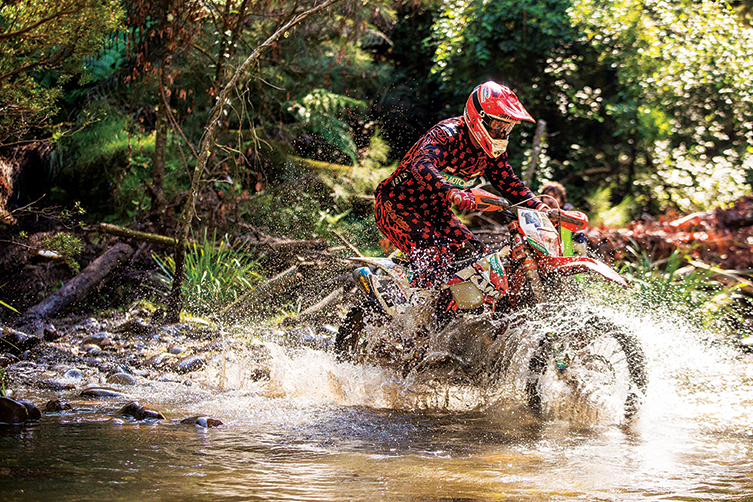
To answer these questions, we spent some time at the recent Transmoto 12-Hour with KTM’s Tye Simmonds, who at just 23 years of age is fast making a name for himself as a rider to watch in the Australian Off-Road racing scene. Having demonstrated the skills to make one particularly gnarly creek crossing at the 12-Hour appear effortless, Tye attracted the attention of our photographers. So, armed with those images, we asked the big fella from Bourke to reveal how the hell he made it all look so easy.
Take it away, Tye…
Mental Approach
Riding through water crossings can be easy or difficult; it all depends on what lies beneath the surface. And that’s one reason why I’ve always loved creek crossings; you never know what you’re going to get. You always have to be on your game and reading the conditions to enable you to ride across without a mistake. It’s all about your entry and setting up to be ready for it. You need to remain calm and confident, or things can turn to a soaking real fast. I’ll quickly scan the terrain leading towards the water for the best line to take, and I like to be standing on the pegs as much as possible because the bike works a lot better when I’m standing. Especially on slippery rocks – like this creek crossing at the Transmoto 12-Hour – one mistake can cost you a lot of time.
Line Selection
If it’s the first time I come to a creek crossing, I’ll pull up and have a quick look to scope the depth of the water and what obstacles to be wary of. In a race situation, we usually walk the track beforehand, so I have a fair idea of the crossing. But in saying that, creek crossings change rapidly. In a race, we don’t have the luxury of stopping to check things out, so I’ll quickly process the conditions of the crossing ahead of me on the fly as I approach it. I’ll look for the shallowest part to cross, which is usually the quickest. The last thing you want to do is ride into a big hole and crash halfway across. That’s rarely good for you or your bike!
Entry Speed
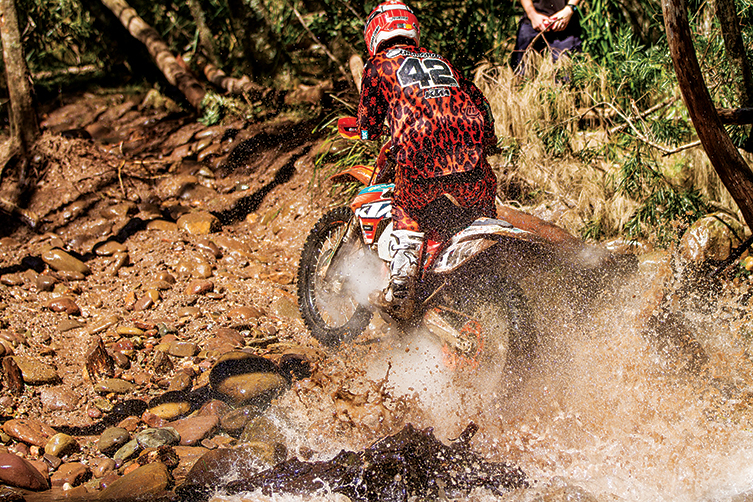
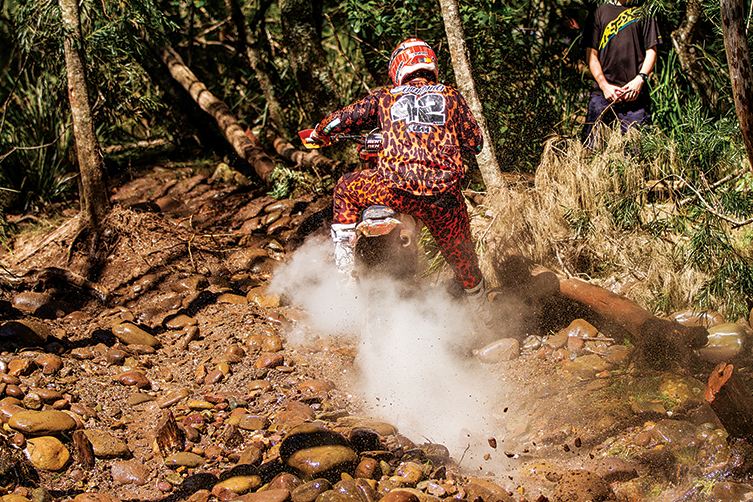
At this particular creek crossing at the 12-Hour, the rocks were a lot bigger than most I’ve experienced – both on the entry and exit. Plus they were slippery and moved around a lot. I approached the crossing cautiously; not too fast, but fast enough so I wouldn’t get stuck and slip all over the show. I try to ride in a tall enough gear (second gear, in this instance) so the rear wheel is rolling and not spinning excessively. You need to be driving through the water with your rear wheel, or you’ll quickly lose momentum and control if it starts spinning and slipping over the rocks. Aim to cruise through the crossing smoothly, and don’t rush it. If you rush in too fast and without thinking about it, you’ll find yourself unprepared to navigate the potential underwater obstacles, and mistakes will happen quickly. The bike will get away from you and you’ll be soaking wet before you know it
Changing Conditions
Obviously, with clear water, you can gauge the water’s depth and the rocks on the bottom you’ll need to deal with. And that means you can navigate obstacles easier and generally make a smoother crossing. Dirty water, on the other hand, makes it a lot harder to judge what lies ahead, so you have to be more careful as you navigate the deeper sections of the crossing.
As I mentioned earlier, trying to read the depth of the water with limited time is usually tricky. In a race situation, you come around a corner and, bam, there it is. You don’t have a lot of time to assess the conditions. If there’s a rider in front of you, it’s easier to see how deep it is, or whether their line is good or bad, and then make your own decisions based off that. If there’s a main line, try to stick to it until the conditions change and better lines appear. This crossing at the 12-Hour changed throughout the day, and by the end of it a few large holes developed, which made it tricky to cross without hitting one. Every lap, there’d be riders stopped on the main line so I had to be a smooth as possible to make my way around them without getting stuck myself. Every single lap is different, meaning you just can’t rely on what you experienced the previous lap. Rocks get overturned, tree roots become more exposed, holes appear, riders fall over in different places. You just have to be prepared for the fact all crossings are going to constantly change.
Sitting vs Standing
There are advantages and disadvantages for each style. Personally, I reckon the bike’s suspension works a lot better when you’re standing up. I find it will track across loose, slippery rocks much easier than if I was sitting down. Of course, there are times we slip and make mistakes, and the first instinct is to sit down to try to level everything out before standing up and getting back on the gas. I’m always ready in a creek crossing to place my foot on a rock or touch the ground to stop myself falling in a hole. Reacting fast to a situation can save you from falling over in the drink. You can sit down all the way across, but you’ll find the ride is much rougher and harder on your body and uses up more energy. Plus your boots will stay much dryer when you’re standing up. And nothing is worse than riding an enduro all day with wet boots.
Body Position
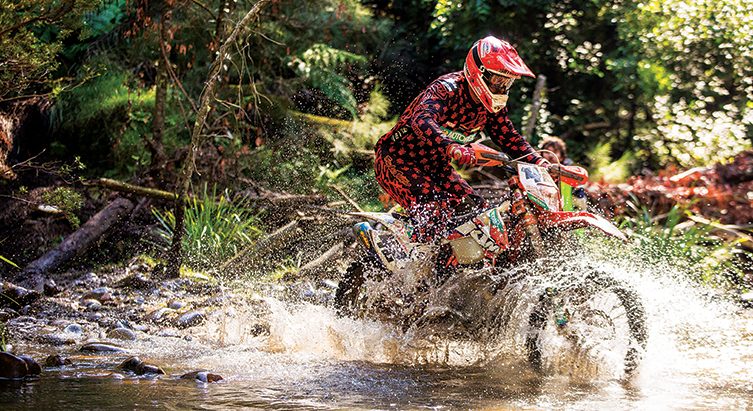
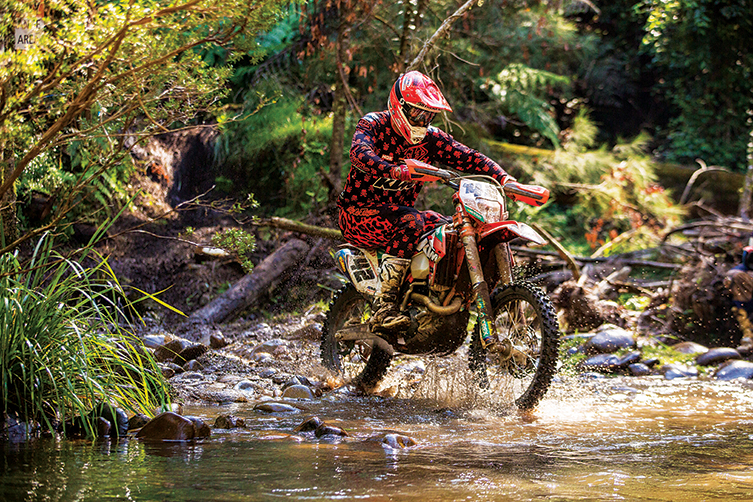
Keep your body position mostly central – or a little back from centre – in a crouching position with knees bent. You want to be ready to take a hit, not straight up and down and stiff as a board, as you’ll have less control over the bike. Keep your body as loose as possible to enable the bike to move around freely underneath you and not drag you with it when it inevitably kicks sideways on those slippery rocks. Riding in the attack position – a little over the back of the bike, like I am in these photos – will help you navigate those hard-to-see holes and hidden rocks. Just try to be ready for the unexpected.
Controls Use
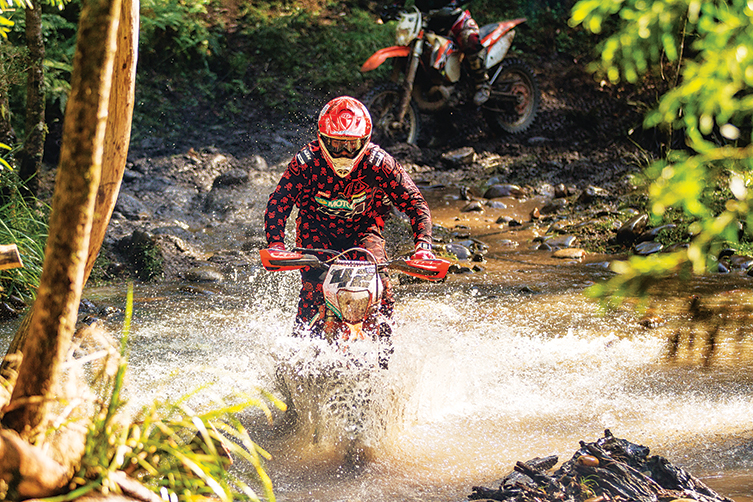
Midway across the creek, I’m trying to be as smooth as possible on the throttle, and I only ever go for the clutch if the rear wheel starts to spin or the bike gets out of control. Entering the creek, you’re looking down for obstacles. But once into the water, it’s often dirty and hard to read so you want to be focusing on the exit of the crossing further out in front of you. By keeping it smooth with good momentum, you’ll be ready to ride over those challenging obstacles – like big rocks, logs, and holes you can’t see under the water – while at the same time, getting ready to exit.
Power Delivery
It’s hard to say exactly what gear you should be in when riding through a particular creek crossing, but I try to find that happy medium and don’t need to shift mid-way across. I’ll make sure I’m in a gear that ensures I’m not stalling the bike and not constantly breaking traction all the time, either. You want to be in the middle of the power range, where it’s grunty enough to get you through and out the other side, without spinning too much and throwing you off balance. In this creek crossing, I found second gear was the best option for me as it was slower navigating all those rocks.
Forward Vision
As you can see in the previous mid-creek photos, I’ve already spotted my exit point so I’m looking ahead and trying to find the best line to get me the hell outta there. At this point, you still want to be on your pegs in the attack position as you navigate the last few feet of water and then move a little more forward while keeping your momentum as the trail heads upwards. This exit at the 12-Hour got a little bit hairy as the rocks continued for a good 40 metres after the crossing. They had a lot of movement and became very slippery as all the bikes carried water across them from the crossing. In this section, you had to use a little more clutch than in the creek (which had more traction, thanks to the water constantly washing over the rocks). The hardest section of this creek crossing was actually the section after the exit as you had to be really on the ball to avoid crashing.
Awareness
In a race situation or at an event like the 12-Hour, you have to be really aware of the riders around you because if you don’t read their movements right, you could end up stuck behind them or hit them if they crash right in front of you. It’s important to keep calm and alert so that, if you do need to change direction quickly, you’re ready to do so in an instant. If you panic, get on the throttle a bit too hard or lose balance, you’ll make a mistake and often crash in the process. If someone does go down in front of you, just try and navigate around them without getting stuck yourself. Stay smooth on the throttle, put a foot down if you need to help pivot or balance the bike, and choose a new line to get you and your bike out of the water as quickly as possible.
About The Rider
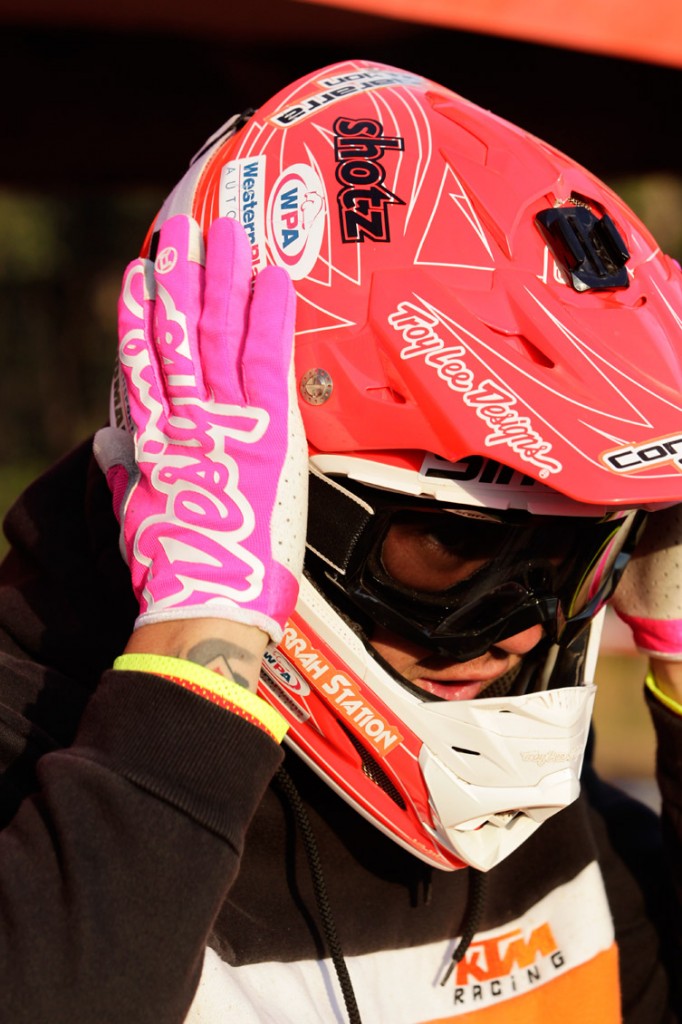
In a stellar motocross career that spanned 14 years, Tye Simmonds was one of Australia’s winningest Junior riders, and at 18, he fulfilled his dream of racing the AMA Pro ranks in America. After returning to Oz, he remained a premier-class national MX and SX title contender, until burnout led to his abrupt retirement at just 21 years of age. Twelve months later, when the opportunity came up to join the factory KTM off-road team, Simmonds discovered he’d regained his passion for racing and took to enduro like a duck to water. In 2015, he finished fifth Outright at the AORC, ran second to his teammate Toby Price at both the Finke and Hattah Desert Races, and was a member of Australia’s ISDE-winning Junior Trophy Team in Slovakia. So, when it comes to creek crossings, this bloke’s more than qualified to offer sage words of advice.
This content was originally published in the May-June 2016 issue (#56) of Transmoto’s magazine.


Be the first to comment...