4 Cheap Motocross Bike Mods
Although modern-day factory bikes are littered with expensive, high-performance componentry and unobtanium, it may come as some surprise to you that they also feature several low-cost modifications that the average person can perform at home. At the final round of the Australian MX Nationals, we asked technicians from four national race teams to reveal their favourite inexpensive mod; the DIY mod that could unlock your motorcycle’s potential without burning a hole in your wallet. Here’s what those technicians came back with…
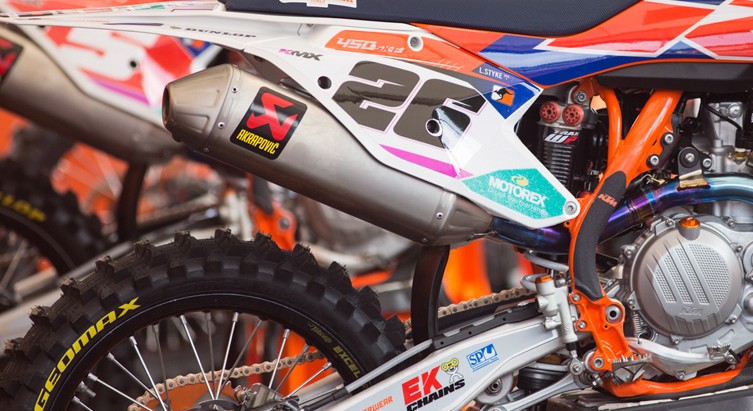
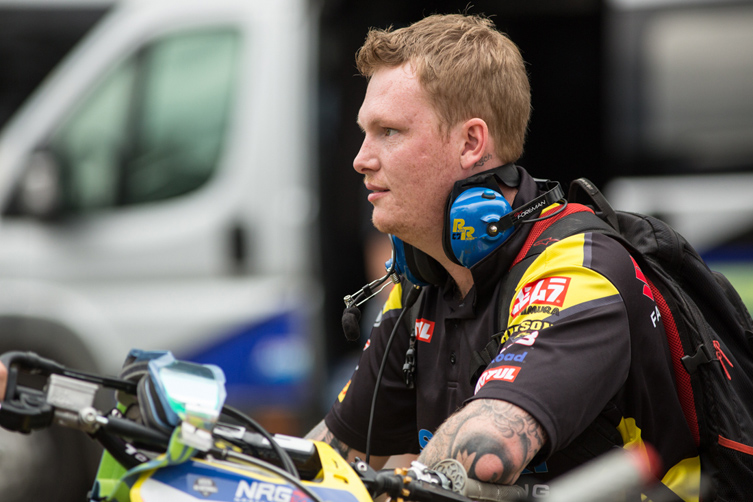
JESS FOREMAN – TEAM MOTUL SUZUKI
Jess has been a factory technician on the Suzuki team for several years now. He’s also been the mechanic for multi-time champion, Matt Moss. With the Suzuki RM-Z450 using a relatively unchanged platform for a few years now, Jess knows his way around the current model like the back of his hand. Below, he explains an airbox modification the team have previously used…
“With the plastic on the intake of your airbox, you can cut it out further to improve airflow. You have to be aware that it’s going to let more dust in, which will require that you inspect and change your filter more often. But if that’s a price you’re willing to pay, this mod will improve power and throttle response. To get the most from the mod, you’ll also need to make your fuel mapping a little richer to suit the extra airflow.”
MICHAEL MARTY – NPS MONSTER ENERGY KAWASAKI
After spending several years as the head technician at Serco Yamaha in the MX2 category, Michael made the switch to NPS Monster Energy Kawasaki for the 2015 season. Once again, he’s the team’s head technician, only in the MX1 division this time around. And Michael’s favourite DIY mod to the Factory Kawasaki? The ‘Peg Armour’ bracket that the team uses…

“A cheap modification we do here at NPS Monster Energy Kawasaki is a thing on our pegs, called ‘Peg Armour’. It just stops the mud and rocks from clogging up the footpeg mounts and hinge action. It’s one of the quickest, easiest and most cost-effective mods out there. There is a rubber Acerbis product on the market, but it doesn’t work quite as well as the Peg Armour. It’s basically a steel bracket that goes over the pivot point and keeps all the dirt out. It’s a custom-made part by ‘Peg Armour’ and is readily available to anyone. Basically, it removes the risk that a jammed peg will pose a safety risk to the rider.”
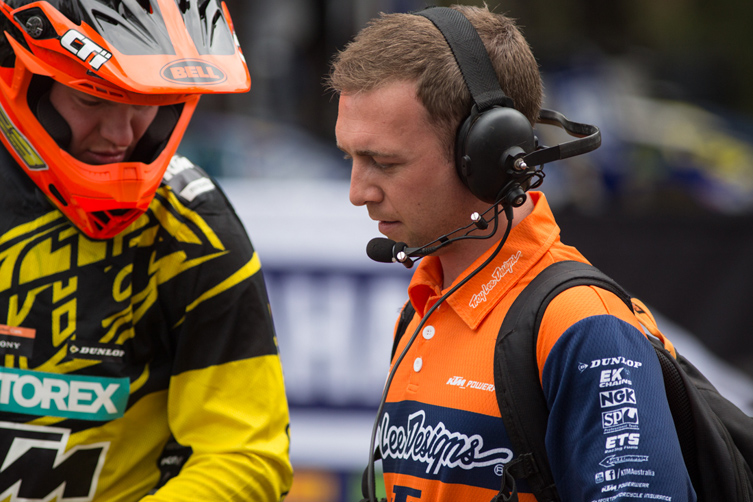
KYLE BLUNDEN – KTM MOTOCROSS RACING TEAM
Kyle has been spinning spanners for recently crowned MX1 champion, Kirk Gibbs, for the past few seasons now on the factory KTM Motocross Racing Team. Kyle’s specialty within the KTM team is engine management systems, which is often beyond the DIY reach of the average rider. So below, Kyle recommends a much more simple and cheap task – setting your shock absorber’s sag correctly…
“The electronics on new-generation bikes can be overwhelming for many people. So instead of getting lost in the technology, remember that getting your suspension set up by a professional remains the best value-for-money mod that most people can make to their bike. What you can do at home, however, is set your static sag and rider sag properly because this measurement plays a key role in how the bike’s chassis is balanced front to rear. If you run too much rider sag in your shock, you’re going to find you bike rides low in the rear. It’ll be stable at speed but won’t turn as well with the tall front-end. Too little sag means this bike will steer fast, but the front wheel can push or knife under when there’s too much weight on the front-end. That set-up will also affect the feel of the fork’s action big-time. Setting your sag costs nothing, but it’s a crucial element of a bike that handles well.”
MIKE LANDMAN – CDR YAMAHA
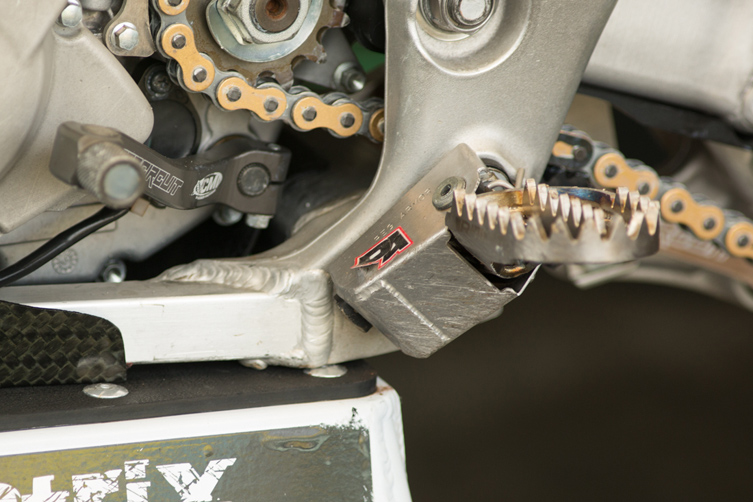
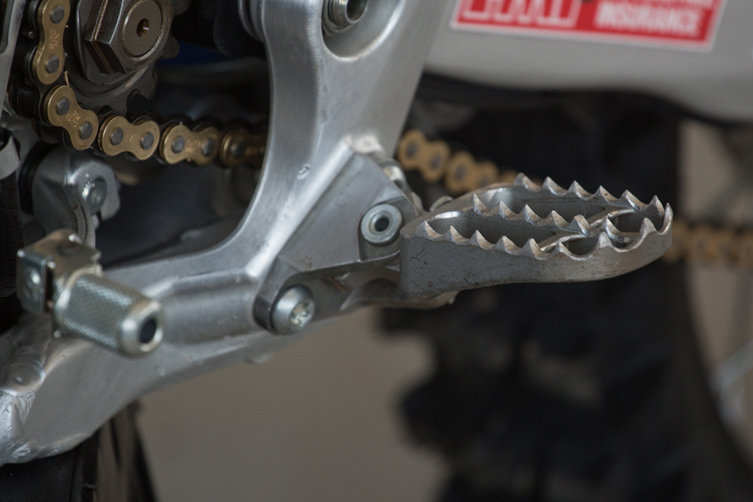
Mike spent several years as a technician for the Penrite Honda team, and has joined Australia’s most successful factory team in recent years, CDR Yamaha, for season 2015. Wrenching for Kade Mosig, who finished second in this year’s standings, Mike actually has various mods up his sleeve. But his favourite free mod is simply sharpening the bike’s footpegs…
“With Kade, we sharpen his footpegs up quite a bit. He likes to stand on the balls of his feet on his pegs, so we actually use a die-grinder to sharpen each individual tooth on the pegs for grip and the added feeling of security that gives him. They end up pretty sharp, meaning you’d hate to slide your knee down on them. There wouldn’t be too much bark left!”
You might also like...
Events
13 hours ago
WHY YOU SHOULD RACE THE 8-HOUR AT NARRABRI…
The Transmoto 8-Hour at Narrabri oozes quiet-achiever rural appeal. Here’s six reasons you need to race it.
Features
5 days ago
WATCH: JACK MILLER’S YZ450F DIRT TRACKER
This is Jack Miller’s Yamaha YZ450F like you’ve never seen it before.
Features
2 weeks ago
WATCH: Husqvarna Trek 2025 Film
The full-length feature film captures six days of high-country adventure in Victoria.
Ducati
1 month ago
2026 Ducati Xpeditions Takes On Flinders
The six-day, 1800km adventure will take on the South Australian outback for Multistrada and DesertX riders.

2026 SMX WORLD CHAMPIONSHIP VIDEO PASS
The SMX Video Pass is back, and again providing live and on-demand access to all 31 rounds.

2026 ENDURO & CC MODELS: 7-BRAND PRICE COMPARO
A handy table of easy-to-compare prices for seven brands’ 2026 enduro and cross-country models.

HONDA CLAIMS EIGHTH AUSX TITLE
Dean Wilson sealed the deal for Honda with a dominant 2025 Australian Supercross season.
National Motorcycle Insurance
5 months ago
Ride Smart | Presented by National Motorcycle Insurance
Transmoto’s Simon Barratt covers some handy tips on how to protect your dirt bike, presented by National Motorcycle Insurance.
Be the first to comment...