
2015 WR250F: Project Bike Update
When we advertised Transmoto’s 2015 Yamaha WR250F project bike on our Transmoto Trader a few months back (for a ridiculously cheap $8000, including all the parts fitted for the Stage 1 and Stage 2 magazine articles), there were plenty of takers. First cab off the rank though was Jamie Taylor, a former Pro off-road racer who’s been out of the enduro scene for a few years while he’s chased back-to-back snowboarding seasons around the globe.
This week, Jamie checked in with Transmoto HQ to give us an update on the quarter-litre Yamaha – how much fun he’s been having aboard it, the things he’s learned about the machine, and what he plans to do with it from here. Over to you, JT…
FIRST OBSERVATIONS
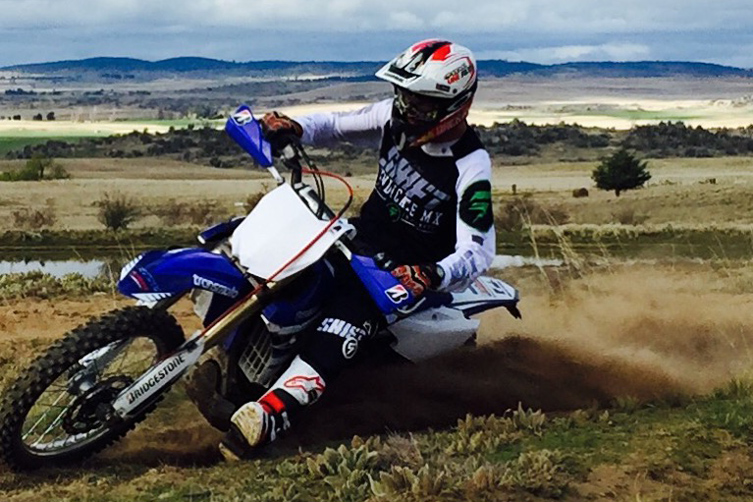
The first time I was able to ride the bike, it was on a freshly cut in grasstrack and the first thing I noticed was how well it turned, either in a rut or on a flat corner. It’s really apparent how the more centralised mass improves how the bike responds in corners. It’s such an easy bike to ride. There is plenty of power right off the bottom to get out of the turns, and if you want it to really get up and go, a light feather of the clutch will do the trick.
When I got the bike onto a proper motocross track, I really got to see how it worked on the big straights, braking bumps and jumps. I was really impressed with how the little blue bike just kept on revving. It’s no slouch power-wise, but after hitting a few jumps I quickly knew I needed a much stiffer set-up suspension wise. In standard trim, the suspension package works perfectly in the bush and the grasstrack, but for a guy with my speed it feels soft on the jumps and wallows in the sand.
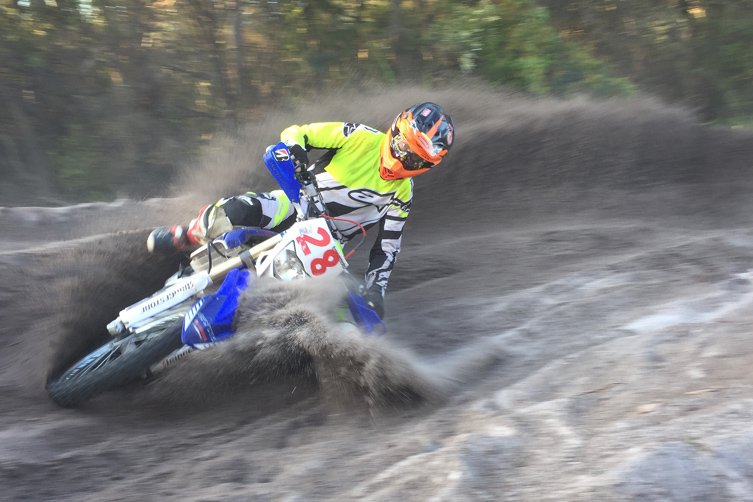
^ Now he’s traded snow for dirt, you reckon Jamie’s having a bit of fun? Sure looks that way to us!
MODS MADE/MAKING
The first thing I did when I got the bike was to get rid of all the ‘clutter’ up front. I took off the speedo and all associated wires (ie, the speedo cable, and replaced it with an aftermarket wheel spacer), clutch lock-out sensor cable, and tucked all excess sections of the wiring loom as low and out of the way as possible. I also removed the cooling fan from the back of the radiator and replaced the heavy stock battery with a smaller, lighter aftermarket one. I’ve cut a few small holes in the top of the airbox to let it breathe even more, and I reckon I could get away with making them even bigger.
I’m currently waiting on heavier fork and shock springs to put in the bike, after which I’m confident this will be a perfectly capable AORC or 4-Day race bike.
IN A NUTSHELL
- Turns amazingly
- Revs to the moon
- Stops on a dime
- Super-easy to ride
- Too soft for my liking
You might also like...
Cassons
1 week ago
WALSH MAKES FINKE RETURN WITH HONDA
Five-time champ David Walsh joins 2025 victor Corey Hammond and podium finisher Brodie Waters.
News
1 week ago
YAMAHA FLEX AT WONTHAGGI OPENER
Yamaha Australia’s motocross teams dominated Round 1 of ProMX, winning four classes and eight races.
KTM
1 week ago
SANDERS WINS RALLY-RAID PORTUGAL
Red Bull KTM Factory Racing’s Daniel Sanders lead from start to finish to win Round 2 of the W2RC.
News
1 week ago
McLellan Claims Triumph’s First MX2 Win
The South African secured his and Triumph’s maiden Grand Prix victory aboard the TF250-X in Spain.
KTM
3 weeks ago
KTM RACING READY FOR 2026 PROMX
The orange team enters the 2026 ProMX opener at Wonthaggi with a motivated four-rider lineup.
News
3 weeks ago
MXGP DOUBLE PODIUM FOR TRIUMPH
Triumph kicked off 2026 with Farres second and McLellan third overall in MX2 at the MXGP of Argentina.
News
3 weeks ago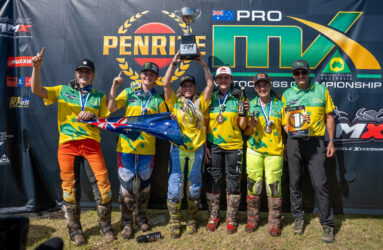
TEAM AUS SET FOR OCEANIA MX DEFENCE
Team Australia will chase a third straight victory at the 2026 FIM Oceania Women’s Motocross Cup.
A1
3 weeks ago
RACELINE HUSQVARNA PARTNER WITH YOSHI
Yoshimura Australia partners with Raceline Husqvarna TDUB Racing for the 2026 Aus ProMX Championship.
Be the first to comment...