How-To: Adjust Valve Clearance
This article originally appeared in Transmoto‘s 2013 September issue (#35)…
If your four-stroke has become a little hard to start lately, or the horsepower from your bike is slowly slipping away, it’s a fair bet that you need to adjust the engine’s valve clearances. The four or five valves that control the flow of the air/fuel mixture and exhaust gases in your engine’s head are one of the most abused parts in the entire motor. Under the punishment of high revs, valve clearances reduce as the valves and valve seats wear. As a result, valve clearances need regular inspection and, if necessary, adjustment.
Checking the valve clearances in modern four-stroke engines is a fairly straightforward process. So long as you keep everything clean, there’s very little that can go wrong. Adjusting valve clearances via shims (if your bike has this bucket and shim system) is more involved, but isn’t as difficult as many home mechanics would tend to think. When high-tech, overhead cam thumpers hit the market two decades ago, the design was notorious for fast-wearing valves and seats, meaning regular clearance adjustment. The introduction of titanium valves and other high-tech materials meant less wear and adjustment, however it’s a good idea to check the valve clearances after breaking your bike in, then every 10 to 20 hours, depending on your manufacturer’s recommendations. Teknik’s Nick Dole explains how it’s done.
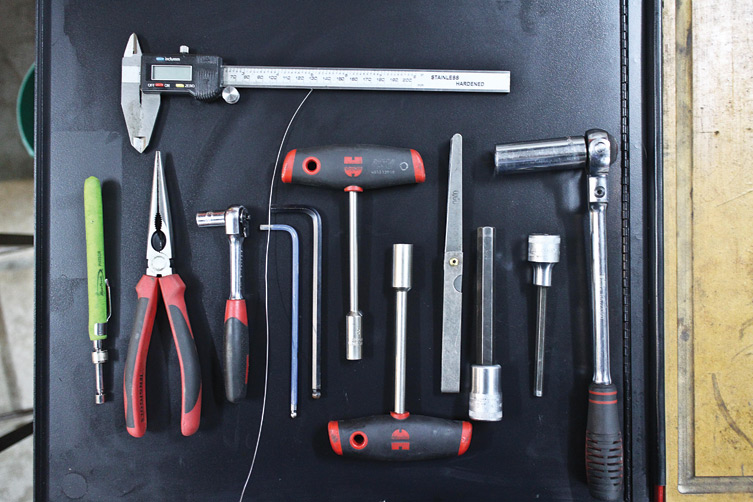
Tools You’ll Need
- Spanners, T-bars and socket set
- Allen keys
- Tie-wire
- Magnet
- Vernier calipers
- Feeler gauges
- Owners manual
What It’ll Cost Ya
- Labour: 45 to 90 minutes
- Shim Kit: $50 to $100
Why You Need To Check & Adjust Valve Clearances
Because the valves in your engine open and shut thousands of times every minute, the valves and valve seats in the aluminium head slowly wear down over time. This causes the valves to recede up into the head, reducing the clearance between the end of the valve stem and the cam lobes. In turn, this changes how far the valves open. Due to the metal treatment in the valves and valve seats, valve clearances often stay steady after an engine is run-in for about 40 to 120 hours, then start wearing more quickly, requiring regular adjustment.
1. Make Room
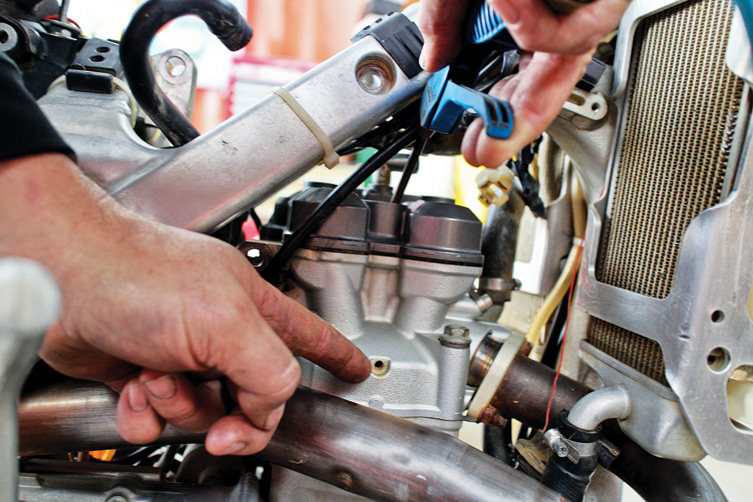
Before spinning a spanner, give your bike a thorough wash with the seat and tank off — as dirt falling into your valve train after you take the valve cover off is sure to end badly. Remove any paraphernalia (such as the horn or pipes), and move cables and the wiring harness to the side so you’ve got free access to the valve cover. Then give the whole area a thorough blast with air to ensure the bike is clean, including the spark plug hole.
2. Remove Cover
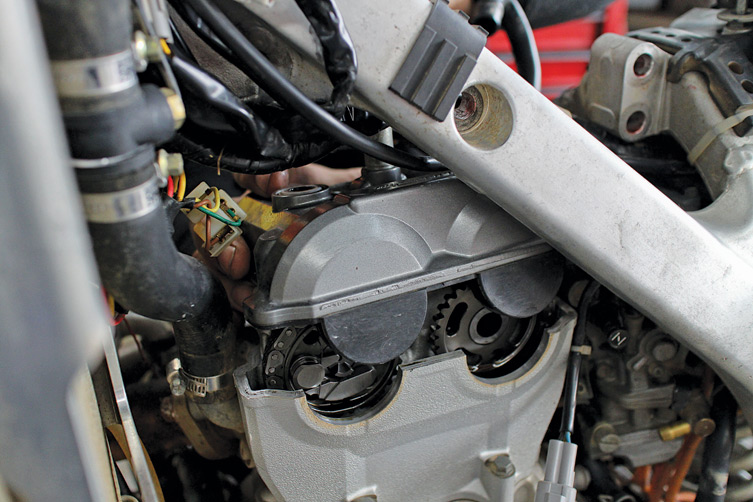
Remove the bolts holding the valve cover in place and the spark plug lead. Now pull the valve cover slowly up and work the cover over the cam timing gears. It’s a tight fit on most bikes, but the cover is designed to come off with the engine in the frame. Ensure you take the gasket off the head, too. Place the cover away from the work area.
3. Top Dead Centre
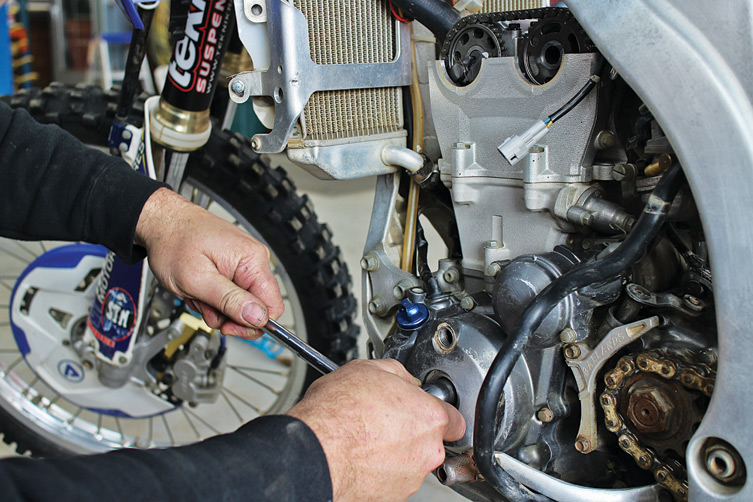
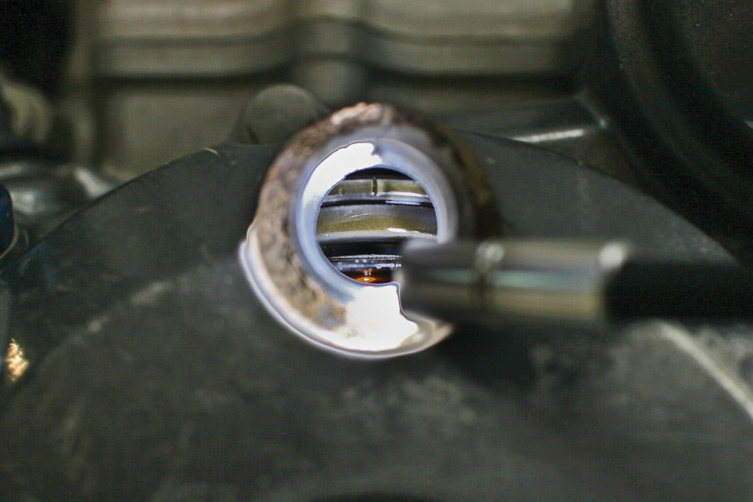
To check valve clearances, the piston needs to be at top dead centre (TDC). This is the point in the cycle where the cams are not applying any pressure on the valves; the resulting gap between the two is the valve clearance. To rotate the engine to find top dead centre, you’ll need to remove the inspection plugs to gain access to the crank and the inspection hole on the sprocket side of the engine. Check the sidebar over the page for an explanation of finding top dead centre.
4. Check The Clearances
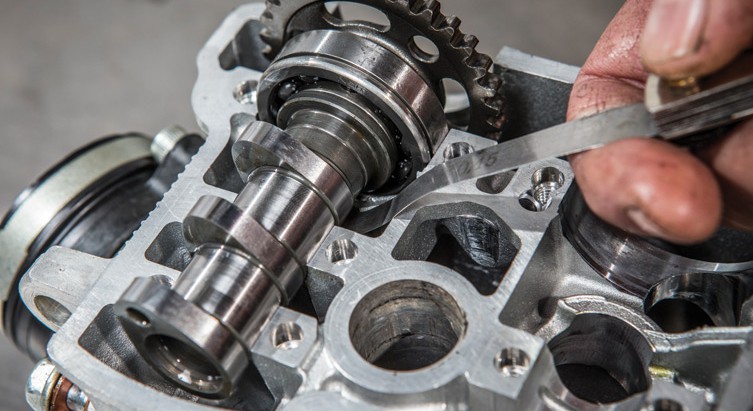
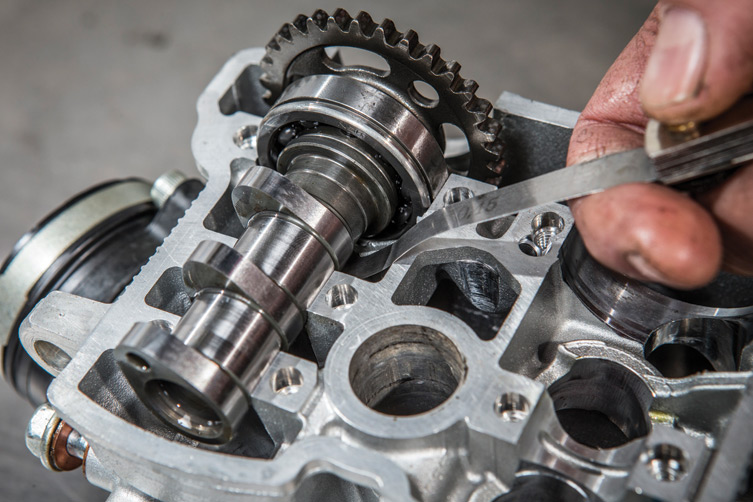
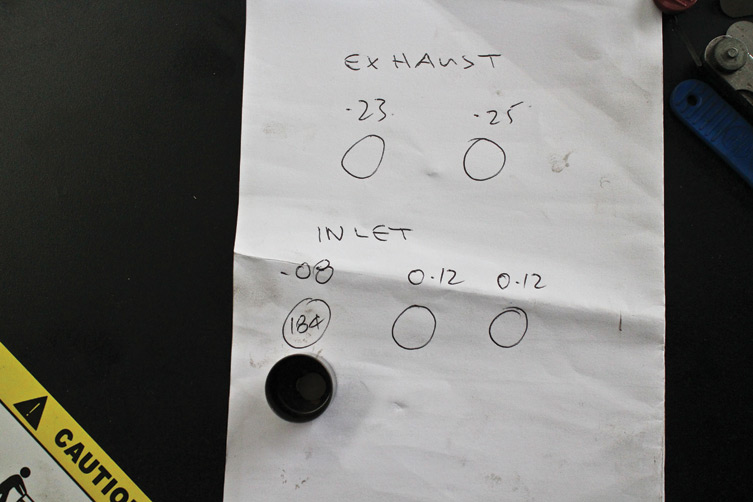
The term valve clearance describes the gap between the cam (or rockers on a Honda) and the valve bucket. Using a narrow pair of feeler gauges, determine the clearance using trial and error by seeing which gauges can slip under the cam freely. Record the valve clearance for all valves on a piece of paper, then refer to the ‘Doing the Maths’ section over the page. On all bikes except YZ450Fs from 2010 onwards, exhaust valves are at the front and inlet valves at the rear. If the clearances are within tolerance, bolt your bike back together and go riding. If not, continue following the series of steps below.
5. Loosen The Timing Chain
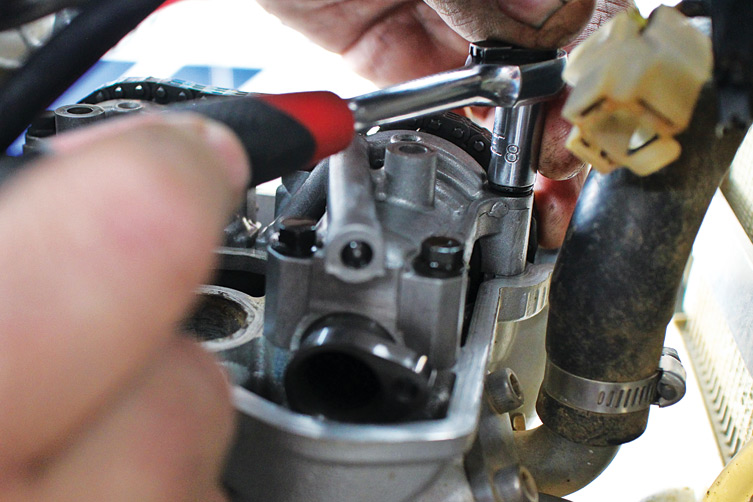
If your valve clearances are outside the tolerances set by your manufacturer, you’ll need to change the shims on the out-of-spec valves. To remove the cams to access the buckets and shims, you’ll need to loosen the timing chain. Most bikes run automatic cam-chain tensioners. Simply remove the covering bolt, and then use a screwdriver to unscrew the tensioner until you feel a click and the chain becomes loose.
6. Remove The Cam(s)
To remove the camshafts, which is necessary to access the valves that are out of spec, the first step is to remove the journal holder. Undo the bolts in the order recommended by your manufacturer to prevent the holder from warping. Two dowel pins keep the cam and journal holder aligned, so make sure you take care to grab them (or they can easily fall down into the engine). Then lift the cam(s) out of the seats to access the buckets and shims. Wrap the cams in cotton while out of the bike.
7. Timing Chain
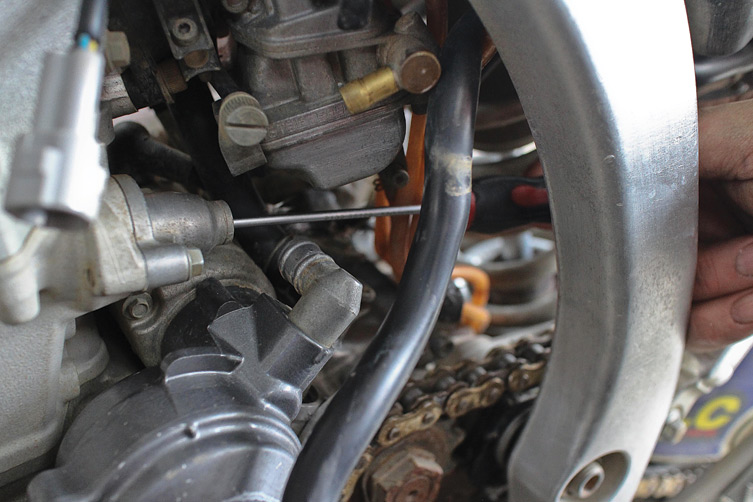
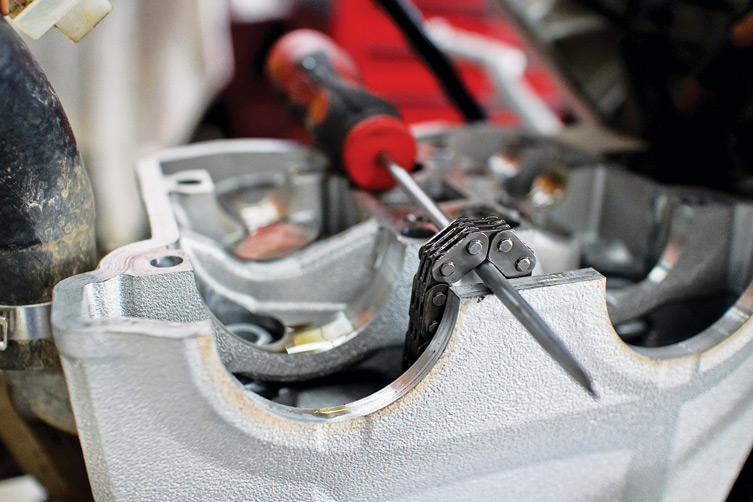
If you’re only adjusting the valves under one camshaft (either the inlet or exhaust, but not both), then simply zip-tie the timing chain to the cam gear of the cam not removed. If you’re removing both cams, it’s important not to let the chain fall down into the casings, so fasten a piece of tie wire around the chain and leave a long end that you can secure to the frame. Another option is to simply put a screwdriver under the chain as shown here.
8. Remove Buckets
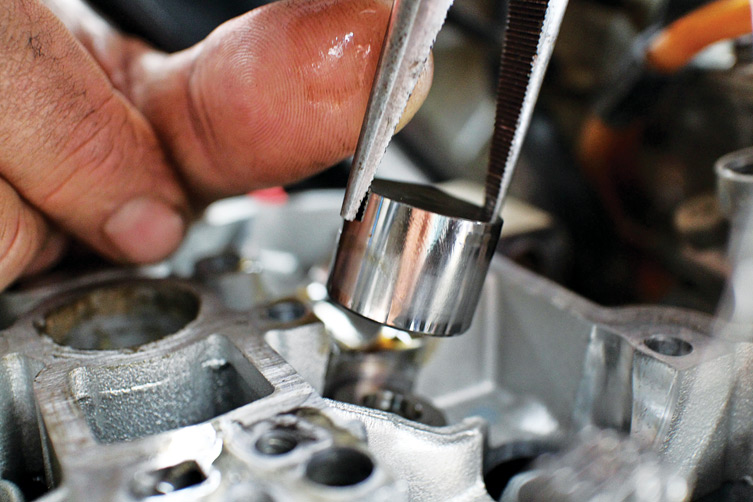
Using a pair of long-nosed pliers, carefully lift the buckets off the top of the valves. Use only enough force as required to keep a firm grip on the buckets to prevent damaging them. The shim will then either be sitting on the valve top or stuck up inside the bucket. Keep a magnet on hand and perform this process carefully to ensure you don’t lose any shims down the engine or onto the floor. Keep the buckets and shims together and write down which valve they came off.
9. Measure Shims
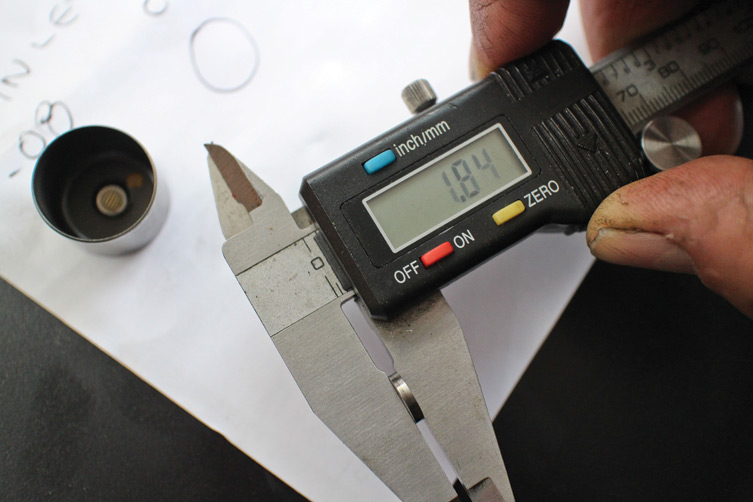
Using a pair of vernier calipers, measure the shims for the valves that need adjustment. As you will have written down the clearances earlier, you will use your measurement from the old shim to calculate the new shim needed (refer to the ‘Doing The Maths’ section below). Manufacturers use shims in the manufacturing process to counter for tolerance variances in the buckets, cams, valves and head. Naturally, not all inlet or exhaust shims will be the same.
10. Reassemble
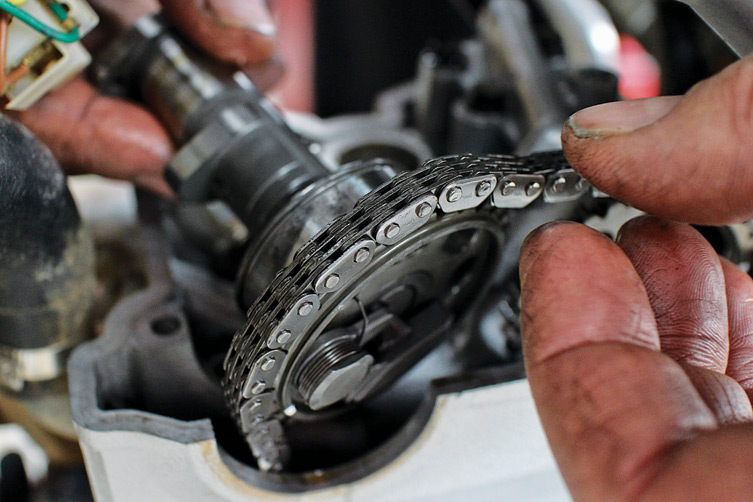
Once you’ve got the correct shims in place, it’s time to reinstall the shims, buckets, cam, journal holder, timing chain and valve cover. Make sure you keep the timing chain taught and install it on the correct cam teeth, following your manufacturer’s instructions, so you don’t get the bike’s timing wrong. Also use the recommended specs for tightening the journal holder.
Finding Top Dead Centre
Top dead centre is the point during the engine’s cycle where the piston is at the highest part of its stroke. Different bikes have different ways of finding TDC, but typically the procedure is to use a socket to spin the crank anti-clockwise (the engine’s correct direction) until a marker in the flywheel lines up with the mark in the inspection hole. At this point, there is generally a marker on each cam gear that will align with the top of the head. If the flywheel marker is correct but the cam gear markers are out, your timing chain has stretched and will need replacing.
Doing The Maths
Valve clearances are usually measured in hundredths of a millimetre. On a piece of paper, draw circles representing each valve, and the valve clearance above it. In our case, an inlet valve was out of tolerance at 0.08mm, so we removed that bucket and shim. The shim measured 1.84mm, or 184 hundredths, which we wrote inside the circle. We aimed for a clearance of 0.13mm, being the upper-end of the tolerance spectrum, to allow for future wear. This meant selecting a shim 0.05mm (0.13mm – 0.08mm) smaller than 184, being a 179. Repeat this process for every shim that is out of tolerance.


Be the first to comment...