Husqvarna 901 Expedition / Connectivity Tech
If you love your tech as much as a thumping LC8 engine, then you know the new Husky Norden 901 Expedition comes with all the bells and whistles. So, for those who find everything beyond throttle, clutch and brakes a struggle, we’ve run through the best of the connectivity tech onboard the big blue ADV machine and how to make it work for you.
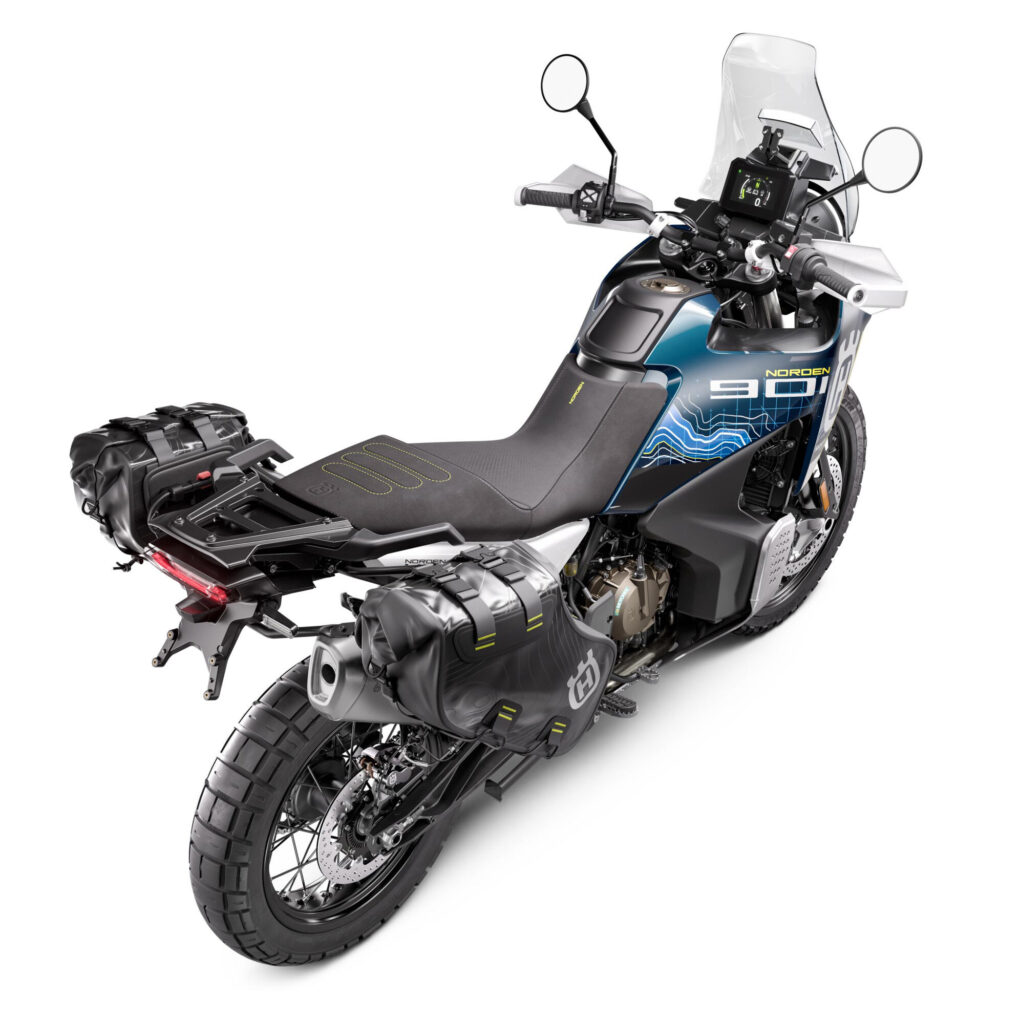
1. All the tech!
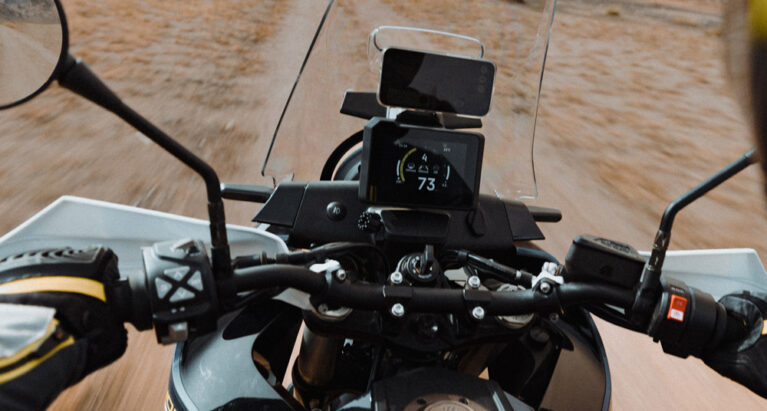
Upping the ante on the standard Norden 901, the Expedition model seemingly adds everything from the accessories catalogue. Cruise control, Quickshifter, cornering ABS, cornering traction control, off-road ABS, motor slip regulation, four ride modes, LED lighting and all under control via a five-inch TFT display that is easy to read and navigate. With our reviews elsewhere focused on those elements, we’re here to look into the bike’s onboard tech combined; namely its Connectivity Unit, which also comes as standard on the Expedition paired with the new Husqvarna Ride App on a smartphone.
2. Connectivity
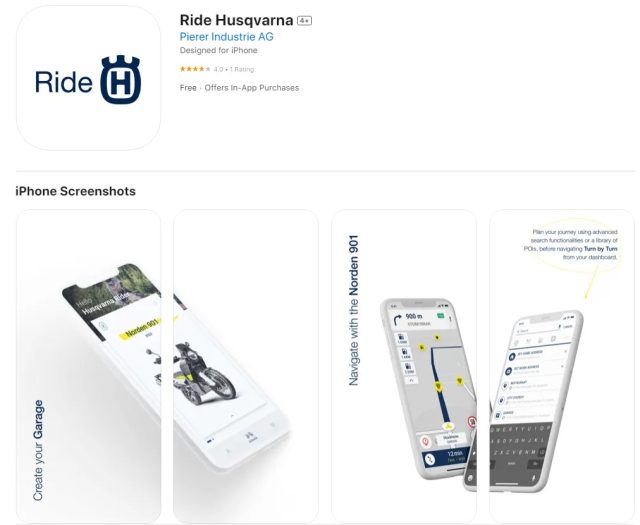
Once paired with your phone (more on this later), the Ride Husqvarna app brings turn-by-turn navigation, music selection, calls and more straight to that beautiful TFT screen. And all those functions are toggled pretty intuitively from your left thumb via a simple UI that really does makes sense, eventually.
To get all this magic to work in unison, first you need to download the Ride Husqvarna Motorcycles app for Android and iOS on the phone you wish to pair with the bike. Once you’ve got that installed, make an account with Husky, register your bike in the app and download all the Australian maps.
3. Get to know the tech (and how it works)!
Sat comfortably with some time on your hands before you set off on your own expedition is a good idea. Get your head around the tech at hand and make it all talk in the comfort of your own garage, rather than in a thunderstorm.
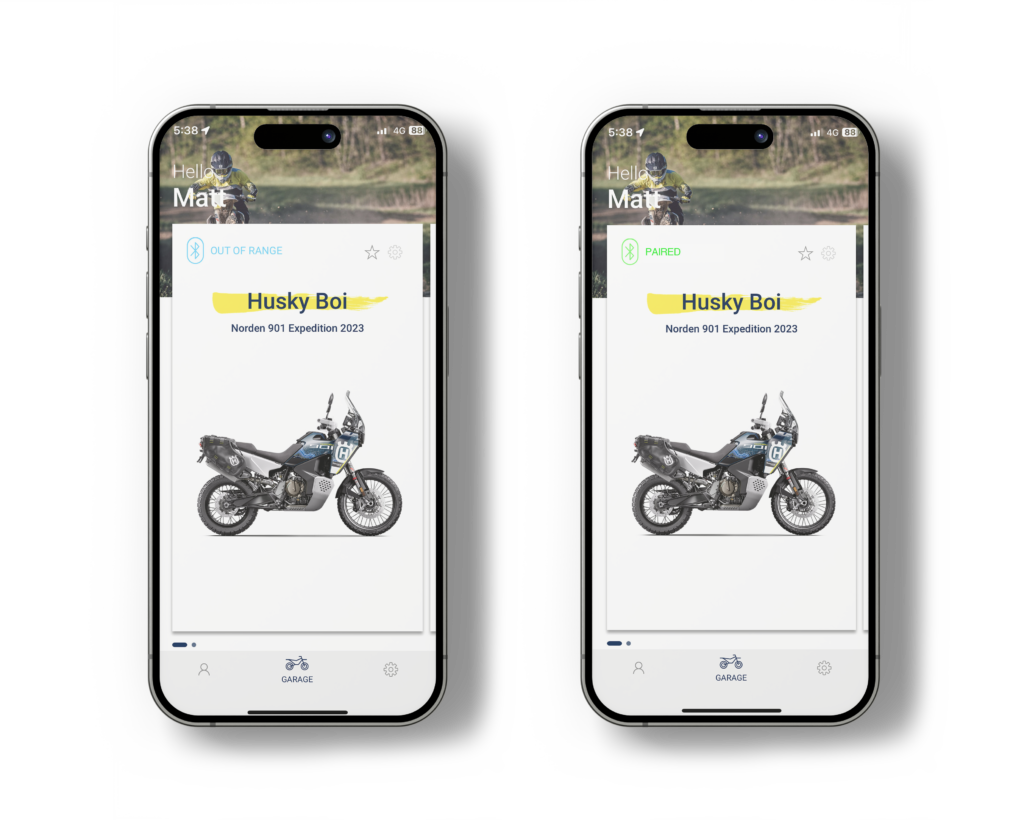
Our first attempts at getting the Husky app, phone and bike to talk were a bit of a mess. Basically, you need to start the app, turn on the bike and get pairing. If you pair only your phone itself with the bike, you won’t get access to the navigation and lot of functionality the app offers, which will drive you up the wall. So make sure you pair the Husky app to the bike, not the phone itself! You’ll see a little green light in the app, which means you’re in business. In the end, we had both the Husky app and a headset unit paired to the bike for best results and some kind of consistency in connecting when you start up in the morning.
Get the process right and it rocks. Get it wrong and you’ll be stopping for a street directory…
Check page 45 of the User Manual for the process in full.
4. Plan your trip!
We mentioned downloading all the Australian maps into the app for a reason. Once in, you don’t need to worry about phone reception. It’s almost a real GPS device in your phone.
From there, simply get planning in the app, which is the Sygic system underneath the Husky skin. Adding waypoints manually was one way of planning, as was using the app’s search function with filters that include avoiding motorways, staying on windy roads and ‘not’ avoiding dirt, a function that GPS and even Google don’t have yet. That last one (don’t avoid dirt) has no chance in the city, but did an amazing job once a few hundred kays inland. Logging and fire tracks aplenty! Also of note is that you can import GPX files into the app, which speeds your planning process if you’re proficient with GPS.
Of course, there’s a caveat. Unless you grab the full edition of the app, with its monthly fee, you don’t get all the functionality. In a nutshell, that means twisty roads settings, GPX import/export, real-time traffic information, speed limits, audio warnings, real-time location sharing and a whole lot more!
… It’s here many will add their own GPS unit to the mount above the dash and plug in via the 12V socket in the fairing. But for those without a GPS unit, this is a solid offering. We ran the month-long free trial and have to say, it’s worth its weight in gold if you’re on the road/trail a lot.
5. Turn by Turn
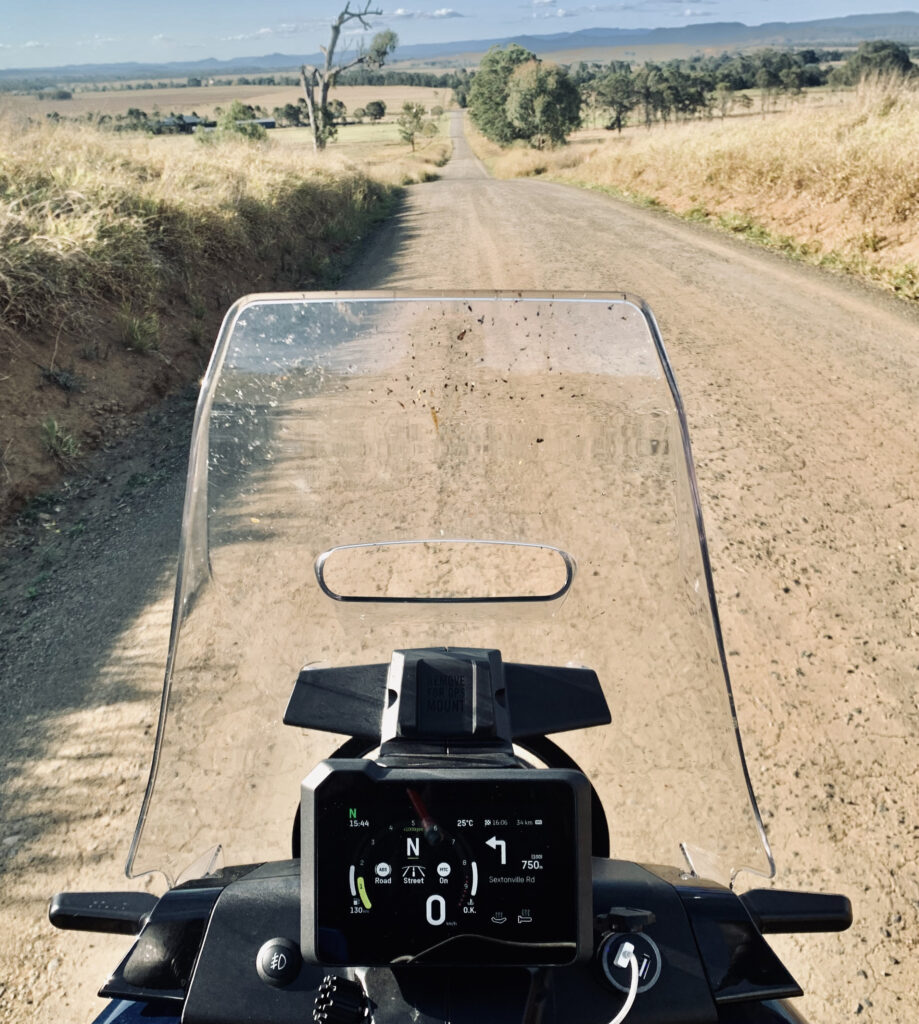
Once you’re all planned up, geared up and on the road, simply toggle through to the nav functions and click ‘Go’ on your saved route. On-screen info includes direction arrows and distance to the next turn and next waypoint. With a phone mounted on the bars, you can run the app open with the map tracking your position, which is a nice addition.
Pairing a bluetooth helmet headset with the app allows you to have the Husky app give you rally-esque directions in your choice of voices. “Easy right”, “tight left hand turn”, “right at the intersection” and the like save you glancing down at your screens and keep your eyes on the terrain ahead. On long rides, having the ability to take calls, listen to podcasts and still have nav prompts ensures you don’t fly by that last turn-off you need to make is pretty cool. As is seeing who’s calling on the bike’s dash cos sometimes focusing on the trial ahead is a lot more important.
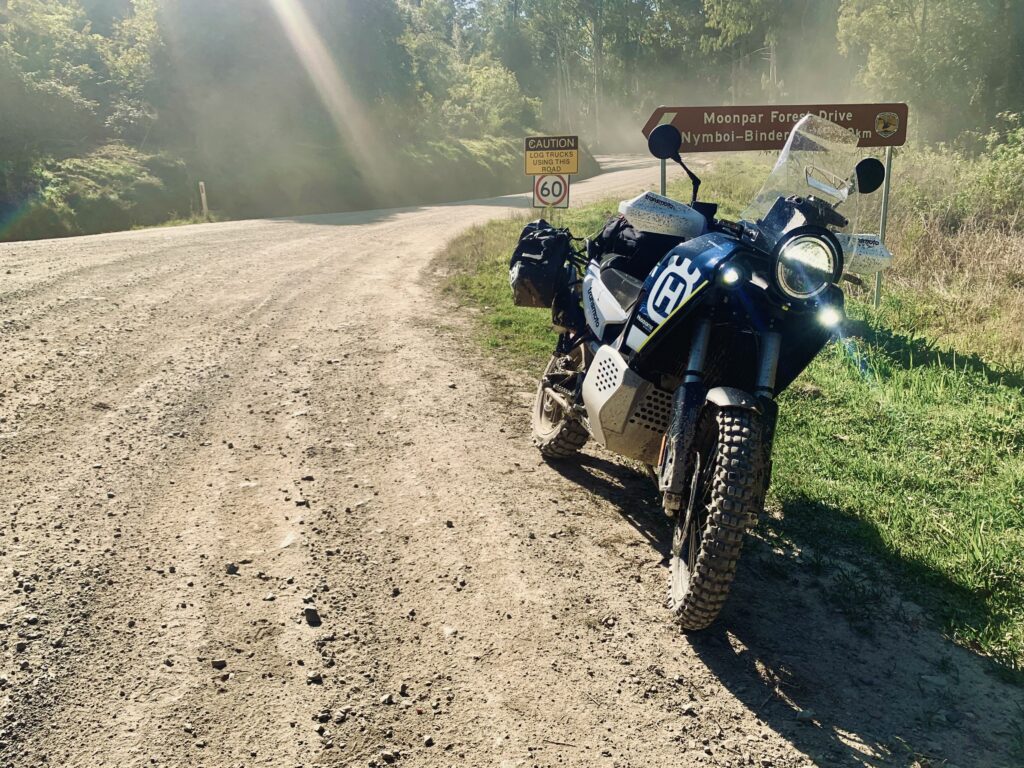
After a few thousand kays on the Blue Husky up and down the east coast, the combination of a handlebar-mounted phone linked to the Norden (plus a helmet headset) provided everything we needed to get where we were going, or back when we chose to head off the planned route. While a GPS unit may be the choice for those heading way, way outback, the above combo proved it’s worth time and time again in what is going to be a very interesting space to watch as tech evolves.





Be the first to comment...